
 CAD
CAD
How to Use Natural Light for Better Underwater Photos
Ambient Light Photography Guide
Natural light underwater photography can produce spacious blue backgrounds, soft shadows, and authentic ocean color without the weight of a full lighting rig. The key is to read the sunlight, protect sharpness, and reduce the amount of water between the camera and the subject.
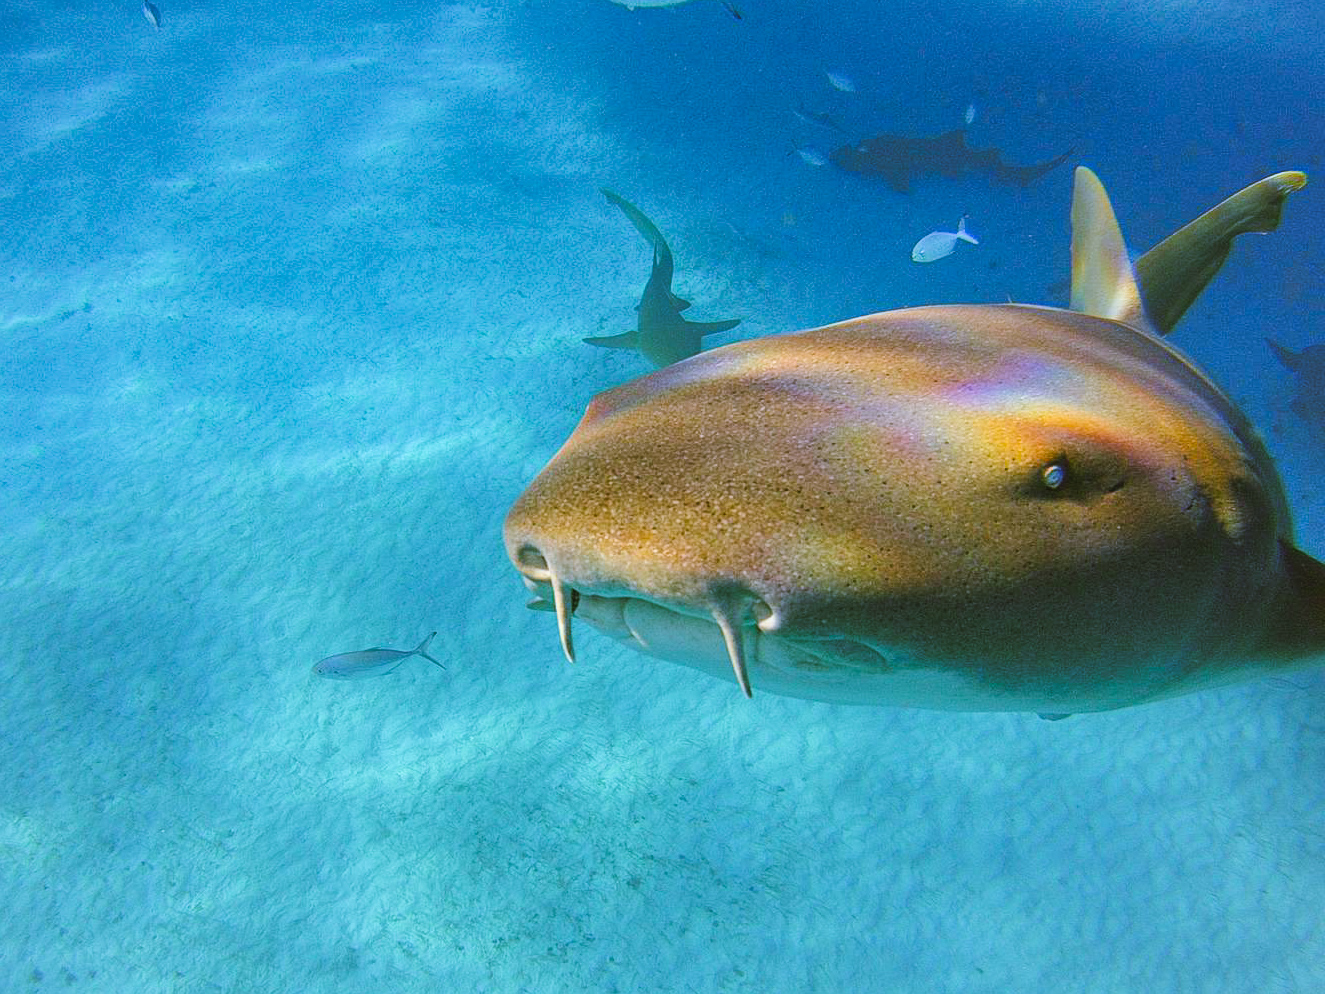
Quick answer: For better natural light underwater photos, stay relatively shallow when conditions allow, check the sun’s direction, use a shutter speed that protects against camera and subject movement, and get close without disturbing marine life. Then adjust aperture and ISO to balance the subject with the blue-water background.
Why Photograph Underwater Without a Full Lighting Rig?
Sometimes I want to snorkel or freedive without taking my entire camera rig. Still, I rarely want to leave the camera behind. On those days, sunlight becomes the main light source and the ocean creates the atmosphere.
Some of the most striking underwater images use only the light that is already there: sunbeams filtering through the surface, blue water surrounding a subject, and natural contrast between light and shadow. In shallow water with good visibility, this simple approach can feel especially open and realistic.
However, ambient light is not automatic light. Water changes both the strength and color of sunlight, so a thoughtful position and exposure matter more than ever.
What Happens to Natural Light Underwater?
Water absorbs light as it travels, and colors do not disappear at the same rate. Reds weaken first, followed by oranges and yellows. As depth and subject distance increase, blue and green tones become more dominant.
Depth
Less light reaches the subject
As you descend, the available light becomes weaker and the scene usually requires a wider aperture, higher ISO, or slower shutter speed.
Color
Warm tones fade quickly
Your eyes adapt to the underwater environment more effectively than a camera. Therefore, the recorded scene may look bluer than you remember.
Distance
More water reduces contrast
Every extra foot of water between the lens and the subject can soften detail, reduce color, and place more particles in the optical path.
Artificial light can restore warm color at close range. Nevertheless, deep blue water is sometimes exactly the look you want, particularly for large animals, silhouettes, divers, and sunlit reef scenes.
Best Conditions
When Ambient Light Works Best
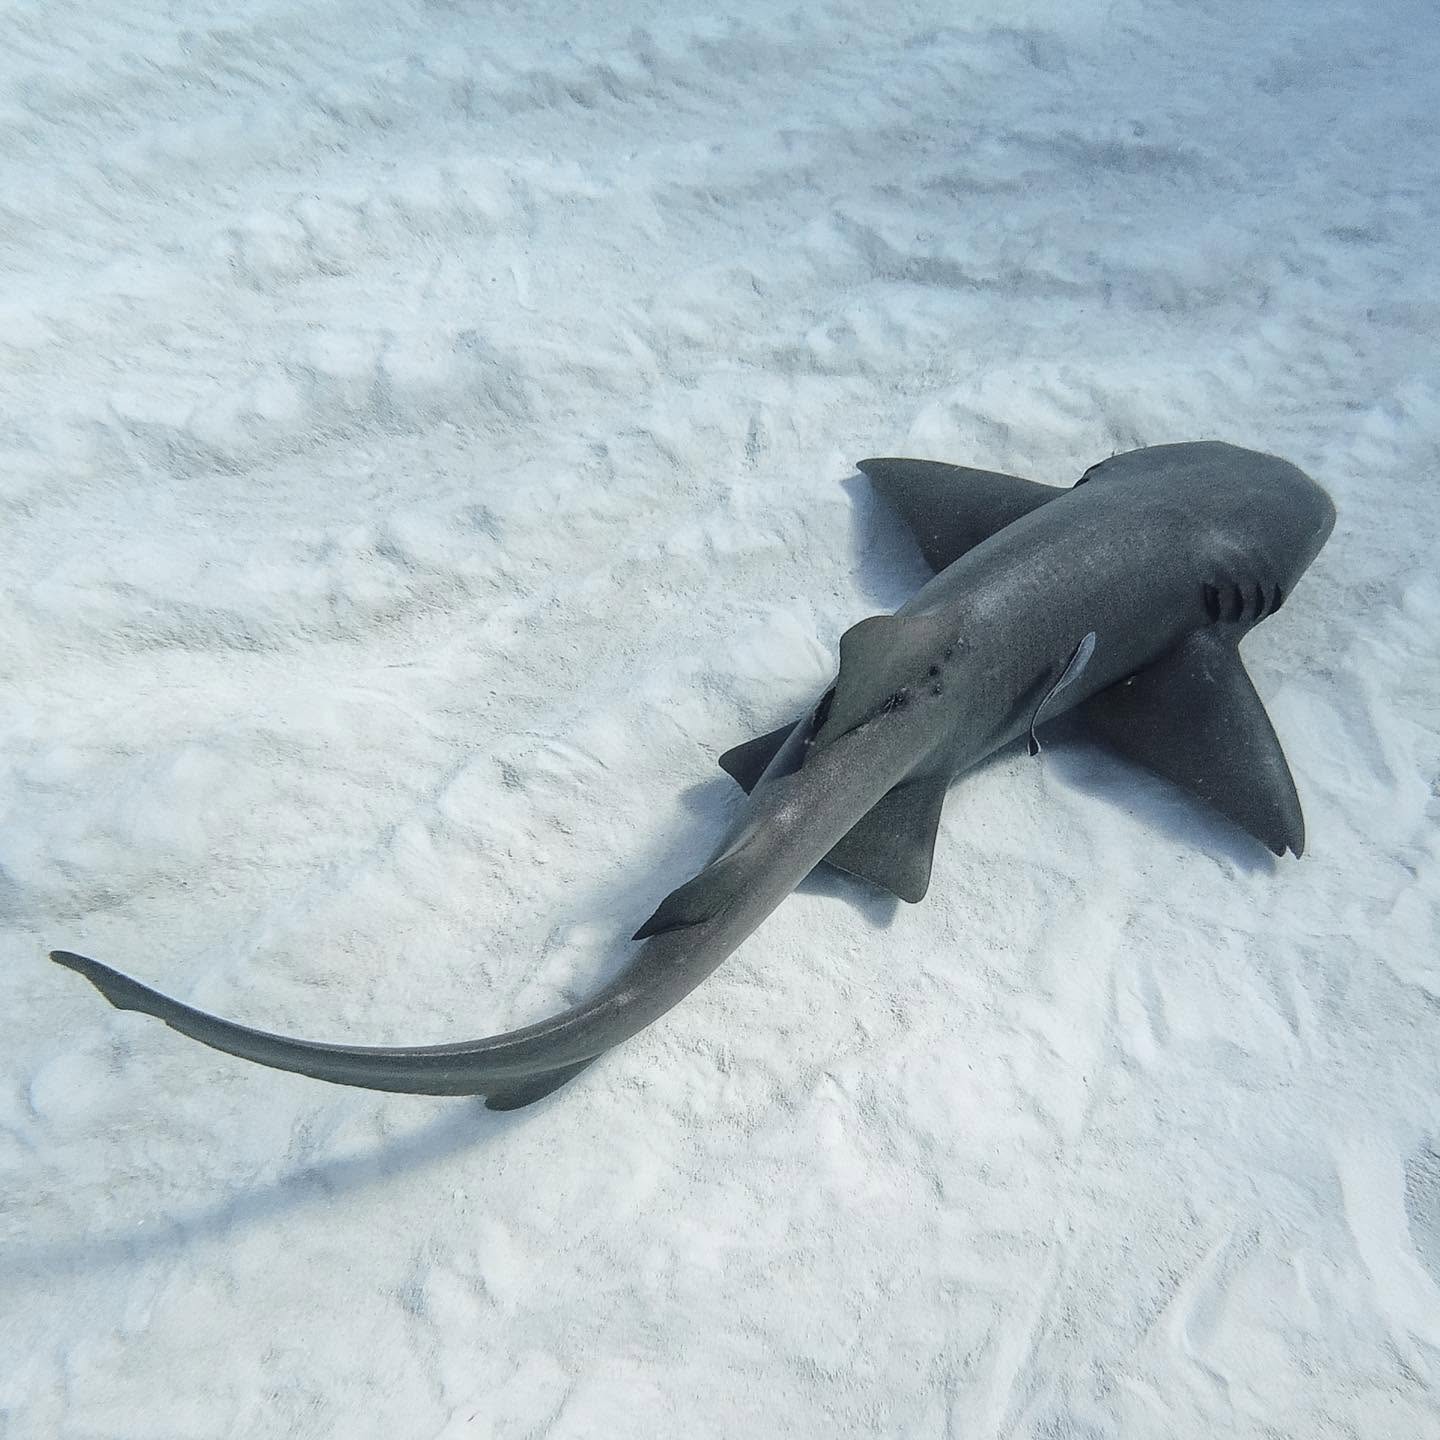
Ambient light is especially useful when the photograph should show the underwater environment, not only the subject. For example, it can work beautifully for a shark moving through open water, a diver looking toward the surface, a reef beneath sun rays, or a silhouette against the sun.
It is also practical when an animal is too large or too far away for a strobe to illuminate evenly. Instead of forcing artificial light across a wide scene, expose for the sunlight that is already reaching it.
Look for clear water, a bright surface, and enough room to choose your shooting angle.
Before Changing Settings
Start by Looking at the Light
Pause and observe the scene before pressing the shutter. A few seconds of awareness can prevent repeated exposure adjustments later.
Where is the sun?
With the sun behind or beside you, more light can fall on the subject. Shooting toward it can create silhouettes, sunbursts, and luminous blue backgrounds.
How deep are you?
Light changes quickly with depth. Check exposure again after a descent, ascent, or movement into a shaded area.
Where is the subject?
Open water, reef shade, and an overhang create very different lighting. Also notice whether the animal is facing the surface or moving away from it.
What mood do you want?
A bright blue scene feels open and inviting, while an underexposed subject against the surface can become a dramatic silhouette.
Natural Light Underwater Photography Settings
There is no universal exposure for every camera, lens, depth, or subject. Still, the examples below provide useful starting points. Review the histogram and image preview, then change one setting at a time.
| Situation | Starting Point | What to Watch |
|---|---|---|
| Shallow water, calm subject | 1/125 sec, f/5.6, ISO 100 | Check highlights near the surface and confirm that the subject remains sharp. |
| Moving shark, ray, turtle, or diver | Begin near 1/250 sec or faster | Raise ISO or open the aperture if the faster shutter makes the frame too dark. |
| Silhouette toward the surface | Expose for the bright water or sunlit background | Protect the surface highlights and place the subject in a clean, recognizable shape. |
| Deeper or cloudy conditions | Increase ISO before sacrificing a safe shutter speed | Watch for noise, loss of color, and subject blur as available light falls. |
If you use a compact camera, Mozaik’s underwater compact camera settings guide explains how aperture, shutter speed, ISO, and camera modes interact in different situations.
Protect Sharpness First
Do Not Forget About Motion
Underwater, the camera moves with you, the animal moves independently, and the water moves both of you. As a result, a shutter speed that seems reasonable on land can produce motion blur below the surface.
For fish, turtles, rays, sharks, and divers, choose a shutter speed that can freeze the action before adjusting the remaining exposure controls. If the photo is too dark, open the aperture or raise ISO while monitoring image quality.
A sharp, slightly dark frame is usually more useful than a bright but blurry one.
The Most Important Habit
Get Closer Without Chasing
Getting closer reduces the amount of water between the port and the subject. Consequently, the image can gain contrast, color, and apparent sharpness while showing fewer suspended particles.
A wide-angle lens or wet lens can help you frame a large animal from a shorter distance. However, getting closer never means chasing, cornering, touching, or blocking an animal’s path.
Move slowly, stay aware of your surroundings, and let the animal’s behavior determine the distance. Often, a calm approach creates both a stronger photograph and a better encounter.
Eight Practical Tips for Better Ambient Light Photos
1. Shoot RAW when possible
RAW files preserve more color and tonal information for careful white balance and exposure adjustments later.
2. Check the background
A clean blue-water background gives the subject separation. Meanwhile, reef texture can add environmental context.
3. Shoot slightly upward
A lower camera angle often adds depth, includes brighter water, and gives marine life a stronger presence.
4. Watch the highlights
Sunlit surface areas can clip quickly. Use the histogram or highlight warning rather than judging exposure only from the screen.
5. Use burst mode thoughtfully
A short burst can capture a better body position or eye angle, but composition and respectful distance still come first.
6. Set white balance intentionally
Auto white balance is a practical starting point. Custom underwater white balance may help video or JPEG capture when depth is consistent.
7. Review at actual size
Zoom in occasionally to confirm sharpness. A small screen can hide motion blur and missed focus.
8. Change one variable
Adjust shutter speed, aperture, ISO, or position individually. That way, you can see what actually improved the frame.
When Should You Add a Strobe or Video Light?
Natural light is not the best tool for every scene. A strobe or video light becomes more useful when the subject is close and colorful, the environment is deep or dark, warm tones are essential, or you need precise control over foreground light.
Instead of treating ambient and artificial light as competing methods, learn to choose between them. You can also balance both: expose for the blue background, then use a modest amount of artificial light to restore color on a nearby subject. For a deeper look at the no-strobe approach, visit Underwater Photography Without Strobe? No Problem!
Natural Light Underwater Photography FAQs
What is the best shutter speed for natural light underwater photos?
For a calm subject in shallow water, 1/125 sec can be a useful test. For moving animals or an unsteady photographer, begin around 1/250 sec or faster and adjust ISO or aperture for exposure.
Can I take good underwater photos without strobes?
Yes. Ambient light can work especially well in shallow, clear water and for large animals, divers, silhouettes, and environmental scenes. Depth, visibility, subject distance, and motion still affect the result.
Should the sun be behind the underwater photographer?
Placing the sun behind or beside you can illuminate the subject more evenly. However, shooting toward the surface or sun can create attractive silhouettes and blue backgrounds, so the best direction depends on the intended image.
Why do underwater photos look blue or green?
Water absorbs warm colors as light travels through it. Red, orange, and yellow weaken before blue and green, and the effect grows with depth and the distance between camera and subject.
Keep Your Natural-Light Setup Simple and Travel-Friendly
Choose a reliable underwater housing or a compatible camera package, then add only the accessories that support the way you snorkel, freedive, or scuba dive.
About the Author
Mari Herrarte
Mari has been diving for 15 years and loves spending time in the ocean, surrounded by nature. She is also passionate about photography and capturing the beauty she discovers underwater.
- Cabo Pulmo Diving: A Beginner’s Guide – September 28, 2026
- How to Adjust Underwater Camera Settings as Conditions Change – September 22, 2026
- Why Your Underwater Photos Look Too Dark and How to Fix Them – September 16, 2026