
 CAD
CAD
5 Underwater Videography Mistakes Beginners Should Avoid
What Are the Biggest Underwater Videography Mistakes?
The most common underwater videography mistakes are filming too deep, staying too far away from the subject, relying on automatic white balance, using the same camera angle for every shot, and chasing marine life.
To get better underwater video, stay shallow when possible, get close without disturbing the environment, set manual white balance, capture wide, medium, and close-up shots, and let marine life behave naturally.
Good underwater footage usually comes from patience, stable movement, clear water, careful framing, good light, and respect for the underwater environment.
Why Underwater Video Looks Different from Land Video
Underwater filming is challenging because water changes almost everything your camera sees. Light behaves differently underwater. Colors disappear with depth. Subjects lose contrast when they are too far from the lens. Movement is harder to control because you are floating, breathing, watching your buoyancy, and trying to compose at the same time.
This is why beginner underwater videos often look less colorful and less sharp than expected. The problem is usually not the camera alone. In many cases, the real issue is depth, distance, light, white balance, movement, or the way the shots are planned.
Once you understand these basics, your footage can improve quickly, even before you buy new equipment.
5 Underwater Videography Mistakes and How to Fix Them
| Mistake | Why It Hurts Your Footage | What to Do Instead |
|---|---|---|
| Filming too deep | Footage becomes darker, bluer, and harder to correct | Film shallower when possible, especially around 5 to 10 meters |
| Staying too far away | The subject looks small, flat, and unclear | Get close while keeping the animal, reef, and yourself safe |
| Using automatic white balance | Colors often become too blue or green underwater | Use manual white balance or a proper underwater color workflow |
| Using too little shot variation | The final video feels repetitive and less engaging | Capture wide shots, medium shots, close-ups, and different angles |
| Chasing marine life | Animals swim away, footage looks rushed, and wildlife gets stressed | Move slowly, stay still, observe, and let marine life behave naturally |
Mistake 1: Filming Too Deep
One of the biggest underwater videography mistakes is filming too deep when you do not need to. As you go deeper, light becomes weaker and warm colors disappear. Red, orange, and yellow tones fade first, which is why underwater footage often becomes blue or green.
If you want brighter footage and more natural-looking color, try to film in the shallower part of the dive when possible. For beginners, a depth of around 5 to 10 meters is often easier because there is more natural light, better color, and more time to work.
This does not mean you can never film deeper. Wrecks, walls, caves, certain animals, and specific dive sites may require more depth. But deeper filming usually needs more skill, stronger lighting, better color control, and more careful dive planning.
What to Do Instead
- Film shallow scenes first when possible.
- Use natural sunlight while it is still strong.
- Add video lights when filming deeper or close subjects.
- Use filters carefully if your camera and dive conditions support them.
- Plan the most important shots for the part of the dive with the best light.
Staying shallow also helps your dive time. You usually use less air, stay more relaxed, and have more time to capture the clip you want.
Mistake 2: Staying Too Far Away from Your Subject
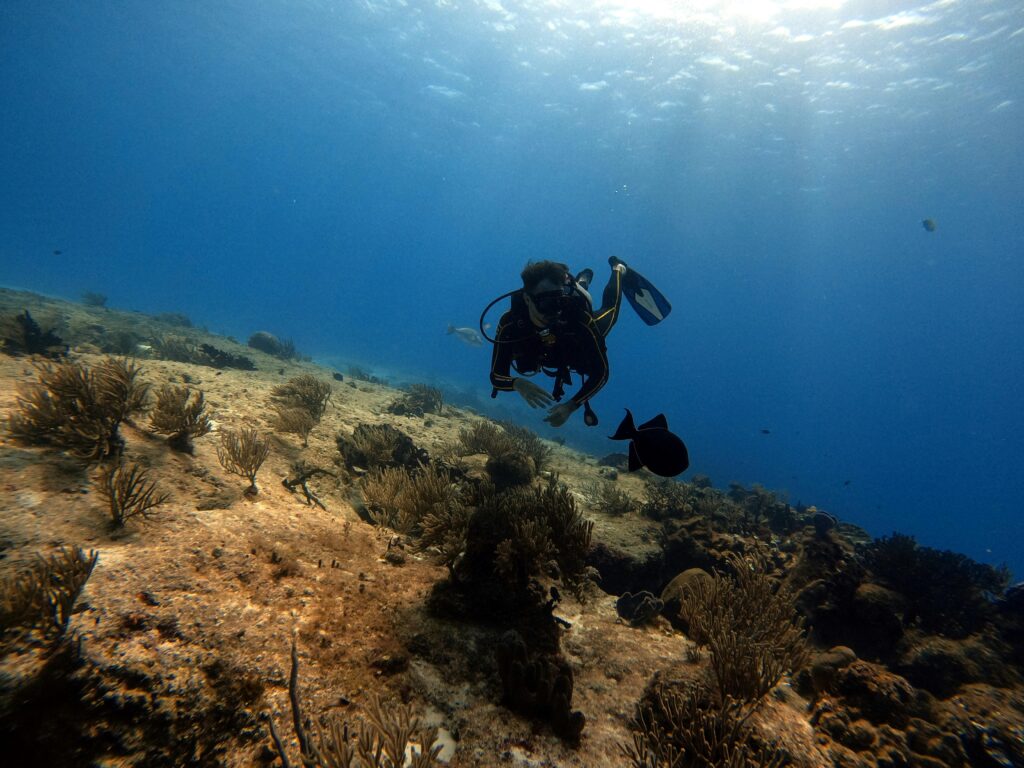
Water is much denser than air. The more water there is between your camera and the subject, the softer, flatter, and less colorful the footage becomes.
This is why distant underwater shots often look disappointing. The subject may appear tiny in the frame, colors become dull, and the image loses clarity. Even if the scene looked beautiful to your eyes during the dive, the camera may capture something much less impressive.
Getting closer is one of the fastest ways to improve underwater video. Less water between the lens and the subject usually means better sharpness, stronger color, and a more engaging image.
What to Do Instead
- Get as close as safely possible.
- Use a wide-angle lens or wide field of view so you can stay close while still showing the scene.
- Fill more of the frame with your subject.
- Capture close-up details, textures, and behavior.
- Do not touch, chase, block, or disturb marine life.
Close shots create intimacy. They let the viewer see the subject clearly and feel connected to the scene. Your video should include wide establishing shots, but it also needs medium shots and close-ups to feel complete.
Mistake 3: Using Automatic White Balance Underwater
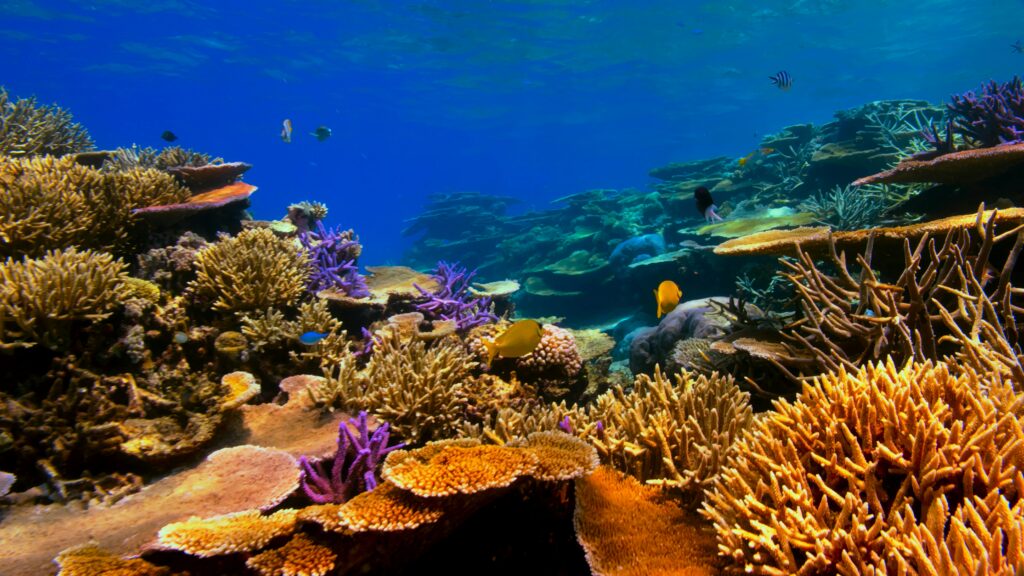
Automatic white balance can work well above water, but it often struggles underwater. Your camera does not fully understand how water changes color at different depths. It may assume there is more red light available than there actually is, which can leave your footage looking too blue or green.
Some cameras have a dive mode or underwater white balance preset. These modes can help in some situations, but they are still based on general assumptions. They do not always know your exact depth, water color, light direction, or distance from the subject.
Manual white balance usually gives you more accurate color. It takes more effort, but it can make a major difference in underwater footage.
How to Set Manual White Balance Underwater
- Take a white or gray card underwater.
- Hold it in front of the camera at the depth where you are filming.
- Point the camera toward the same direction you will shoot.
- Set manual white balance using your camera’s white balance function.
- Repeat the process when your depth or lighting changes.
Ideally, you should reset white balance whenever you change depth by a few meters or move into different light. This can feel slow at first, but it helps create cleaner, more natural footage.
What If You Cannot Set Manual White Balance?
If your camera does not allow manual white balance, you still have options. You can stay shallow, use video lights for close subjects, use filters when appropriate, and correct color during editing. Just remember that most consumer cameras do not record RAW video, so video color correction has limits.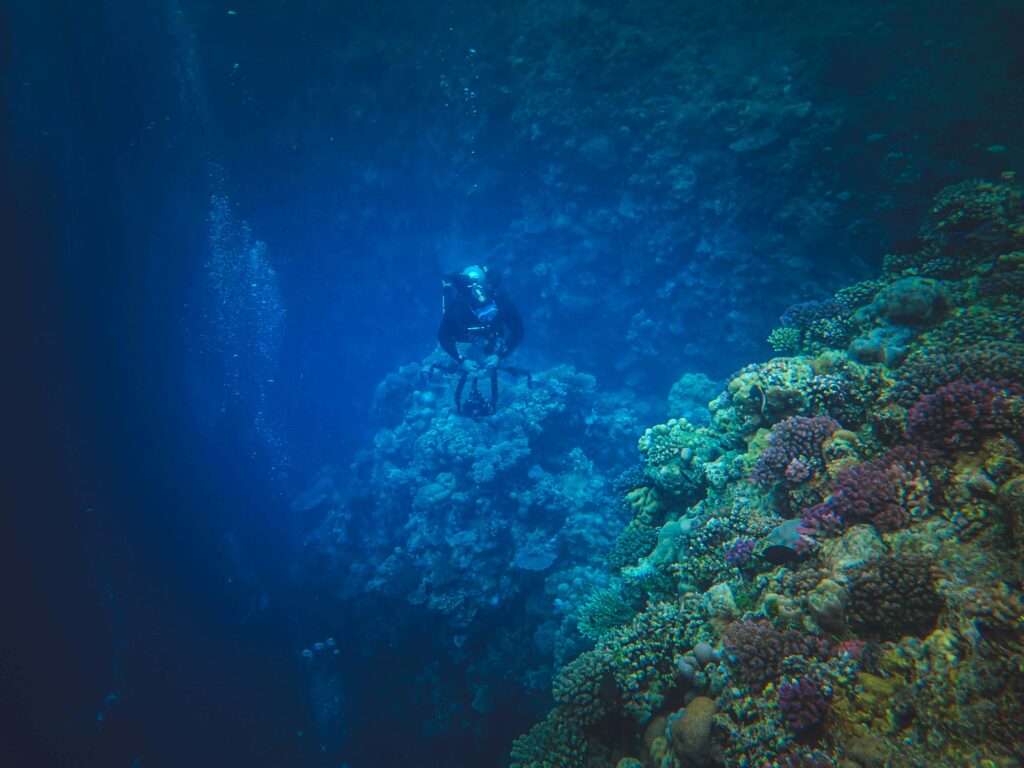
Mistake 4: Filming Every Shot from the Same Angle
A good underwater video needs variety. If every clip is filmed from the same distance and angle, the final edit can feel repetitive, even if the dive was beautiful.
Many beginners capture the same type of shot again and again: a wide shot of the reef, a fish from the side, another fish from the side, and then another wide shot. This gives the editor very little to work with.
Shot variety makes your video more interesting. It also helps you build a sequence instead of just collecting random clips.
Simple Underwater Video Shot List
Try to capture a mix of these shots during your dive:
- Wide establishing shot: Shows the reef, wreck, diver, or full scene.
- Medium shot: Shows the subject clearly with some background.
- Close-up: Shows detail, texture, behavior, or emotion.
- Top-down angle: Works well for patterns, coral, sand, and movement.
- Eye-level angle: Makes marine life feel more natural and engaging.
- Low-angle shot: Can make divers, animals, or reef structures feel more dramatic.
- Transition shot: A simple clip that helps connect two scenes in the edit.
What to Do Instead
- Think in sequences, not single clips.
- Capture each subject from more than one angle if it is safe and respectful.
- Mix wide, medium, and close-up shots.
- Try eye-level shots instead of always filming from above.
- Keep the camera movement slow and intentional.
More shot variety makes editing easier and keeps your audience watching longer.
Mistake 5: Chasing Marine Life
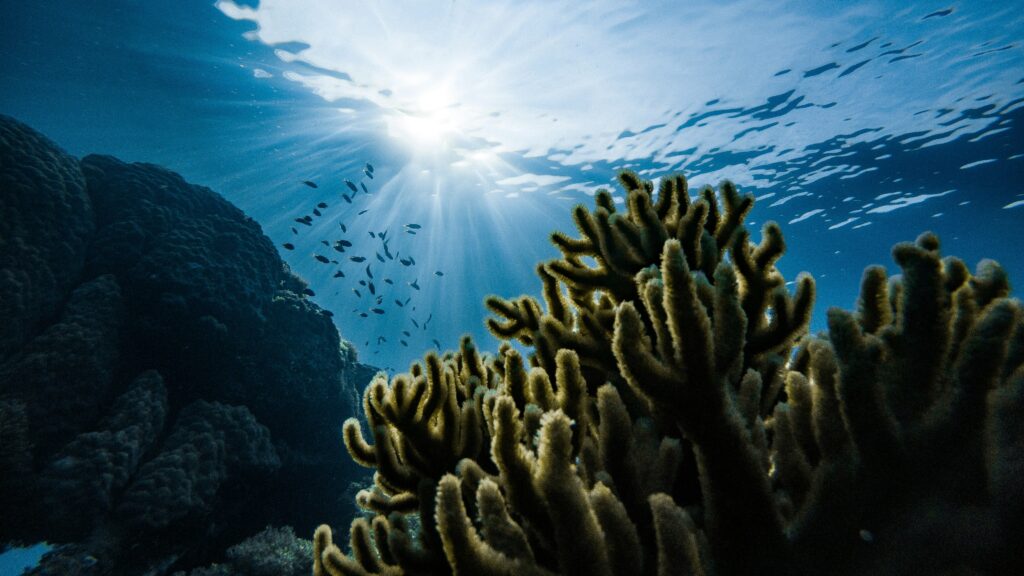
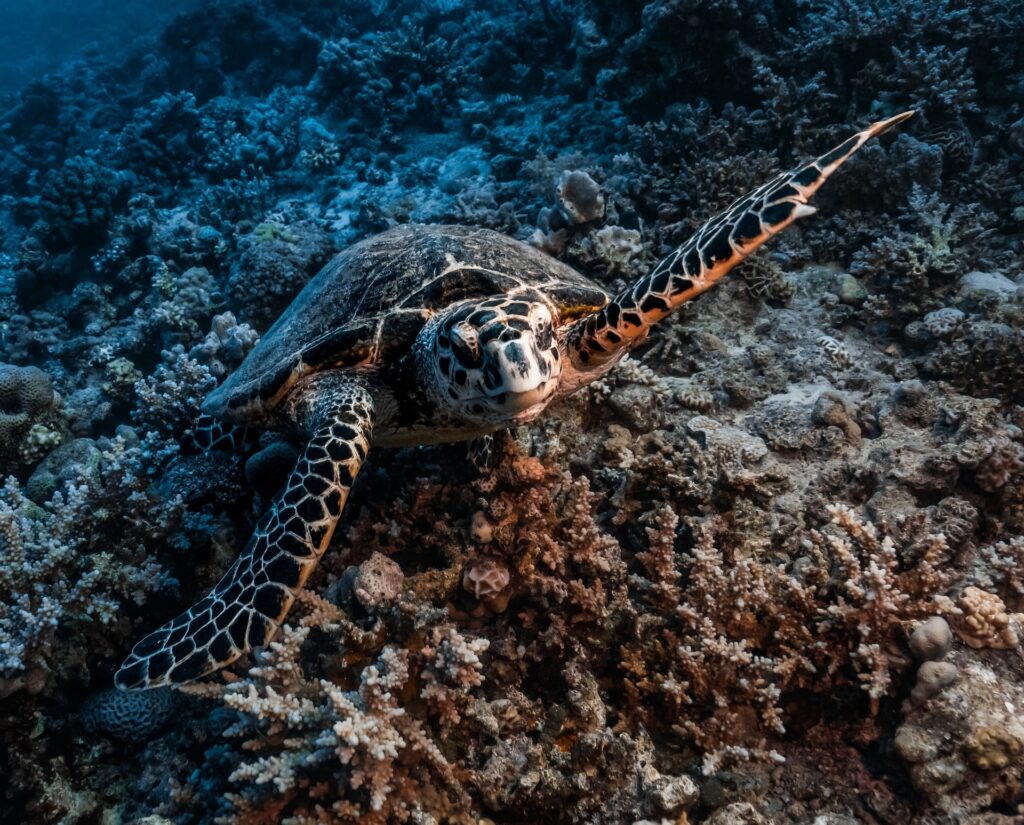
Chasing marine life is one of the most common beginner mistakes. A diver sees a fish, turtle, ray, shark, or other animal and starts swimming toward it with the camera rolling. The animal moves away, the diver swims faster, and the final clip becomes shaky footage of an animal escaping.
This rarely creates good video. It also stresses marine life and can disturb natural behavior.
Underwater videography should show animals calmly and respectfully. The goal is to capture natural behavior, not force an encounter.
What to Do Instead
- Move slowly and calmly.
- Stay still when possible and let marine life approach naturally.
- Watch the animal’s behavior before filming.
- Keep a respectful distance.
- Never block an animal’s path.
- Never touch, grab, feed, corner, or harass marine life.
- Focus on buoyancy so you do not damage coral or the seabed.
Some of the best underwater wildlife moments happen when you stop moving and become part of the scene. Marine life is often more curious when you are calm, patient, and non-threatening.
Beginner Underwater Video Checklist
Use this checklist before and during your next dive:
- Stay shallow when possible for better light and color.
- Get close to your subject without touching or disturbing marine life.
- Use manual white balance or a reliable underwater color workflow.
- Capture wide, medium, and close-up shots.
- Vary your angles: eye-level, top-down, and low-angle shots.
- Move slowly and keep the camera stable.
- Do not chase fish, turtles, rays, sharks, or other marine life.
- Use video lights or filters when depth and light conditions require them.
- Check your buoyancy before focusing on the camera.
- Respect the reef, the animals, your buddy, and your dive limits.
Recommended Gear for Better Underwater Video
You do not always need more gear to improve your underwater video. Better technique often matters more. But the right equipment can help when you are ready to upgrade.
| Gear | Why It Helps | Best Use |
|---|---|---|
| Video lights | Add color, contrast, and detail to close subjects | Macro, close-up video, caves, wrecks, night dives, deeper scenes |
| Color filters | Help balance color in available-light video | GoPro/action cameras, shallow to moderate depths, bright water |
| Tray and handles | Improve stability and make footage smoother | GoPro, compact cameras, mirrorless systems |
| Wide-angle lens or wet lens | Lets you get close while still showing the full scene | Reefs, divers, wrecks, large animals, travel videos |
| Underwater housing | Protects the camera and gives access to controls underwater | Compact, mirrorless, DSLR, and cinema camera systems |
If you want to build or upgrade your setup, you can browse Mozaik’s underwater video lights, underwater camera housings, lenses and ports, and camera and housing bundles.
When Do You Need Underwater Video Lights?
You do not always need video lights in shallow, clear water. If you are filming close to the surface on a bright day, natural light may be enough.
Video lights become more useful when you are:
- Filming deeper than the brightest shallow zone
- Filming close subjects
- Shooting macro video
- Filming inside wrecks, caves, or shaded areas
- Shooting at night
- Trying to restore color and detail on the subject
Lights work best when the subject is close. If the subject is too far away, the light may not reach it effectively, and it may only illuminate particles in the water.
Simple Beginner Workflow for Better Underwater Video
If you are new to underwater videography, use this simple workflow during your dive:
- Start shallow and look for good natural light.
- Check your buoyancy before filming.
- Choose one subject or scene.
- Get close slowly without disturbing anything.
- Set manual white balance if your camera allows it.
- Record a wide shot to establish the scene.
- Record a medium shot to show the subject clearly.
- Record a close-up to capture detail or behavior.
- Hold each shot steady for several seconds.
- Move on calmly and avoid chasing animals.
This simple structure gives you better footage and makes editing much easier later.
FAQ
Why does my underwater video look blue?
Underwater video often looks blue because water absorbs warm colors like red, orange, and yellow as you go deeper. Staying shallow, using manual white balance, adding video lights, or using filters can help improve color.
What depth is best for underwater video?
For beginners, shallow water around 5 to 10 meters is usually easier because there is more natural light, better color, and longer dive time.
Should I use automatic white balance underwater?
Automatic white balance often struggles underwater because the camera does not fully understand how water changes color at different depths. Manual white balance usually gives better results.
Do I need video lights for underwater filming?
You do not always need video lights in shallow, clear water. They become more useful when filming deeper, closer subjects, caves, wrecks, night dives, or scenes where natural light is not enough.
How close should I get to my subject underwater?
Get as close as safely possible without disturbing marine life, damaging the environment, or putting yourself at risk. Less water between the camera and subject usually means clearer footage and better color.
Why should I avoid chasing marine life?
Chasing marine life usually creates poor footage because animals swim away from the camera. It can also stress the animal and disturb natural behavior.
What shots should I capture for a better underwater video?
Capture a mix of wide shots, medium shots, close-ups, top-down angles, eye-level shots, low-angle shots, and transition clips. This gives you more options when editing.
Can I fix underwater video color in editing?
You can improve underwater video color in editing, but there are limits, especially with compressed consumer video files. It is better to capture better color in-camera by staying shallow, using manual white balance, and adding lights when needed.
Are filters useful for underwater video?
Filters can help with available-light underwater video, especially on action cameras in clear water. They are less useful when using strong video lights close to the subject because lights already bring back color.
How can I make underwater footage look more stable?
Improve your buoyancy, move slowly, use two hands, add a tray and handles, avoid fast finning, and hold each shot steady for several seconds.
Final Tips
Better underwater video usually starts with simple habits. Stay shallow when possible, get close, control your white balance, vary your angles, and let marine life behave naturally.
You do not need to solve everything at once. On your next dive, focus on one or two improvements. Try filming shallower. Try getting closer. Try shooting a wide, medium, and close-up sequence of the same subject. Small changes can make your footage look much better.
Most importantly, keep the dive safe and respectful. Good underwater videography depends on calm movement, good buoyancy, patience, and care for the reef and marine life.
If you want to upgrade your setup, explore Mozaik’s underwater video lights, underwater camera housings, lenses and ports, and camera and housing bundles.
Mozaik Updates
Get underwater camera tips from Mozaik
Leave your email and we’ll send you useful underwater photography tips, setup guides, product updates, and Mozaik news.
Helpful updates from Mozaik, sent straight to your inbox.
About the Author
Mari Herrarte
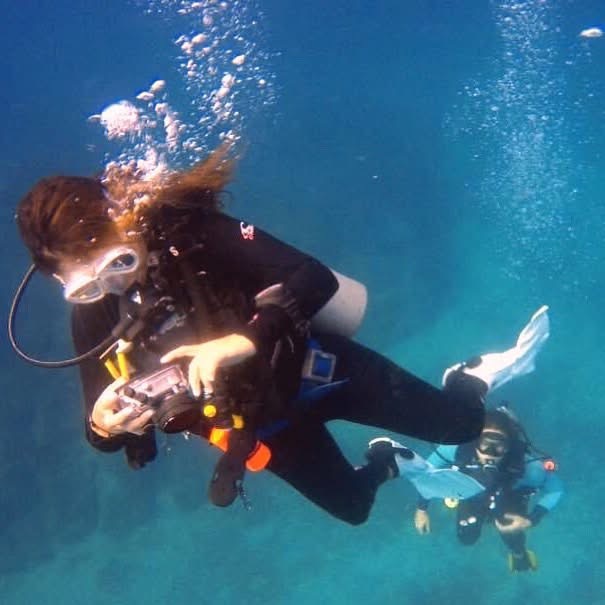
Mari has been diving for 15 years and loves spending time in the ocean, surrounded by nature. She is also passionate about photography and capturing the beauty she discovers underwater.
- Cabo Pulmo Diving: A Beginner’s Guide – September 28, 2026
- How to Adjust Underwater Camera Settings as Conditions Change – September 22, 2026
- Why Your Underwater Photos Look Too Dark and How to Fix Them – September 16, 2026