
 CAD
CAD
How to Position Your Underwater Lights and Strobes for Better Photos & Video
Underwater Lighting Guide
Learning how to position underwater lights and strobes can improve an image more than simply adding power. The right angle and distance help reveal natural color while reducing hotspots and backscatter.
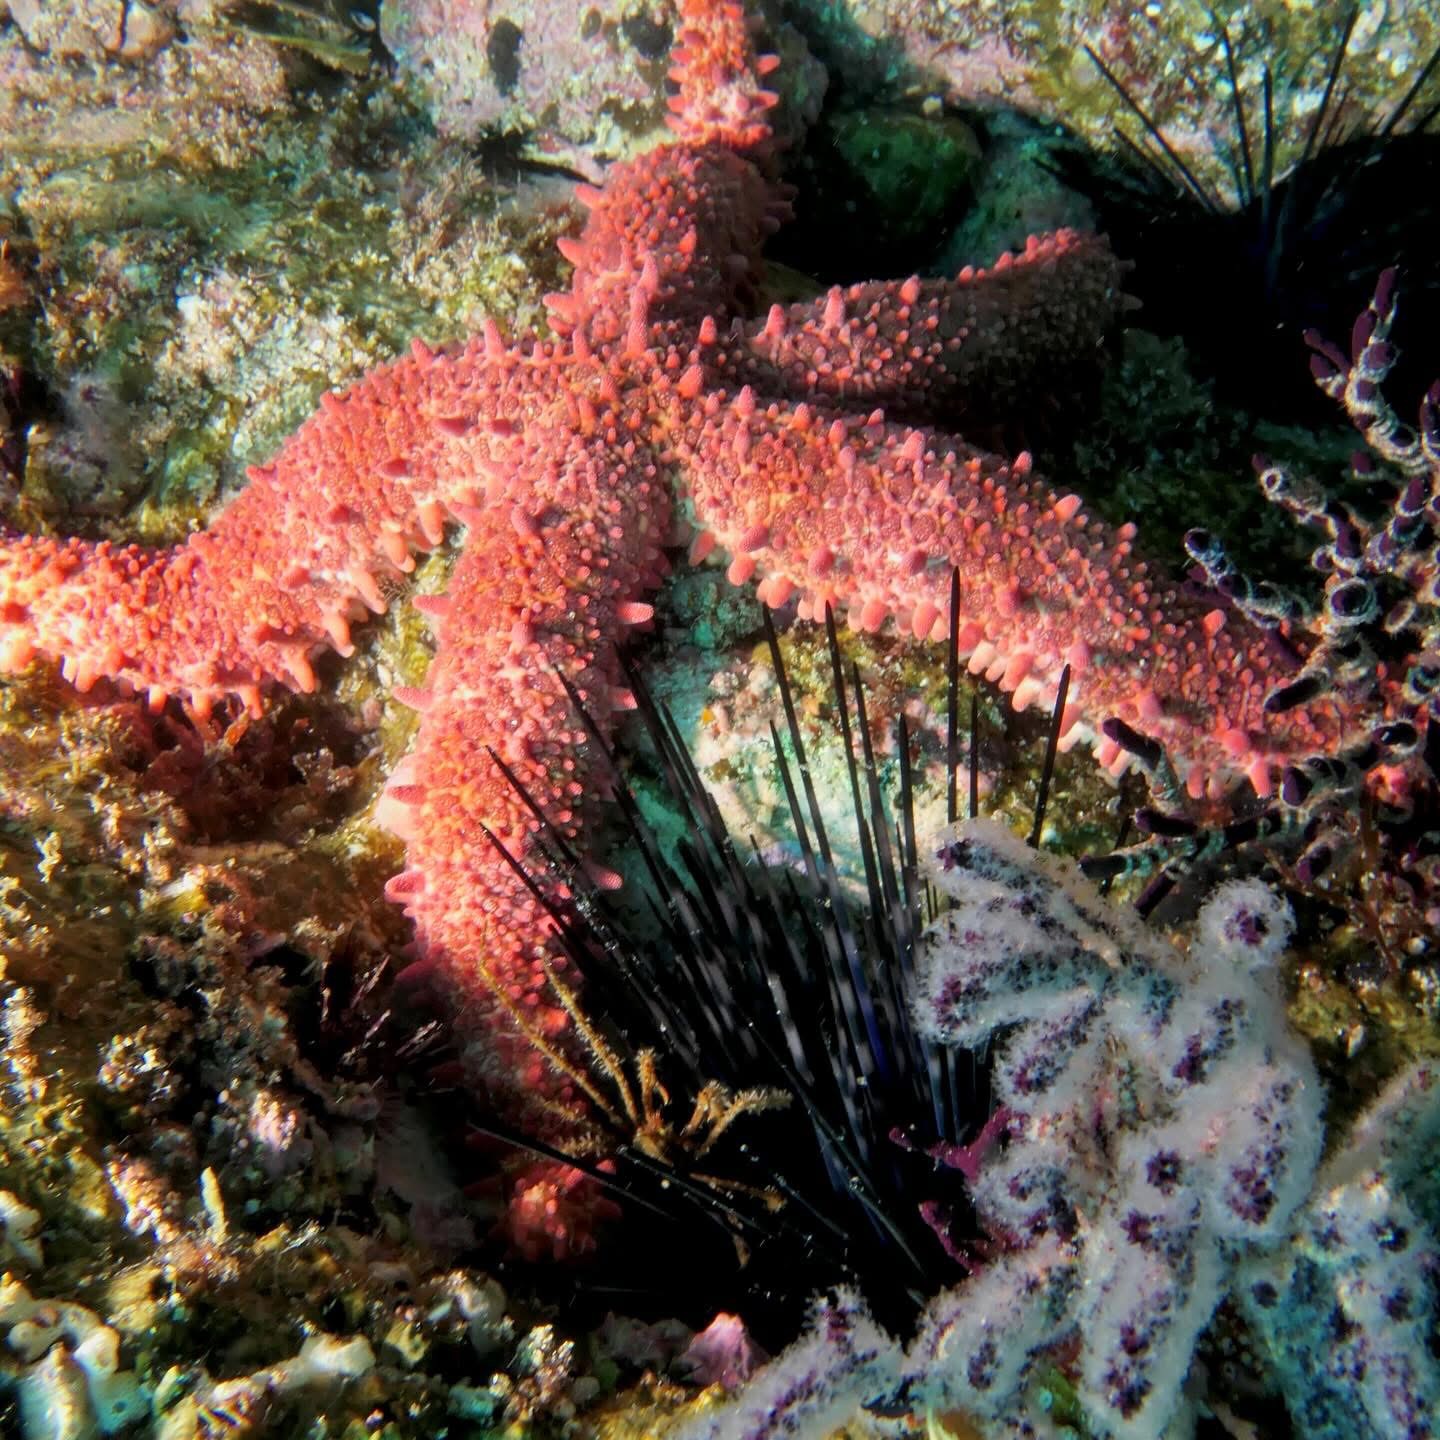
Quick answer: Move your lights away from the lens, keep them slightly behind the housing for very wide scenes, and aim the softer edge of each beam toward the subject. Then adjust the angle for subject distance, lens coverage, and water clarity.
Power Alone Does Not Create Better Underwater Images
I do not want other divers to repeat the same lighting mistakes I made. Six years ago, I took my first powerful 8,000-lumen video lights to Cozumel. I was convinced that more output would automatically produce amazing footage.
However, a bright hotspot appeared in the middle of many clips. Later, when I started using strobes, I learned the same lesson again: powerful equipment cannot compensate for poor placement.
Fortunately, the basic solution is similar for continuous lights and strobes. Position, angle, and distance determine how much useful light reaches the subject and how much unwanted light hits particles between the camera and the scene.
Why Light Position Matters Underwater
Water absorbs color, while suspended particles can reflect artificial light toward the lens. Therefore, pointing a light straight through the water column may create white specks, haze, or a bright center. These three principles provide a better starting point:
Distance
Move the light off-axis
Keep the light source away from the lens so fewer illuminated particles reflect directly into the camera.
Angle
Use the beam edges
Aim slightly outward and let the softer edge of each beam illuminate the subject instead of the water in front of it.
Subject Range
Get close when possible
Less water between the port and the subject usually means richer color, clearer detail, and fewer visible particles.
Video Lights vs. Strobes: Similar Principle, Different Feedback
Video lights
Because the beam is continuous, you can watch its effect on the screen before recording. Start with the lights spread apart and angled slightly outward. Next, look for bright centers, dark corners, and visible particles.
Underwater strobes
A strobe fires only during the exposure, so review a test image after each meaningful adjustment. In addition, change one variable at a time so you can identify which position improved the result.
For a deeper technical reference covering single- and dual-strobe arrangements, read Mozaik’s Ultimate Guide to Underwater Strobe Positioning.
Practical Starting Points
How to Position Underwater Lights and Strobes by Scene
These positions are starting points, not fixed rules. Your lens, subject distance, visibility, arm length, and desired look will affect the final placement.
Poor Visibility
Try a Higher “Sunlight” Position
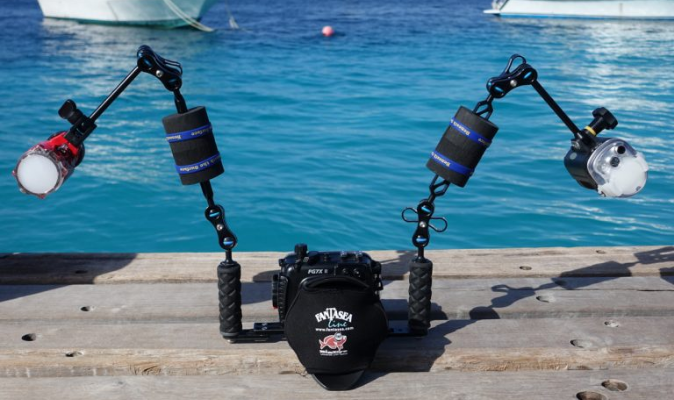
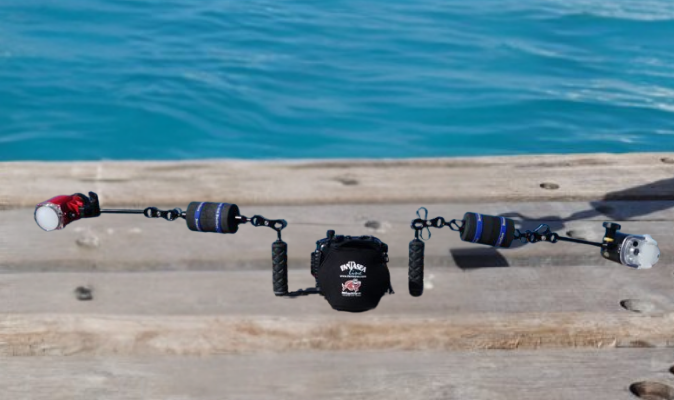
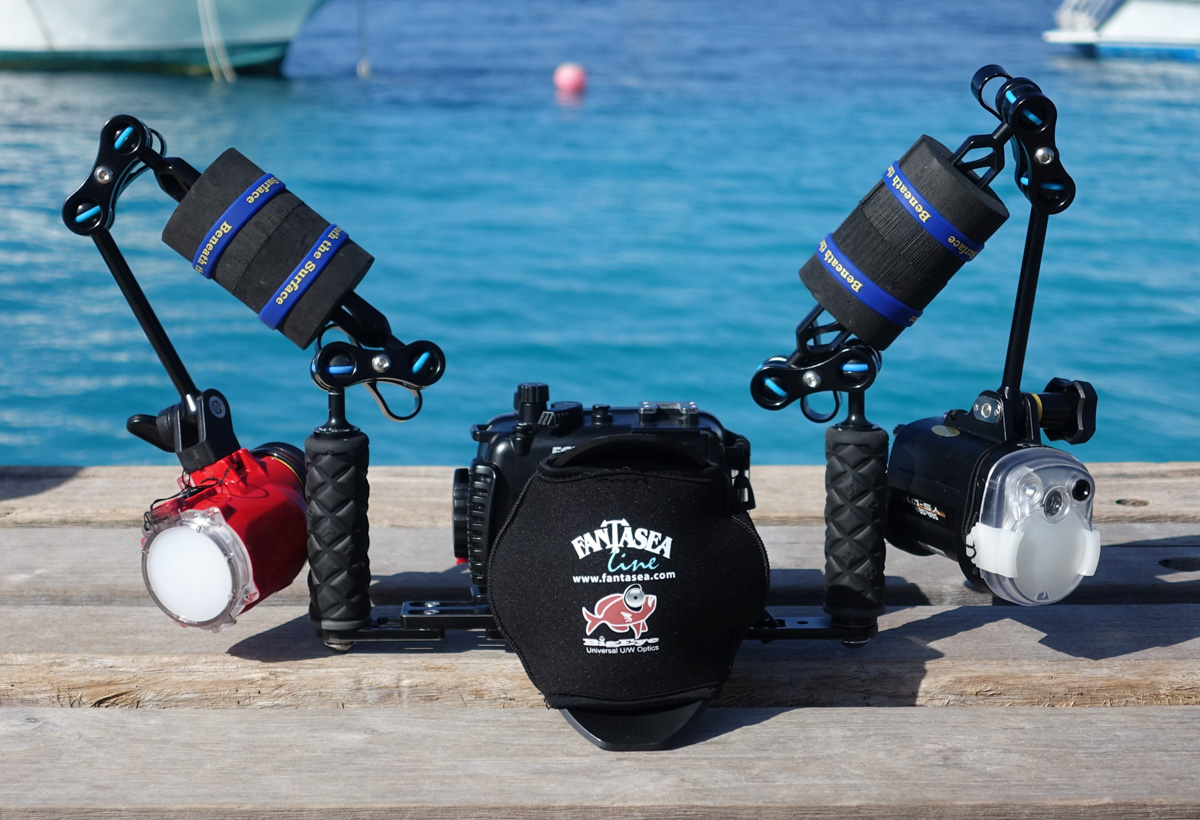
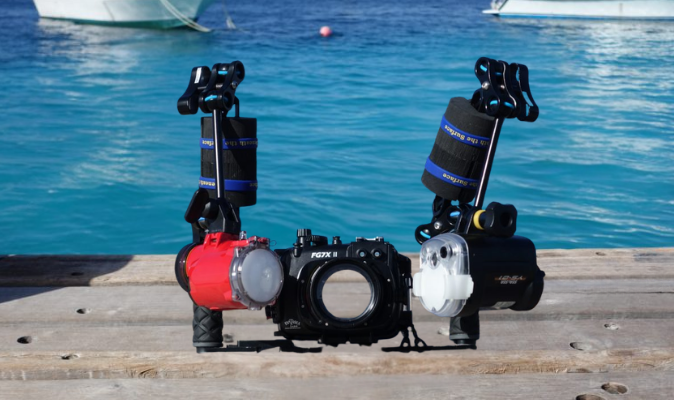
When particles are especially visible, move the lights farther from the lens and raise them above the housing. Next, aim the beams forward rather than directly downward. The light then reaches the subject from a steeper angle, similar to sunlight.
In addition, get closer to the subject whenever it is safe and respectful to do so. A shorter water path often reduces haze more effectively than increasing power.
Quick Underwater Lighting Troubleshooting
| What You See | Likely Cause | First Adjustment |
|---|---|---|
| Bright central hotspot | Lights aimed directly at the center | Angle the beams outward and use their edges |
| Heavy backscatter | Light is illuminating the water in front of the port | Move lights wider, farther back, or higher |
| Dark center between two beams | The beams do not overlap at the subject | Bring the lights slightly inward or adjust distance |
| Flat-looking subject | Both lights are too frontal and symmetrical | Shift one light higher or reduce one side’s power |
Do Not Be Afraid to Experiment
Patience is not always my greatest strength. Still, the best way to understand your equipment is to test it underwater. Choose one stationary subject and follow this simple sequence:
First Test
Take one reference photo or short video clip with your normal light position.
Second Test
Move the lights wider and take another image without changing exposure or power.
Third Test
Angle the beams farther outward and compare the center, corners, and visible particles.
Final Review
Keep the strongest result, then make smaller angle or distance adjustments from there.
As a result, you will see exactly how a small adjustment changes the image. What worked on the last dive may not work in new visibility or at a different subject distance, so remain willing to reposition the lights.
My Biggest Tip
Change the position before buying more power
Before deciding that you need a stronger light, a different strobe, or a completely new system, reposition the equipment you already own. Good underwater lighting is not only about output. Instead, it comes from understanding position, angle, distance, beam coverage, and the way artificial light interacts with water.
Underwater Light and Strobe Positioning FAQs
Where should underwater strobes be positioned?
For a typical wide-angle scene, start with dual strobes above and outside the housing at about 45 degrees. Then angle them slightly outward and adjust for subject distance and lens coverage.
How can I reduce backscatter in underwater photos?
Move the strobes or lights away from the lens, aim them outward, and avoid lighting the water directly in front of the port. In addition, reduce the distance between the camera and subject when conditions allow.
Do video lights use the same positions as strobes?
The same off-axis lighting principle applies to both. However, continuous video lights let you evaluate the beam before recording, while strobes require test exposures and image review.
Should I increase power when the subject looks dark?
Check position and distance first. If the beam is missing the subject, extra power will brighten the wrong area. Once the light is aimed correctly, increase output only as needed for the desired exposure.
Final Thoughts
Make every dive a useful lighting test
Dive travel takes planning, time, and money. Therefore, use each dive to learn how your specific lights behave with different subjects and water conditions.
Happy diving, and happy shooting!
Build an Underwater Lighting System You Can Position Easily
Compare underwater strobes and continuous video lights, then choose an arm system that lets you adjust angle and distance throughout the dive.
About the Author
Mari Herrarte
Mari has been diving for 15 years and loves spending time in the ocean, surrounded by nature. She is also passionate about photography and capturing the beauty she discovers underwater.
- Cabo Pulmo Diving: A Beginner’s Guide – September 28, 2026
- How to Adjust Underwater Camera Settings as Conditions Change – September 22, 2026
- Why Your Underwater Photos Look Too Dark and How to Fix Them – September 16, 2026