
 CAD
CAD
Underwater Camera Floats: The Small Change That Changed My Dives and Photos
Buoyancy & Handling
My compact rig did not look especially heavy on land. Underwater, it was tiring my wrists, affecting my stability, and making me think twice about bringing my camera at all.
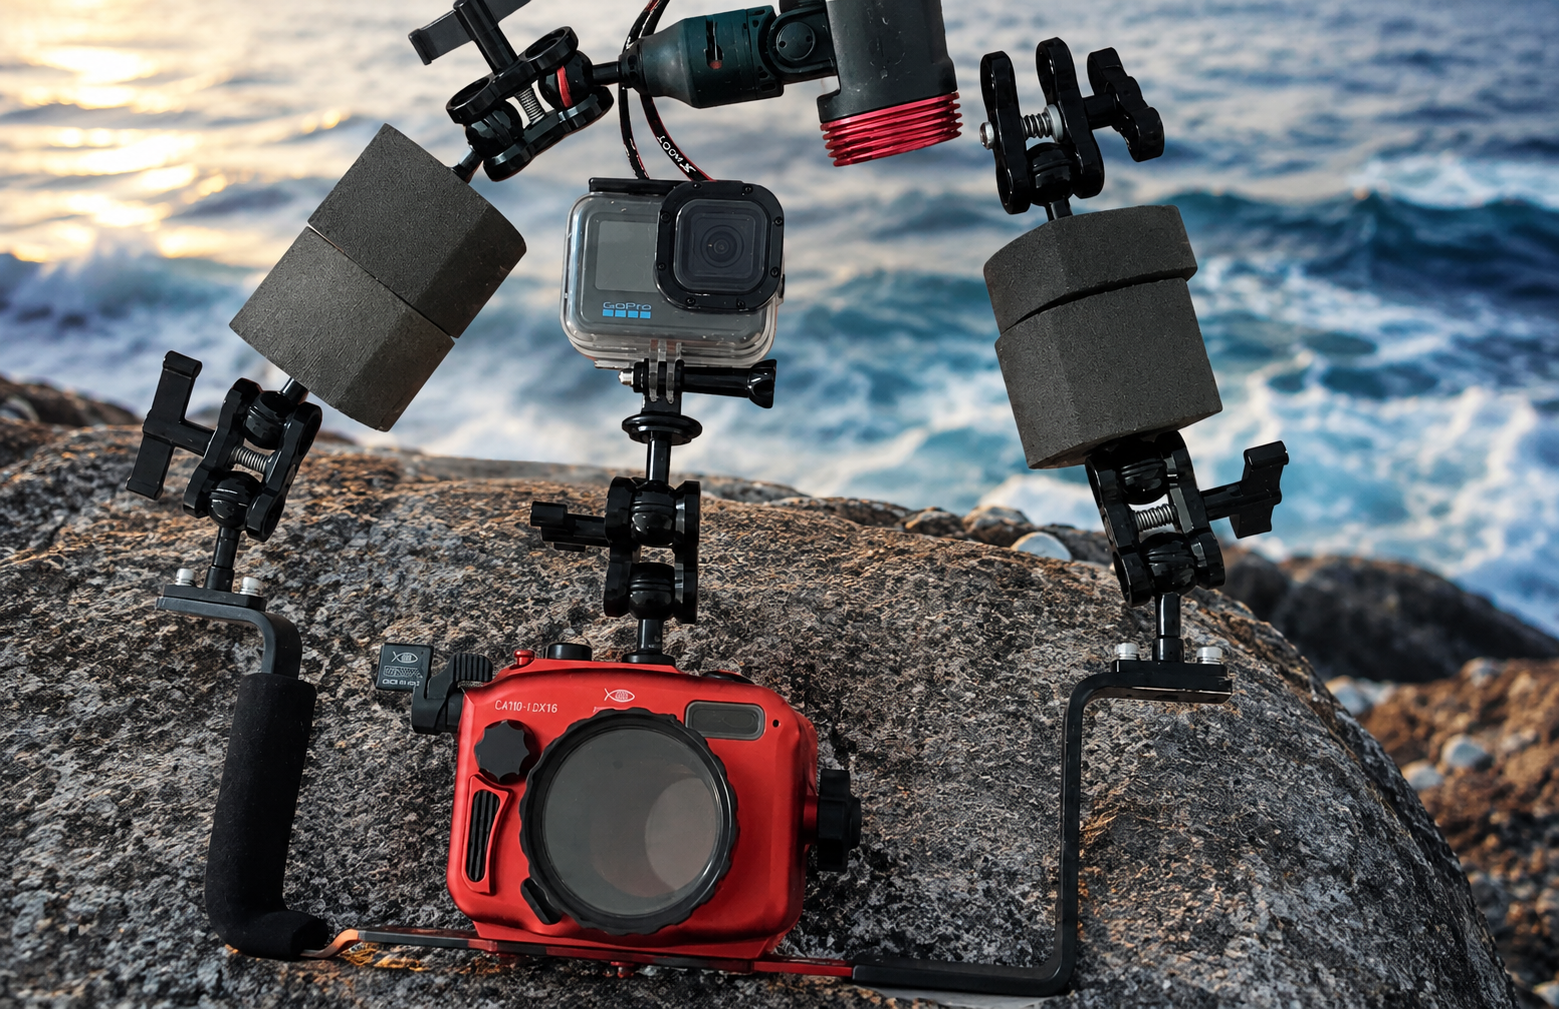
Quick answer: Underwater camera floats add positive buoyancy to offset the negative weight of a housing, tray, strobes, video lights, arms, and accessories. The goal is not to make the rig rise to the surface. It is to make it slightly negative, comfortable, balanced, and easy to control.
Why My Underwater Camera Rig Felt So Heavy
Every accessory changes the way an underwater photography rig behaves. A tray, strobe, video light, wet lens, clamp, or arm may add only a manageable amount of weight on land, but the complete system can still feel surprisingly negative and unbalanced in the water.
At the beginning of my underwater photography journey, I was using a Panasonic LX10 in an Isotta housing with a tray, one strobe, and one video light. It was not a huge professional system, yet I was constantly fighting it. My wrists became tired, my own buoyancy suffered, and taking a photo often meant holding the camera with one hand, changing settings with the other, and trying to stop the front of the housing from dropping at the same time.
The camera stayed behind too often
Before adding floats, I would sometimes choose my GoPro simply because the larger rig felt like too much work. That was the clearest sign that the problem was no longer a minor inconvenience. The weight was changing how often I photographed.
Once I added buoyancy and balanced the system, I started taking the camera regularly. The difference was immediate: less effort, more control, and more attention available for the dive and the photograph.
What Changed After I Added Buoyancy Floats
Less wrist and arm strain
The rig stopped feeling like something I had to support for an entire dive. That made longer shooting sessions far more comfortable.
Better stability and control
Instead of sinking or rolling while I changed settings, the camera stayed closer to the position in which I placed it.
A calmer dive
Because I was not constantly correcting the rig, I noticed less fatigue and calmer breathing, which helped me manage my air more comfortably.
More focus on the image
A balanced rig made precise composition and close-up work easier because I could concentrate on the subject instead of the equipment.
Balance Matters as Much as Total Buoyancy
Before using floats, the front of my housing was heavier than the back and one side of the tray behaved differently from the other. I was compensating with my hands, my swimming position, and even my breathing just to keep the camera where I wanted it.
Adding lift is only part of the solution. The placement of that lift matters. If the rig pitches forward, add or reposition buoyancy toward the front. If one side drops, compare the weight and float placement on each arm. A well-balanced rig should feel predictable when you loosen your grip, not twist or tip immediately.
Every Underwater Camera Setup Is Different
There is no universal number of floats for every camera. A compact camera and housing behave very differently from a mirrorless or DSLR system with a large dome, dual strobes, a monitor, and long arms. Even the same rig can change when you switch from a macro configuration to a wide-angle lens and dome port.
I started with four STIX floats, tested the system, and realized I needed more. My current configuration uses six – three on each side of the tray. That is the point where my rig feels close to neutral while remaining slightly negative and easy to maneuver.
A simple way to test your rig
- Assemble the complete system exactly as you plan to dive it, including lights, batteries, lenses, arms, and accessories.
- Test it in controlled water and observe whether it sinks quickly, pitches forward, rolls to one side, or pulls backward.
- Add buoyancy gradually and place it near the area that needs support.
- Retest after every change. Aim for a rig that is comfortable and controlled, not one that tries to float away.
If your setup is only a compact camera and housing, you may not need additional buoyancy. Once you add a tray and one or two lights, however, floats can become one of the most useful comfort upgrades in the entire system.
The Real Result: More Attention for Photography
Mozaik Tip
Tune buoyancy with the complete rig
Do not calculate buoyancy from the housing alone. Test the exact configuration you will use underwater. Lights, batteries, wet lenses, dome ports, clamps, and even a configuration change between macro and wide angle can alter the rig’s balance. Add lift in small steps and keep the camera securely attached while testing.
Frequently Asked Questions About Underwater Camera Floats
Should an underwater camera rig be neutrally buoyant?
Many photographers prefer a rig that is close to neutral but still slightly negative. It should feel easy to control without floating away if you relax your grip.
How many buoyancy floats do I need?
The number depends on the complete in-water weight and balance of your system. Start with a small amount of lift, test the assembled rig, and add or reposition floats gradually.
Where should I place floats on my camera rig?
Place buoyancy where the rig is heaviest. If the port pulls downward, more lift may be needed toward the front. If one side drops, adjust the float placement from side to side.
Do small compact-camera systems need floats?
A camera and housing alone may not need extra buoyancy. Floats become more useful as you add a tray, strobes, video lights, wet lenses, and other accessories.
Ready to Make Your Rig Easier to Handle?
Start with adjustable buoyancy, test your complete setup, and build toward a camera rig that works with you underwater.
About the Author
Mari Herrarte
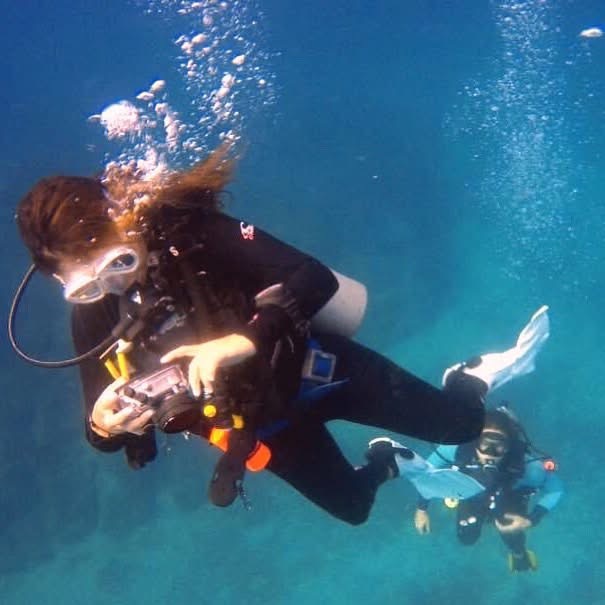
Mari has been diving for 15 years and loves spending time in the ocean, surrounded by nature. She is also passionate about photography and capturing the beauty she discovers underwater.
- Cabo Pulmo Diving: A Beginner’s Guide – September 28, 2026
- How to Adjust Underwater Camera Settings as Conditions Change – September 22, 2026
- Why Your Underwater Photos Look Too Dark and How to Fix Them – September 16, 2026