
 CAD
CAD
The Ultimate Guide to Underwater Macro Photography

Underwater macro photography changes how you see a dive. Small details that most divers miss can become the whole story. A nudibranch on a rock, the eye of a shrimp in coral, or the texture on a goby’s face can all turn into powerful images.
That is what makes underwater macro photography so rewarding. It is also why it feels difficult at first. Small subjects leave very little room for error. Focus shifts fast. Lighting needs to be precise. Even a slight body movement can soften the frame.
Once you understand the basics, though, underwater macro photography becomes one of the most satisfying styles in underwater imaging.
What underwater macro photography means
Underwater macro photography is the practice of photographing small subjects at life size or greater. In simple terms, it means turning tiny marine details into the main subject of the image.
Common macro subjects include nudibranchs, shrimp, gobies, blennies, crab eyes, fish eggs, coral polyps, pygmy seahorses, and small reef textures.
Macro photography is not about showing the whole reef. It is about isolating one subject with clear intention.

Why underwater macro photography is so appealing
Macro makes you dive differently. You start noticing tiny movement in algae, hidden eyes in soft coral, and small patterns in rubble that other divers pass by.
It also works well in conditions where wide angle struggles. You do not need a dramatic reef scene or perfect visibility to make a strong image. When you get close to a small subject, you often get better color, clarity, and contrast because there is less water between the camera and the subject.
That is one of the biggest reasons many photographers love underwater macro photography.
The best gear for underwater macro photography
You do not need the biggest system to shoot good macro. You need a setup that matches your subjects and your skill level.
Compact cameras
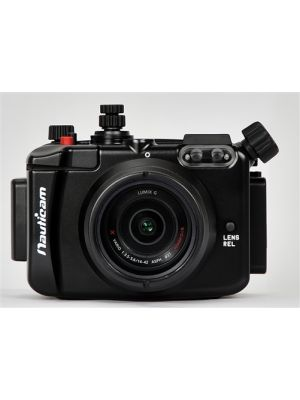
Compact cameras are one of the easiest ways to start. They are smaller, easier to control underwater, and less intimidating for beginners.
Many compact cameras become much better for macro when you add a diopter or close-up lens. These accessories reduce minimum focusing distance and increase magnification.
Some compact cameras, such as the Olympus TG series, can already focus very close even without a separate diopter for basic macro work.
Mirrorless systems
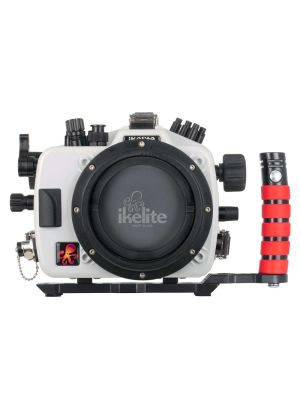
Mirrorless systems give you better image quality and more room to grow. A dedicated macro lens gives you stronger subject isolation and a more comfortable working distance.
That extra space matters. It makes it easier to light the subject well, frame the shot cleanly, and avoid scaring small marine life.
Diopters and wet macro lenses
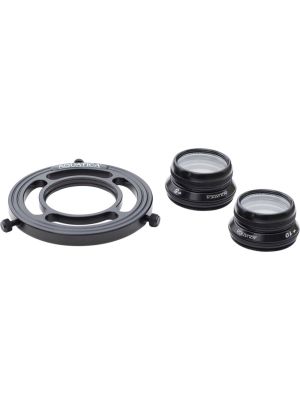
Diopters and wet macro lenses help you go tighter, but they also make the shot harder. Depth of field becomes thinner. Focus becomes more sensitive. Strobe placement has to be more accurate.
That is why strong magnification usually makes more sense after you already feel comfortable with regular macro.
Why working distance matters
Working distance is the space between your port and the subject when you are at the magnification you want.
This matters more than most beginners expect. When the distance gets too short, the subject becomes easier to scare. You also have less room to place light properly. On top of that, the shot becomes physically harder to control.
A lot of frustration in underwater macro photography comes from trying to go tighter before the technique is ready. In many cases, a little more distance leads to more keepers.
Camera settings for underwater macro photography
Macro rewards control. A strong starting point looks like this:
Aperture: f/11 to f/22
Shutter speed: 1/160 to 1/250
ISO: as low as practical
Strobes: adjusted for subject size, reflectivity, and distance
These are starting points, not fixed rules. A narrower aperture helps keep more of the subject in focus. A faster shutter speed reduces ambient light. A low ISO protects image quality. Then your strobes do most of the work for color and shape.
Focus is often the biggest challenge
Many macro shots are lost because of focus.
The smaller the subject and the higher the magnification, the more exact your camera-to-subject distance needs to be. Even a tiny drift forward or backward can move the eye out of focus.
A simple approach helps a lot. First, lock your body position. Then move in very small increments. Focus on the eye when possible. Use a focus light if autofocus starts hunting.
Underwater macro photography rewards patience more than speed.
Lighting matters as much as magnification
Getting close is not enough. The subject also needs clean light.
Underwater strobes restore color, texture, and separation. Poor strobe placement can create backscatter, flat light, and a messy frame. Small changes in strobe angle, height, and distance often make a huge difference.
A good place to start is to keep your strobes controlled and close to the subject area. Avoid lighting the water in front of the lens. If backscatter appears, move the strobes outward. Adjust often instead of forcing one strobe position for every subject.
Macro lighting works best when you treat it as careful placement, not raw power.
Composition still decides the strength of the photo
A sharp macro image is not always a memorable one.
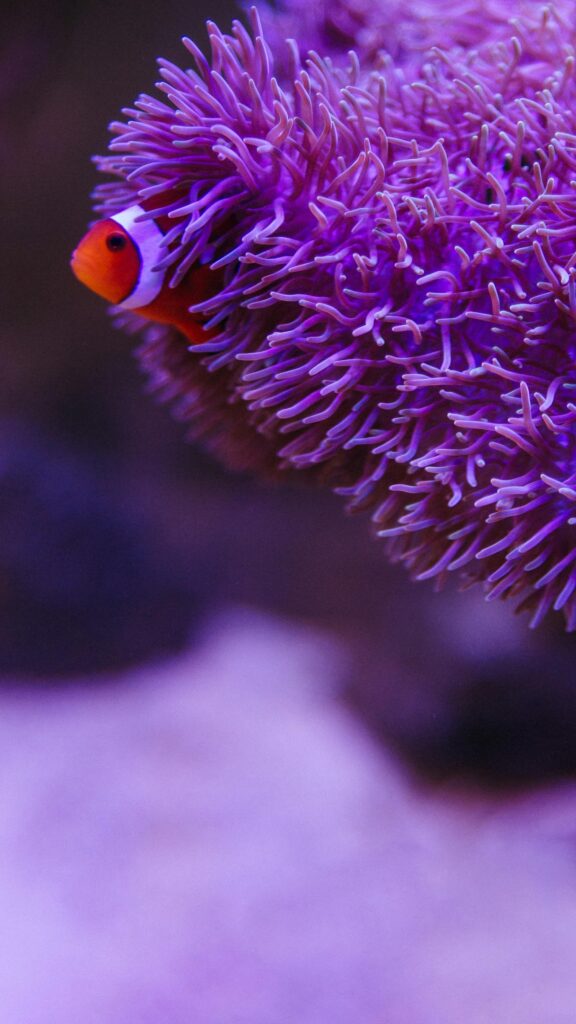
Good composition tells the viewer exactly where to look. Eye contact is often the strongest starting point. A clean background matters just as much as the subject. Slightly lower angles usually feel more alive than safe top-down shots.
It also helps to leave room for fins, antennae, or movement. Pay attention to distracting shapes in the background. Look for texture, repetition, and pattern. Start with one safe frame, then refine your angle and composition.
Buoyancy affects image quality
Good buoyancy is part of good macro photography.
If your rig feels awkward, floats upward, or pulls in the wrong direction, precise framing becomes much harder. Fine control is what helps you place focus accurately and keep the composition clean.
This also matters for reef-safe shooting. You should never brace yourself on coral, crowd a subject aggressively, or damage the environment to get a macro image.
Common mistakes in underwater macro photography
One common mistake is chasing too much magnification too early. High magnification sounds exciting, but it makes focus, light, and stability much harder.
Another mistake is lighting the water instead of the subject. This often causes backscatter and weak contrast.
Many photographers also shoot from above every time. Eye-level angles usually feel more engaging and more natural.
Rushing the shot is another problem. Tiny subjects reward patience. Waiting one extra second for a better pose often matters more than taking more frames.
A simple underwater macro workflow
A useful underwater macro workflow is very simple.
Find the subject. Slow down before approaching. Check the background. Set your working distance. Focus on the eye or the main detail. Adjust the strobes. Take one safe frame first. Then refine the angle, the light, or the crop. Only go tighter if the subject and the setup allow it.
This approach helps you avoid jumping straight into the hardest version of the shot.
Final thoughts on underwater macro photography
Underwater macro photography is not just about magnification. Good results come from working distance, focus control, lighting, stability, and patience.
That is what makes macro so satisfying. Small decisions change everything.
Get close. Stay steady. Light with intention. Focus on the eye. Respect the subject. Give the shot time to settle.
That is when the small underwater world starts to open up.


