
 USD
USDThe Ultimate Guide to Underwater Macro Photography

Do you love the little stuff? Want to get photos of those beautiful nudibranchs, tiny fish or even the intricate detail of coral? Macro photography might be for you.
If you want to expand your photo portfolio to cover all aspects of the underwater environment, eventually you will find yourself wanting to shoot very small subjects to create images that are life size or larger than life size.
Here are some tips on what you need and how to do it.
Mar 27, 2023 Update – Let’s talk about Compacts, mirrorless and working distance by Tal Mor
I get so many customers every week asking me about compacts vs mirrorless cameras for macro. Many people also find it hard to decide which diopter they should use, what mirrorless lens and what lighting. So… I want to provide an overview on what the market has to offer and the pros and cons of each setup.
Let’s start with compact cameras. Compact cameras have a built in lens usually one that is retractable and usually with a longer zoom range. Ideally you would want to use the maximum zoom of the lens so you don’t have to get too close to the subject but in reality, that high zoom range usually won’t allow you to focus when the subject is as close as you want.
That’s where diopters come in. Diopters, sometimes called close up lenses are lens elements that can be put in front of your lens and will decrease its minimum focusing distance. So for example, a camera like the Sony RX100 VII which has a max focal range of 200mm cannot produce a really magnified image because you cannot get close enough while maintaining focus. Once a diopter is added, that is made possible, in many cases, the best focal length is not the maximum, sometimes there is a sweet spot somewhere in the middle.
You may have heard the term 1:1 or 1:2, that would be the magnification ratio of the shot. 1:1 means that if the subject is 1″ long and your sensor size is 1″ long it will exactly fill the frame. In case of 1:2, the subject will fill half of the frame and a ratio of 2:1 means half of the subject will fill the frame.
Ideally you want to reach a 1:1 ratio and for super macro, a 2:1 ratio.
So what’s working distance?
Working distance is the distance between you and the subject when you achieve the magnification you want. You want the working distance to be long so you don’t have to get too close to the critter and thus scare it away. Of course you also want to be able to light it properly.
One of the most commonly used compacts is the Olympus TG-6. The reason it’s so special is because its lens allow you to focus from less than half an inch away. You can almost touch a subject and have it in focus. So you can easily reach 1:1 or even 2:1 magnification ratio but good luck doing that on something that actually moves.
There is another issue with such a narrow working distance, because your camera is so close, you can’t light up the item and thats a major problem underwater. So the TG6 is amazing for macro but that comes with serious limitations.
When using cameras like the Sony RX100 VII and a diopter you have another issue, the bigger the diopter the narrower your depth of field is (see below what depth of field means). That basically means it would be very difficult for you to get the right distance and take the shot with the proper focus point. The way to increase the depth of field is to close the aperture but compact cameras are very limited with their ability to do that. For example the Sony RX100 VII’s smallest aperture is f/11 which is not going to help much with the depth of field.
The conclusion from that is that it will be extremely difficult to shoot with a +10 or +15 diopter and it’s probably best to go for a +6 diopter .

One more thing to take into account when comparing the Sony RX100 VII with the Olympus TG-6 is that since it has a larger sensor and higher Megapixel count, you can shoot 1:2 and crop the photo to get a 1:1 ratio while still keeping a very sharp and high res image.
By the way, the Canon G7X III or Panasonic LX10 as well as many other compacts are very similar to the Sony RX100. It is only the Olympus TG-6 which has a very unique lens that does not require any diopter and can focus from an almost zero distance.
Now that we’ve understood the capabilities and limitations of compacts, let’s see what a mirrorless camera can do for us.
The ability to switch lenses allows you to choose the perfect lens for the situation and every brand has that special macro lens that will do the job perfectly.
For example, the Sony 90mm macro lens. This lens offers a 1:1 magnification ratio from a minimum focusing distance of 11″. If this lens is used on a cropped sensor camera the subject would appear larger because a 1:1 ratio applies to a smaller sensor.
An 11″ working distance is not bad at all and you can shoot even a Gobe or shrimp from that distance without scaring him away. If you want super macro, you will need a diopter on top of that 90mm lens but you will also have to get closer. The depth of field on a mirrorless camera and the 90mm lens is also pretty narrow but with mirrorless cameras, you can close aperture. For example on the Sony 90mm lens you can close the aperture to f/22. Doing that will significantly increase the depth of field and this is especially important with super macro and a diopter.
If you use a smaller sensor camera, like a micro 4/3rd’s, your 1:1 ratio will produce and even more magnified image and this allows you to step back a bit and get an even longer working distance.
This is a great opportunity to announce the new Olympus 90mm macro that is an excellent addition when using cameras like the OM-5. The Olympus 90mm macro will give you a 2:1 ratio at the same distance of the Sony 90mm which is about 11″ so you can choose between a higher magnification or a longer working distance. Quite a significant factor when choosing your next mirrorless camera.
There are many more factors to consider and skills to master when shooting macro and this is what this article is for. Read on …

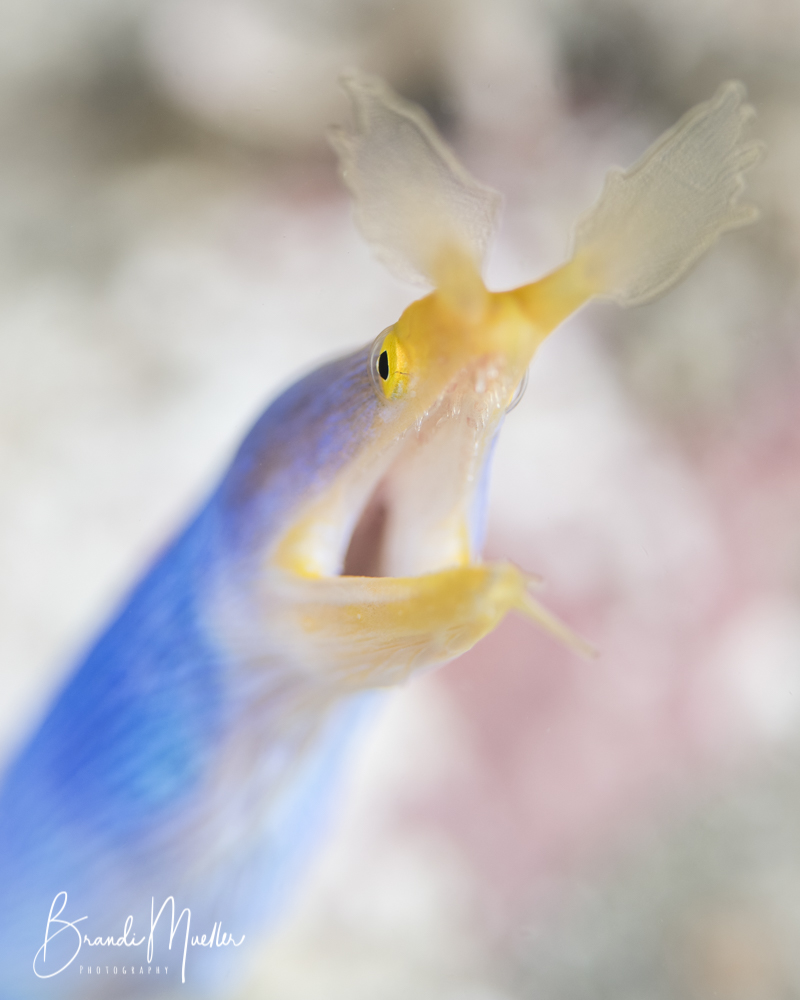
Composition
A lot of the same “rules” of underwater photography apply to macro shooting as well. Get close, shoot upwards, hold the camera still, know your camera, etc. Here are some tips:
Shooting Up
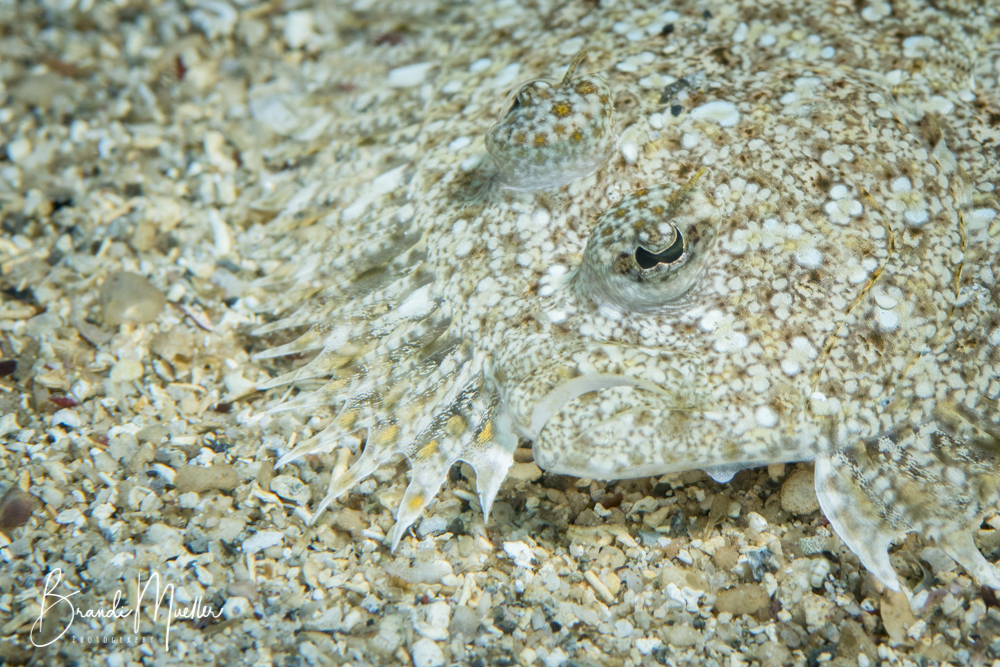
Getting as low on your subject as you can, as shooting upwards is key. It is easier to just swim around and take photos pointing directly down below you, but this often leads to the subject being lost in the background. Sand or coral is often textured and multicolored and which for a distracting background.
By getting low you can shoot up onto your subject and often the background will be water which is far less distracting than the many colors and textures of sand. This angle also tends to give your subject a more regal, portrait-like look.

Before getting too low be sure to check around you (and below you) so that you do not lie on or kick delicate marine life. It is always important to be a good diver and do no damage to the reef while we are taking photos. Many housing companies make 45-degree viewfinder attachments that allow you to see through the viewfinder while having your camera lower than you.
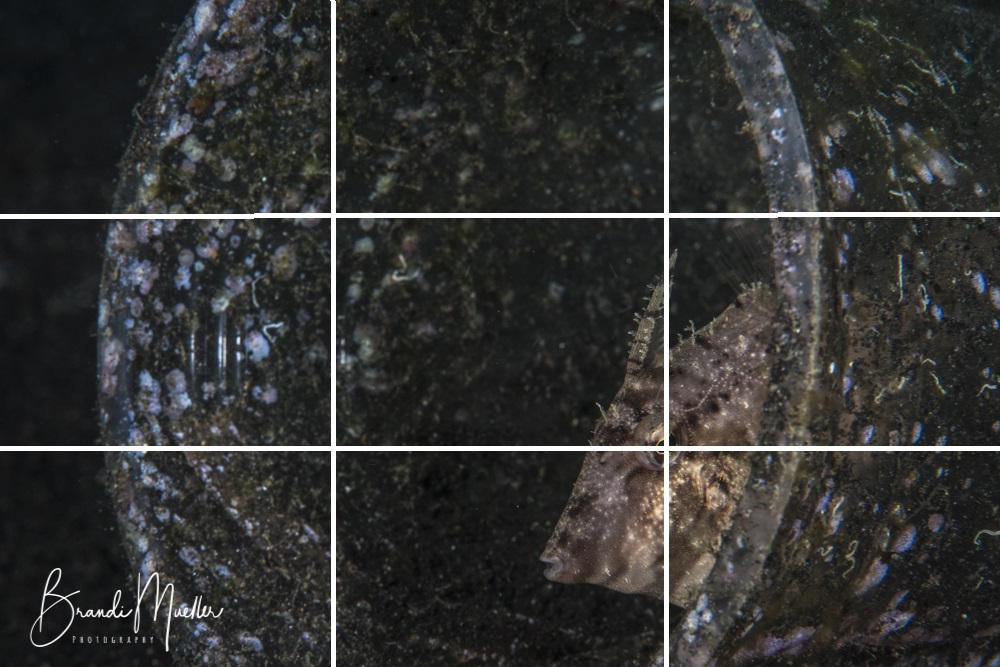
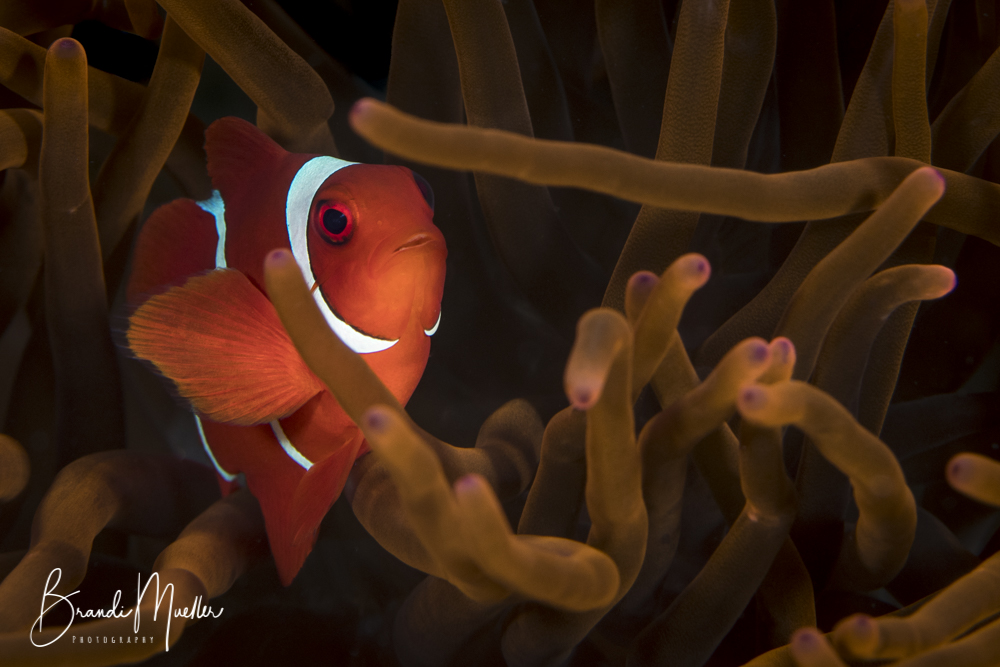
Rule of Thirds
The rule of thirds consists of making imaginary lines on an image dividing it into thirds both horizontally and vertically so that you have nine boxes and four places where the lines cross. (In many cameras there is a setting where you can display the lines on the viewfinder.)
The idea is that putting your subject or points of interest on these four crossed points will make your photos more interesting than having a subject directly in the center of the image. For example, you would want an eye on one of the cross points, or if you were photographing a whip coral goby on its whip coral home, place the goby in one of the cross points.
This is something that can also be accomplished in post-processing by cropping the photo differently, but if you plan to do that, be sure you leave enough negative space around the subject to allow for cropping back on land.


Depth of Field
The depth of field refers to the distance behind and in front of an in-focus subject. By changing the aperture we can control, to some extent, how sharp the background or foreground will be. In some photos you will see both the subject and the background in focus; this is having a large depth of field.
In other images, the subject will be in focus, but the space in front of and behind will be out of focus, this is having a small or shallow depth of filed. Other factors that also contribute to this include the distance the camera is from the subject and the focal length of the lens.
For example, having an open or wide aperture (small F number) will lead to a smaller depth of field, so lots of blurs directly behind and front of the point of focus. Having a small aperture (large F number) will have a larger depth of field, with focus throughout the image.
In some cases, a smaller depth of field (lots of blur around the subject) is used to try and make the subject stand out. By using a larger depth of field we can have more sharp focus throughout an image, such as to show the details of the background maybe to give the viewer information on where the subject lives.
Or, in the case of a fish that is filling up the whole frame, part of the fish may be slightly forward or back, to try to get sharpness throughout the fish, a smaller aperture may give more focus throughout the distance.
Bokeh
A popular underwater imaging technique is Bokeh, which is an extreme use of small depth of field. The idea is to have your subject in sharp focus and the background out of focus or blurry so your subject gets all the attention and the background is very soft. This is achieved by having a very open aperture and a lot of distance between the subject and the background to also increase blur or being out of focus.
A tip when trying this is to remember your lightening. This becomes tricky underwater because we have a tendency to overexpose bokeh photos by using too much light. Often you will need to turn strobes or lights down to a very low power setting (or, if you are using more than one light source, consider turning one off).
Black Backgrounds
A popular effect for underwater macro photos is to have a black background. This is best achieved in water, not just in post-processing (in fact, many would consider it a bit of cheating to make the background black in post.) Essentially you are taking a completely underexposed shot, but using your lights to light up just the subject.
It is helpful when a subject is, for example, swimming in the water column, so that you can shoot up on the subject and there is no place behind the subject for the light to fall (it is just water.)
By turning down the lights so that they only illuminate the fish, the background will be black. This can be achieved by having a small aperture (large F number), a fast shutter speed, and controlling your light power so it only reaches the subject and not the background.
Things like snoots, which isolate lighting to a smaller area, can help eliminate light from falling where you do not want it.

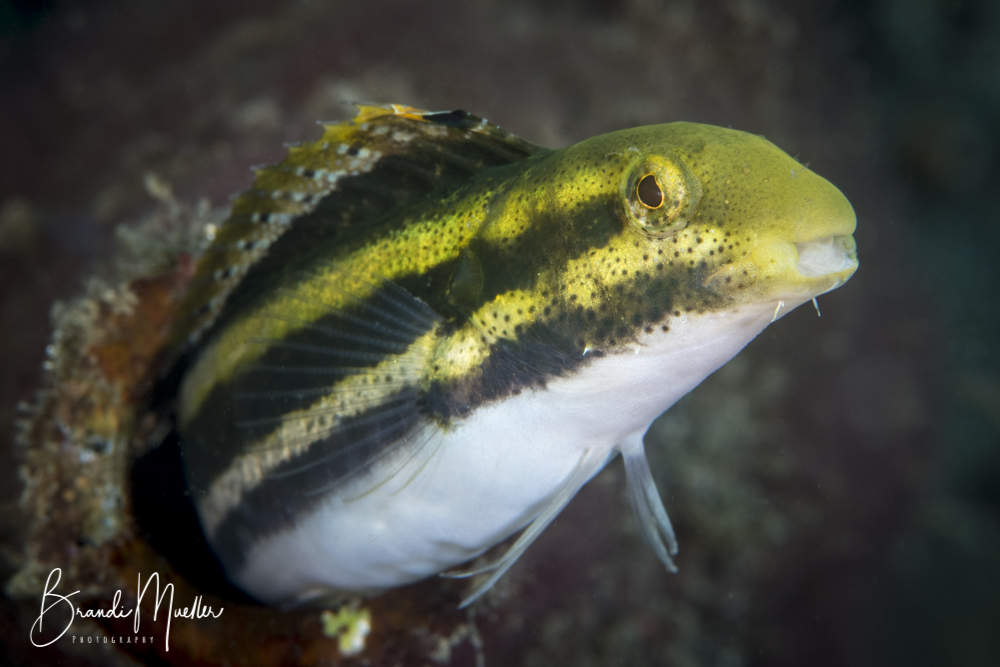
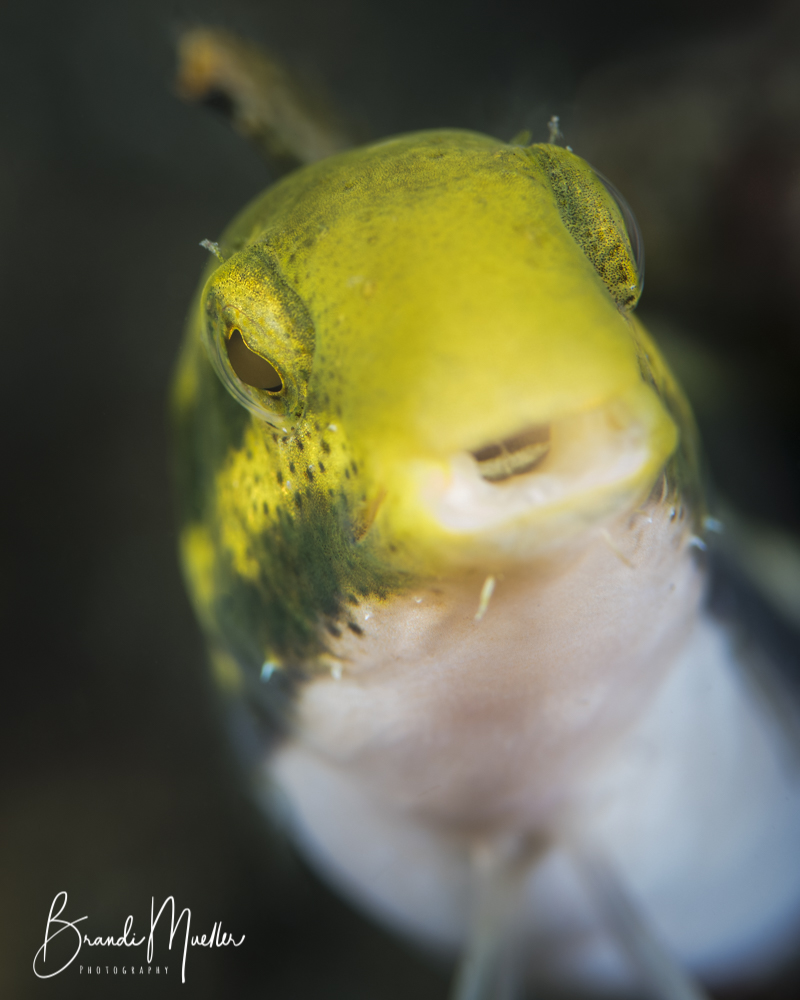
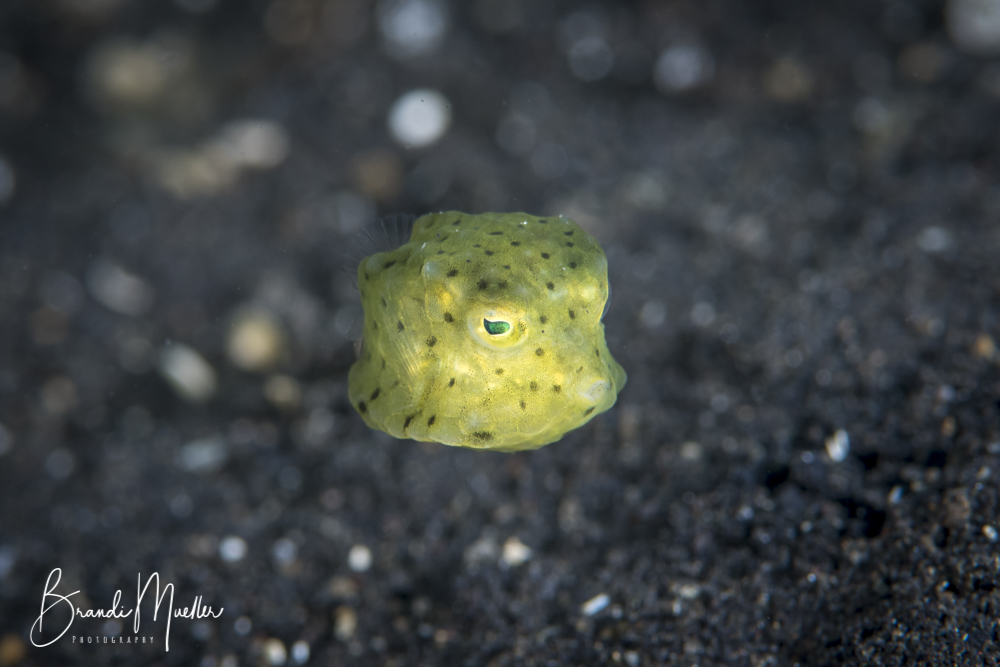
Where to Focus – Eyes
Generally, we want the subject’s eye or eyes in focus. Even though our underwater subjects usually aren’t humans, it is one of the first ways to make an image better because we connect with eyes.
Eye contact is important to draw people into your photos, especially non-divers who may not know what the subject in your image is. By being able to recognize in-focus eyes, they can often at least see what the subject is or what they are supposed to be looking at.
In order to get a marine critters eye’s, it also usually means we need to be looking at it from the same level or below it, so this also adds back to make sure you are shooting upwards.
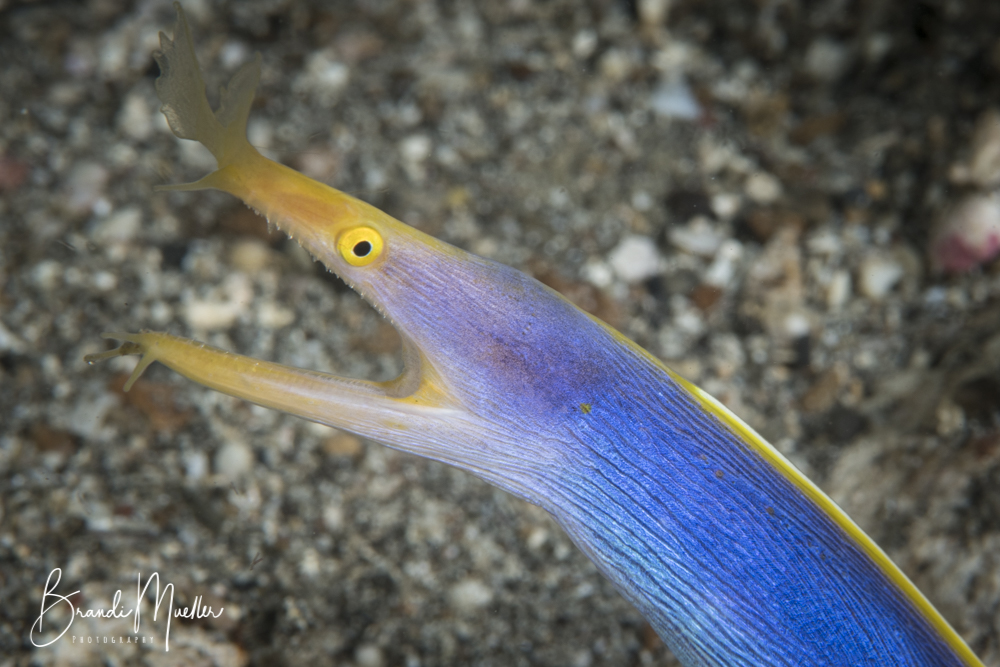
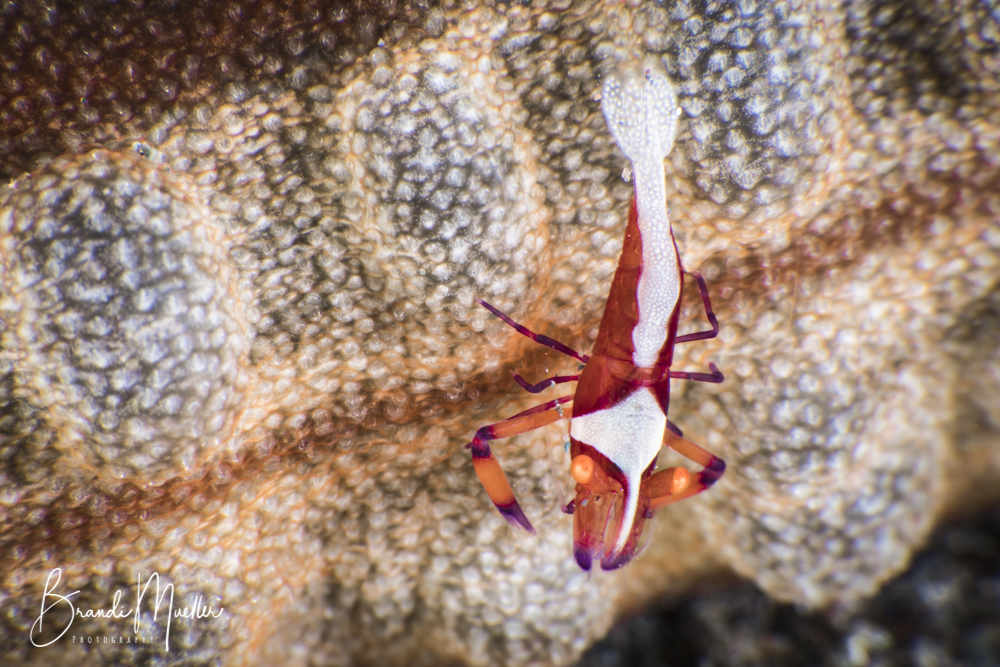
Abstract
One of my favorite things to do is take abstract images underwater. They can basically be of anything. The colorful scales of a fish, individual polyps of coral, or specific parts of a marine creature like rhinophores on a nudibranch, the opportunities are endless.
If ever you find yourself underwater thinking, “There’s nothing to shoot,” remember you can make artistic photos underwater with just about anything. Even sand can be beautiful with the right amount of creativity.

Diopters
Using diopters underwater can be challenging and rewarding. Many are wet lenses (and can work on many types of camera housings, with or without port adapters). Diopters are essentially magnifying glasses for your camera and come in different magnifications.
To get the best images with diopters one needs to realize they usually have very close working distances, so you need to be very close to your subject for the camera to be able to focus.
There is also a considerable loss of depth of field, which can be useful in the creativity of your image. Using smaller apertures (larger F numbers) and fast shutter speeds will make them a little more forgiving in making sure what you want is in focus and help eliminate blur from diver movement.
However, both of those things reduce light getting to the image, so strobe or light placement is very important and using a focus light can also help. The small working distance means you have to make sure your lighting can get into that small space between the lens and the subject.
I often have my strobes almost touching the diopter. Then it is a balance of not having too much or too little light. It can take a lot of practice (or a lot of shots) to make sure what you want in focus is what the camera is actually focusing on, for example, the rhinophores of a nudibranch.
Diopters are fun to use and can be great for showing the small details in marine life from corals to specific parts of fish or ocean animals. They are also great for abstract photos that show colors, patterns, and textures unique to the underwater world.
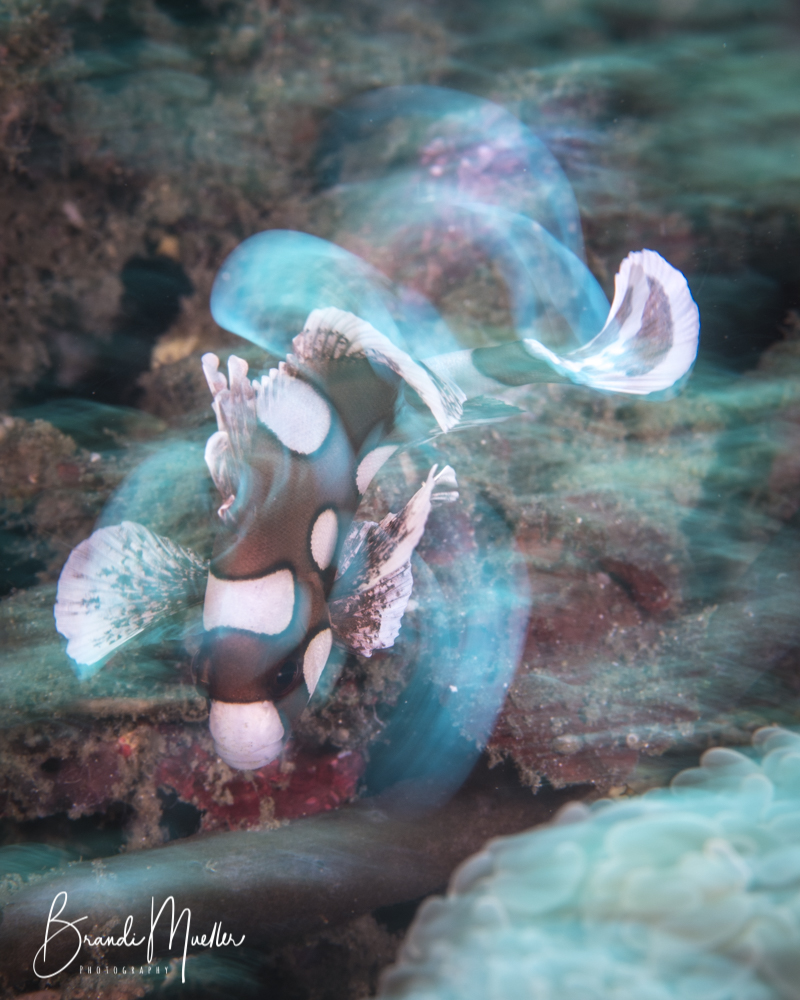
Motion
One challenge in still photography is to try and show movement and motion. We can imply motion in different ways, such as when compositing an image, leaving negative space to the front of the subject to suggest it is moving into that space. Playing with slow shutter speeds can also show motion.
For example, juvenile sweetlips are known to “dance” and by locking focus on the eye, but having a shutter speed as slow as 1 second, the blur caused by the fish’s movement is captured and hopefully, viewers see that the fish was not still when the image was made.
I also have fun doing this technique with corals that pulse open and closed while eating. The way we frame or crop an image can also add flow just by having curves and circles in an image, or shooting or cropping an image with diagonal lines.

Lighting
Tips on lighting macro images probably deserve a separate article, but here are some quick suggestions. First, I encourage the use of a focus light. Often our macro critters may be hiding in a crevasse or in an area without much light (or our lenses are so close, they do not allow a lot of ambient light in).
Cameras will focus faster and it will be easier to see that the camera is focused on the correct spot when you can actually see it. Focus lights can bring in enough additional light to help.
My second tip is to constantly move your strobes or lights around. Don’t be afraid to play with the lighting and try new and different things. It is so common to see underwater photographers put their lights in one position and don’t move them the entire dive. Get out of that habit. Angle your strobes, move them to strange places, and try new things.
In macro photography, we can easily overexpose images because of too much light reflecting on a close background, but just as easily we can underexpose an image because the light is not getting to the subject or it is far away/in a dark spot that it needs more light.
Get Creative
The creative opportunities for underwater macro photography are endless. Sometimes techniques from land photography can be tried underwater with very interesting results. Don’t forget that all photography “rules” are meant to be broken, that’s part of the creative processes.
In the end, art is subjective, it is most important that you like your images, it does not matter what anyone else thinks. Take the above as tips and things to try, but in the end, take the things you like and add your own twist to them.

She is an Ikelite Ambassador and a member of the Ocean Artists Society.
- The Ultimate Guide to Underwater Macro Photography – March 27, 2023
- The Ultimate Lens Guide for Mirrorless Cameras Underwater – February 1, 2023
- The Ultimate Underwater Housing Maintenance Guide – June 16, 2022
3 comments
Thanks for the tips. You have a nice, concise article with a lot of great tips on a range of techniques. Very well written.
I will travel to Maldives in January. is there a diving course for underwater photography in club Méditerranée
Always love your informative articles. Going to keep these in mind next time I’m diving and am energized to used my diopter again , now that I’m in cold water with less viz. thanks!