
 CAD
CADProtecting Your Underwater Photography Equipment: On Land, Sea and Air

So you just made a big investment on a fancy new camera rig and now it’s time to go have fun. One very important thing that is often overlooked until you are already well on your way to planning your first trip is “how do I travel with my rig and keep it safe on the boat?”. You are in luck! After my own trials and tribulations over the years of lost, damaged equipment, floods and scratched lenses I can give you insight as to what I have found works and doesn’t in real world situations.
Like anything in photography (especially travel photography) there are going to be lots of options for different situations and each one will have its pros and cons depending on your needs. I’ll break this up into 2 parts:
- Traveling
- On the boat
Traveling
Packing for a plane trip can sometimes be a stressful event even without having to concern yourself with dive gear and photo equipment. Piece of mind is worth a lot when you take into consideration the expense of your rig and how important it is for the enjoyment of your trip.
Preparation and packing:
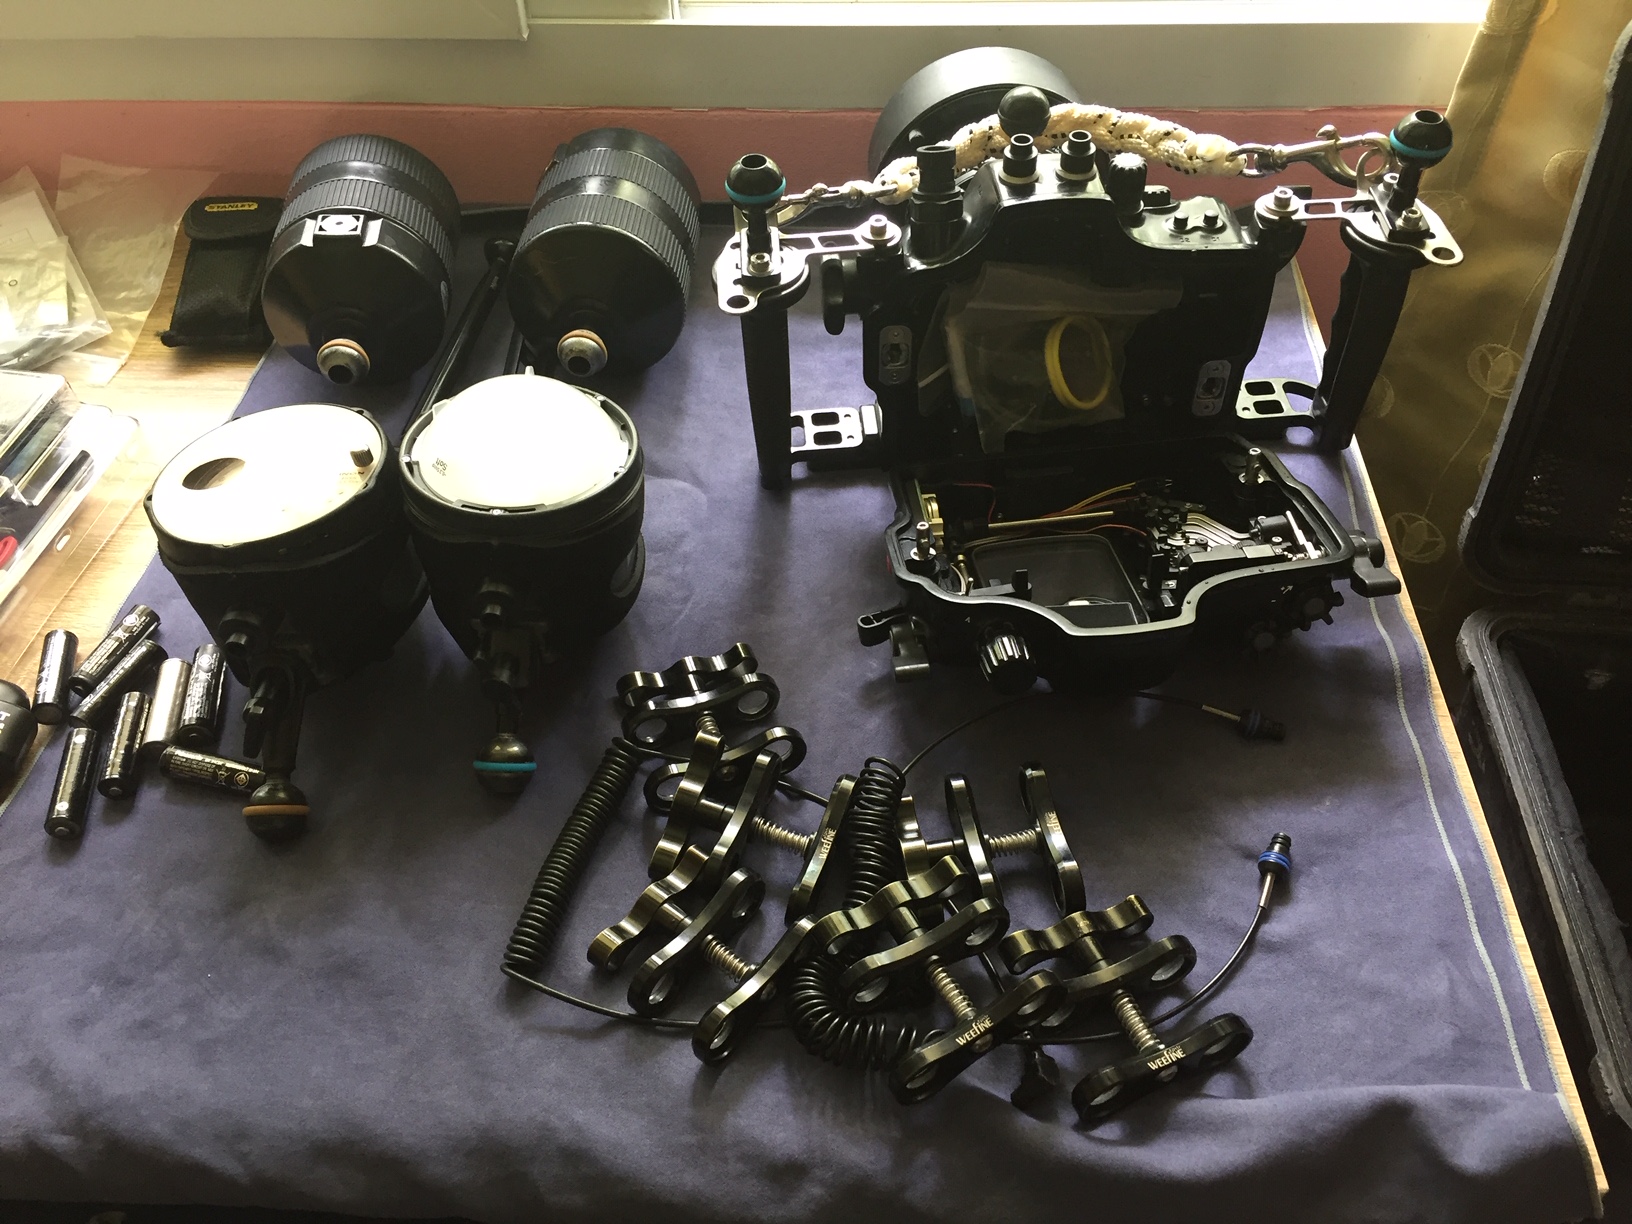
- Remove all batteries and o-rings, place in a small zip-lock and store in the housing or separate in the bag.
- Make sure nothing is sealed, especially vacuum sealed. Keep in mind there is a pressure change inside the plane. This is why sometimes your shampoo bottles leak.
- Keep everything padded. If you are not using a camera bag with dividers then you can use some clothing (this is usually where my dirty laundry comes in handy).
- Make a checklist of everything you need. This will help you not forget important things like batteries, chargers, memory cards, o-ring grease, vacuum pump and sync cables (I have forgotten all of these either at home or on a trip at one point or another).
To check in or not to check in… that is the question.
My first suggestion would be not to ever check-in anything of value or anything you can not afford to do without. ESPECIALLY IF YOU ARE GOING ON A LIVEABOARD OR SOMEWHERE REMOTE! This is why it best always carry-on your precious camera, housing and strobes. This can be impossible sometimes with the new rules of carry-on weight limits. Try and use a backpack type bag that looks inconspicuous rather than a roll aboard. (Remember international carry-on sized are different then domestic in the USA) You are less likely to get weighed with a backpack. Worst case scenario if they demand you check it in because of the weight you have 2 options.
- Always be polite and smile, 🙂 people at the check-in counter deal with a lot of angry people and they have a lot of power to make exceptions. First let them know it is expensive camera equipment and they might let you slide but if that doesn’t work there is no restrictions on what you can carry on your person. Take whatever you can out and put in your pockets or around your neck. This has saved me many times in trying to get the weight down to what is allowed.
- Last resort if they will not budge then ask if you can bring it to the gate and check it there. At least then you know it’s made it safely on the plane. I’ve even had the attendant look at my bag at the gate and just let me pass with it.

If you do check anything in DO NOT check in your batteries or power-banks. They are prohibited in check in baggage. Imagine the frustration of getting through security only to have them call you back to the check in counter because of a battery or power-bank… yep has happened to me. Don’t be like me.
On the boat
Message the dive shop ahead of time and let them know you have a camera.
As you probably have already experienced, there are lots of different dive boat types when diving around the world. Some are big and luxurious with camera rooms and dry, air conditioned work spaces and there are others that are no more than a canoe with an engine. Different boats will call for different considerations.
If you have reservations at a dive shop it is always a good idea to let them know you will be bringing them a camera beforehand and ask what type of boat they have. The nicer operations should have photos of their fleet online.
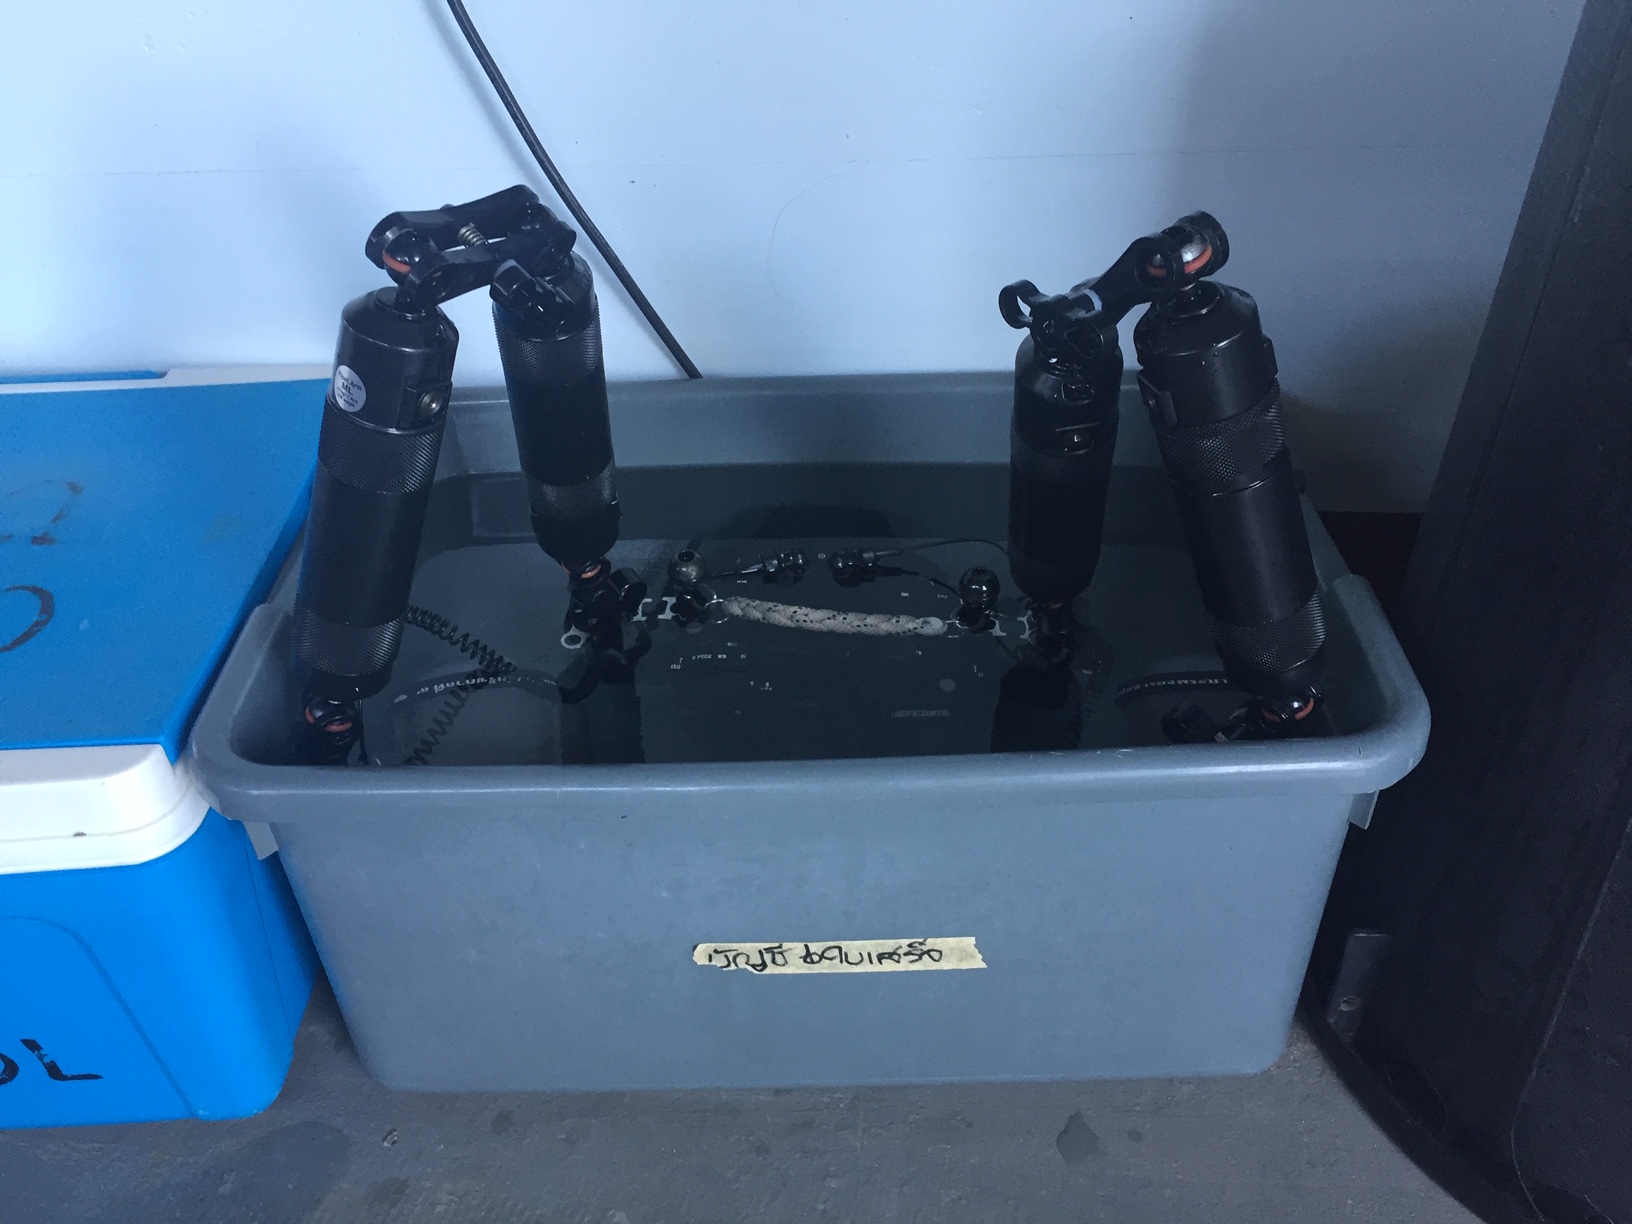
Some shops (the good ones) will notify the boat crew and they will make some special considerations for you. I always ask for a crate. The crate can serve a few purposes:
- Keeping your rig protected on the boat.
- Having a designated place for boat crew to put your equipment when getting back onto the boat.
- Helping dampen the shock from waves (speed boats).


Pro tip: If you will be on a speed boat ask for a life jacket to put under your equipment, this can reduce the risk of damaging your housing in wavy conditions. If no life jacket (there should always be life jackets) then use a towel.

Also it’s a good idea to invest in a lanyard, which gives a secure place for the boat crew to grab the camera. I’ve seen them reach for the sync cords before… Also make sure you take off and put on a protector for your dome (if you have one) while in the water… trust me. From the time you pass up your rig until you get back on the boat, take off your gear and check on your camera a lot can happen.
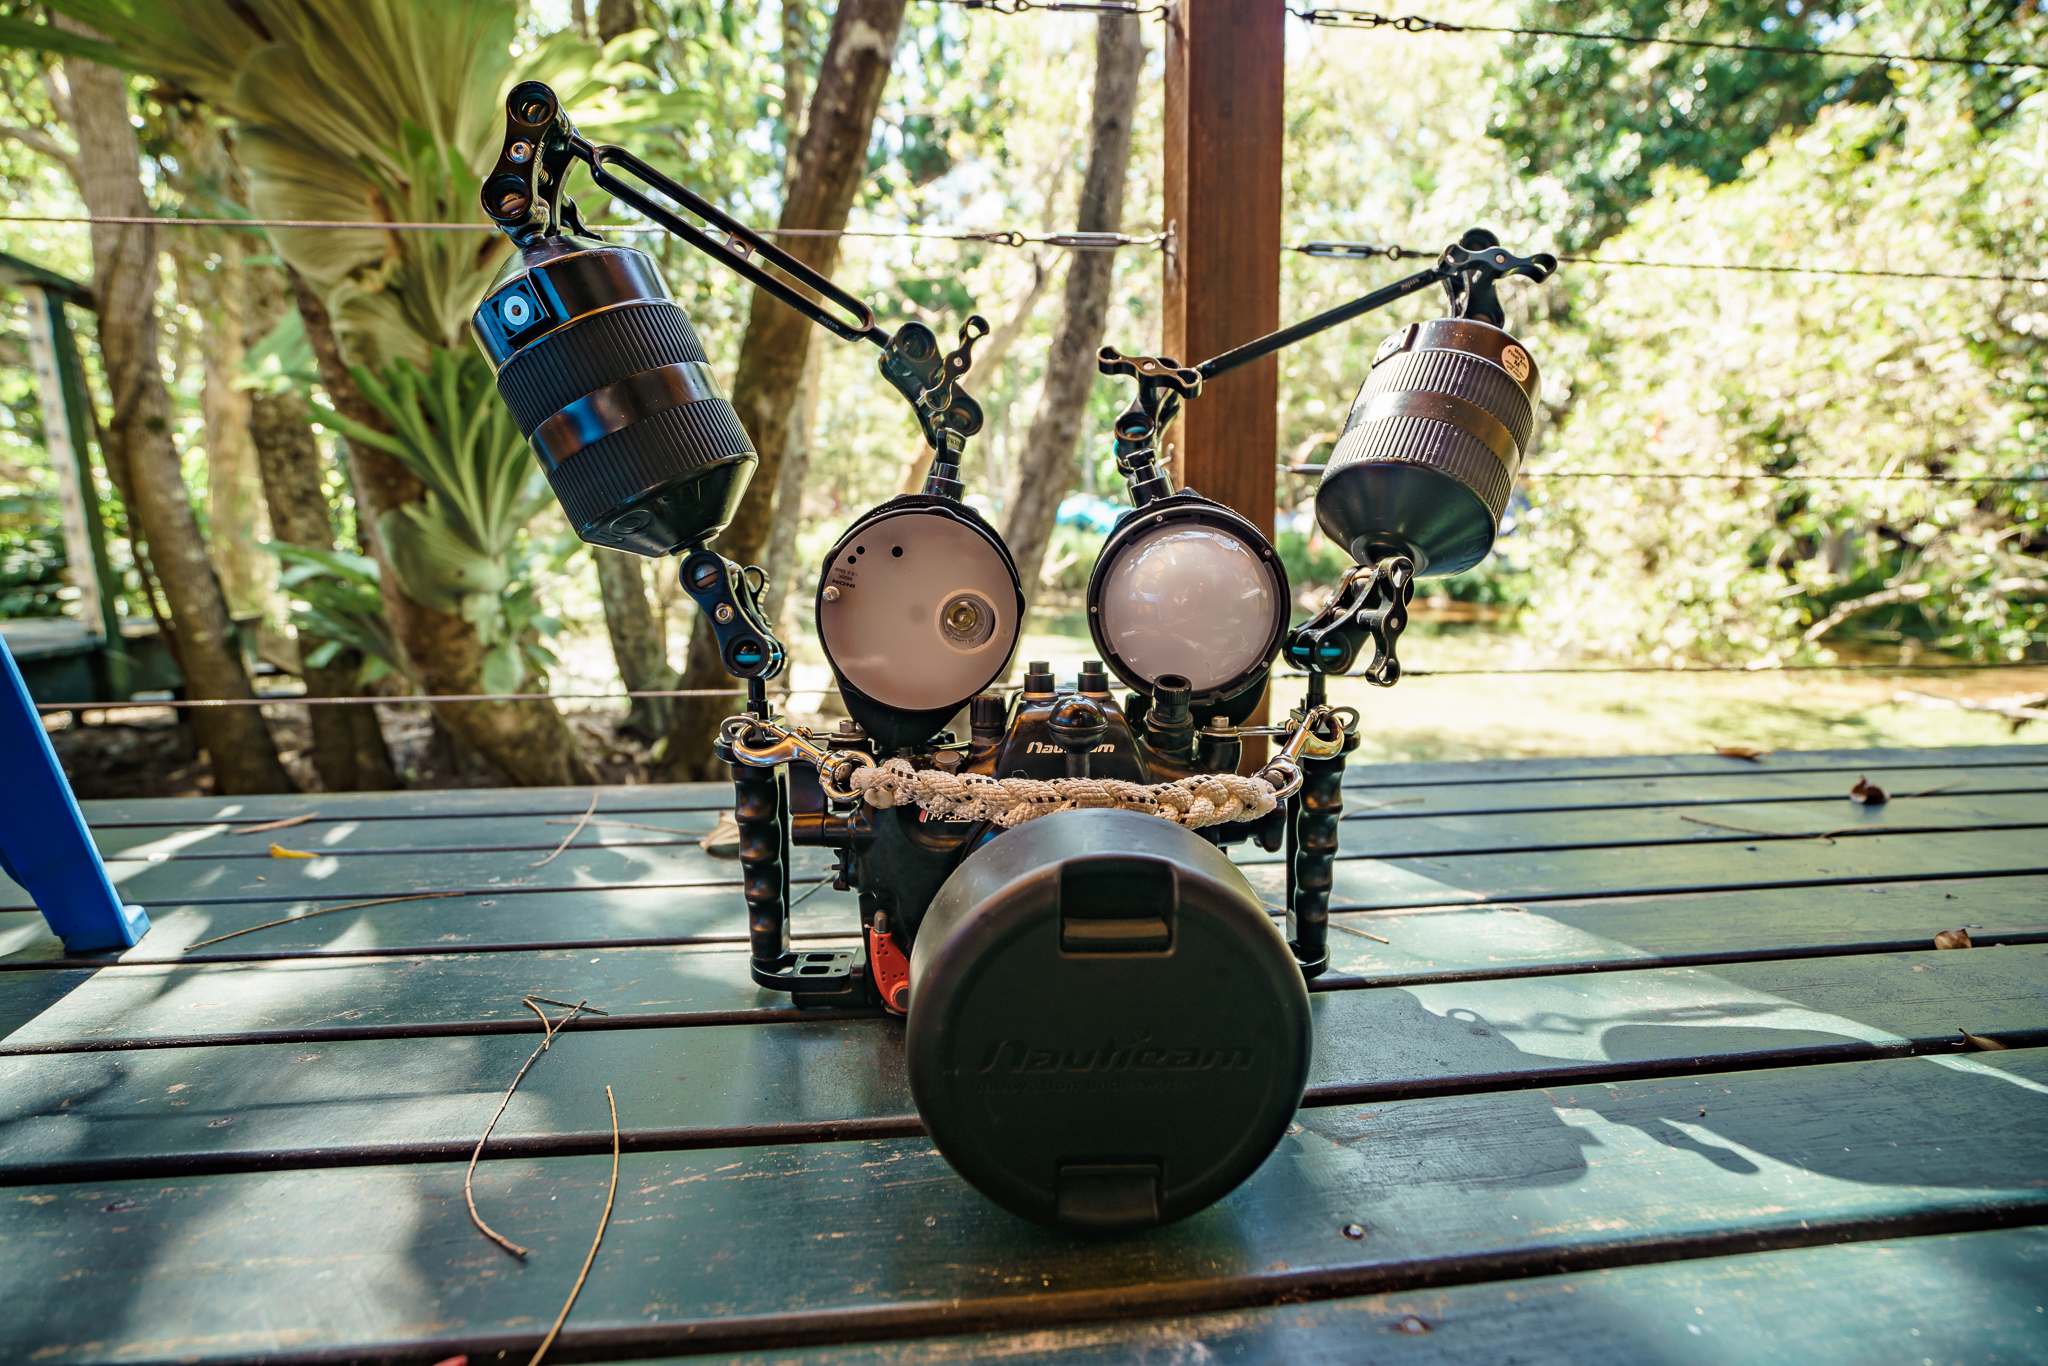
Pro tip: Position your strobes as such to limit things moving around and getting damaged when getting into and out of the water nothing worse than handing your camera up, gravity taking over and watching your strobes fly all over the place.
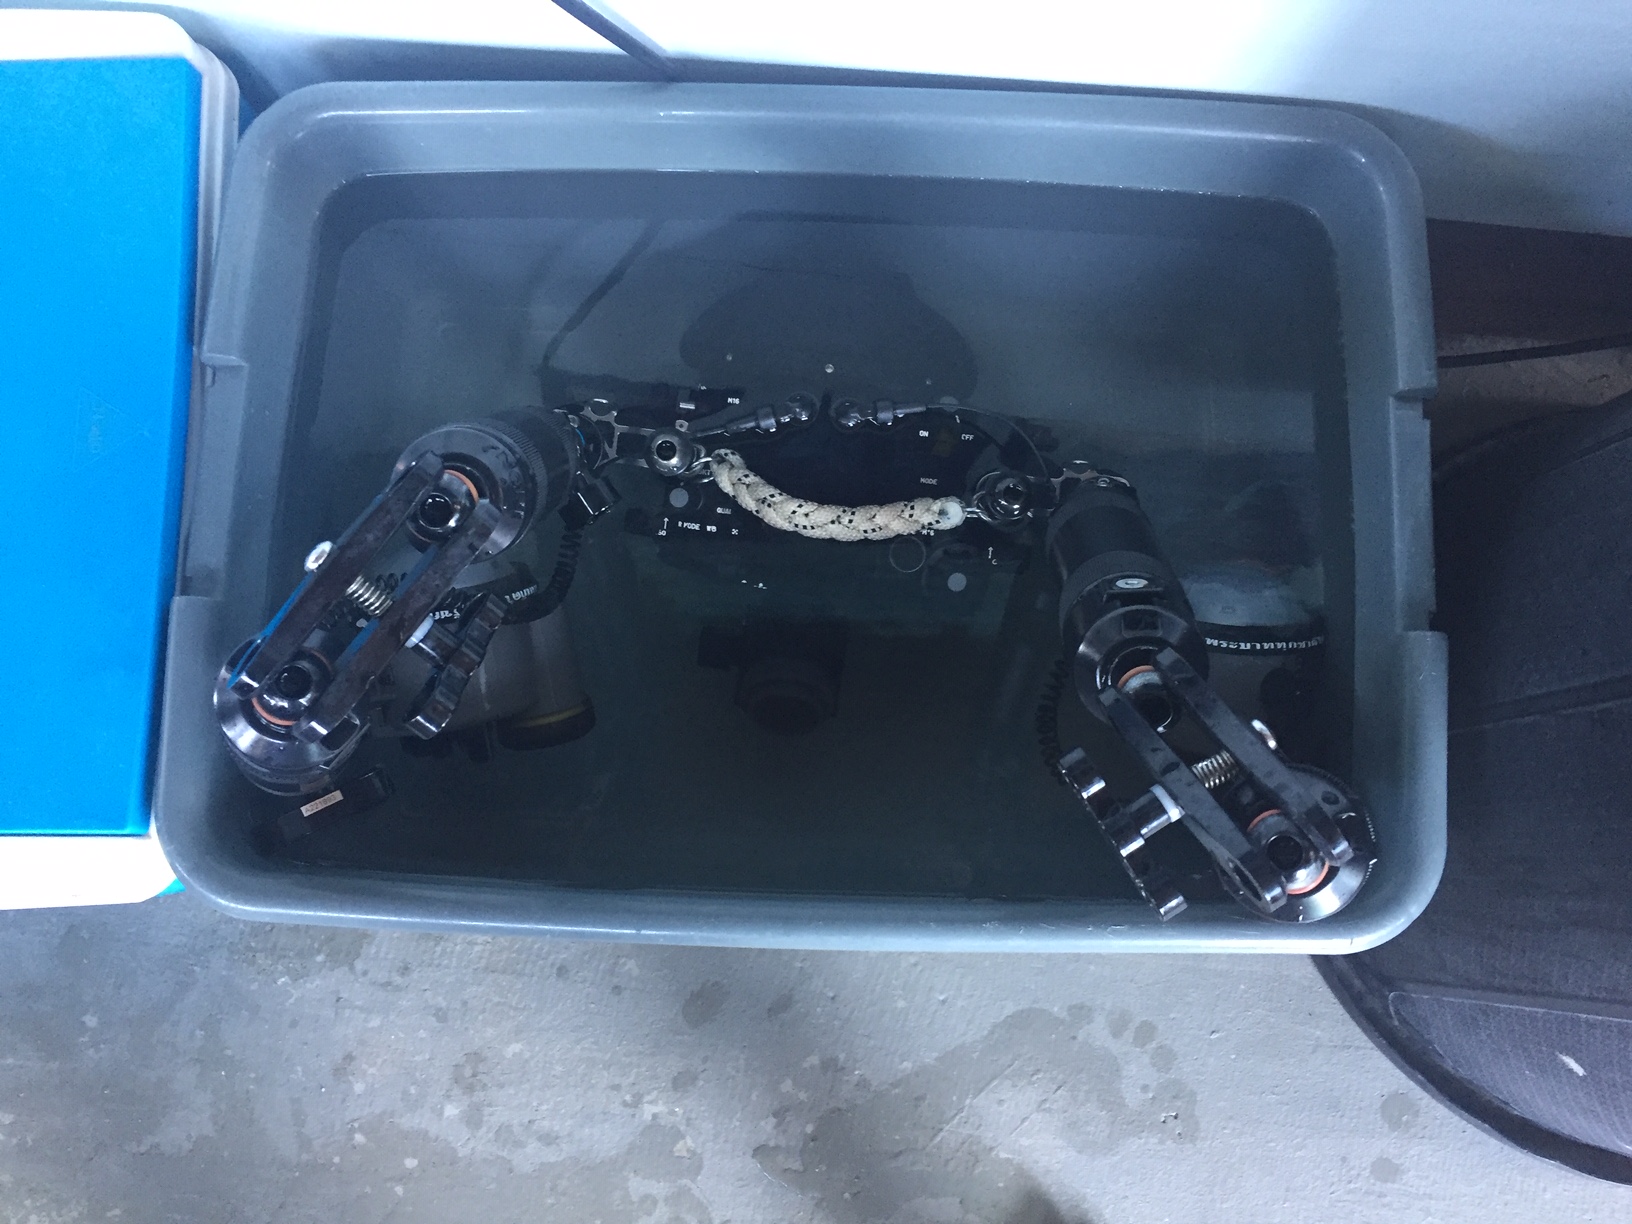
Rinsing: Make sure not to let water dry on your lens or port, especially salt water. Some boats are equipped with rinse bins but I do not recommend using them at least not unattended. More damage happens in them then anywhere else, especially with people carelessly throwing their go “pro”, computers and torches in there. If there is nowhere to rinse with fresh water then bring a bottle of fresh water (in a recycled plastic bottle of course) to rinse off yourself. Make sure you dry with a microfiber cloth or you may get mineral deposits. (Photo of my WWL) also it is a good idea to have a towel on hand to dry the housing off a bit before it goes back into your bag.
Last but not least.
Make friends with the boat crew and be nice. They are ultimately responsible for the well being of your camera while getting in and out of the water. It is a little extra work on their part so let them know they are appreciated. * tipping always helps 😉
Bags and cases
Pelican 1510 – Travel, on the boat, shooting in war zones
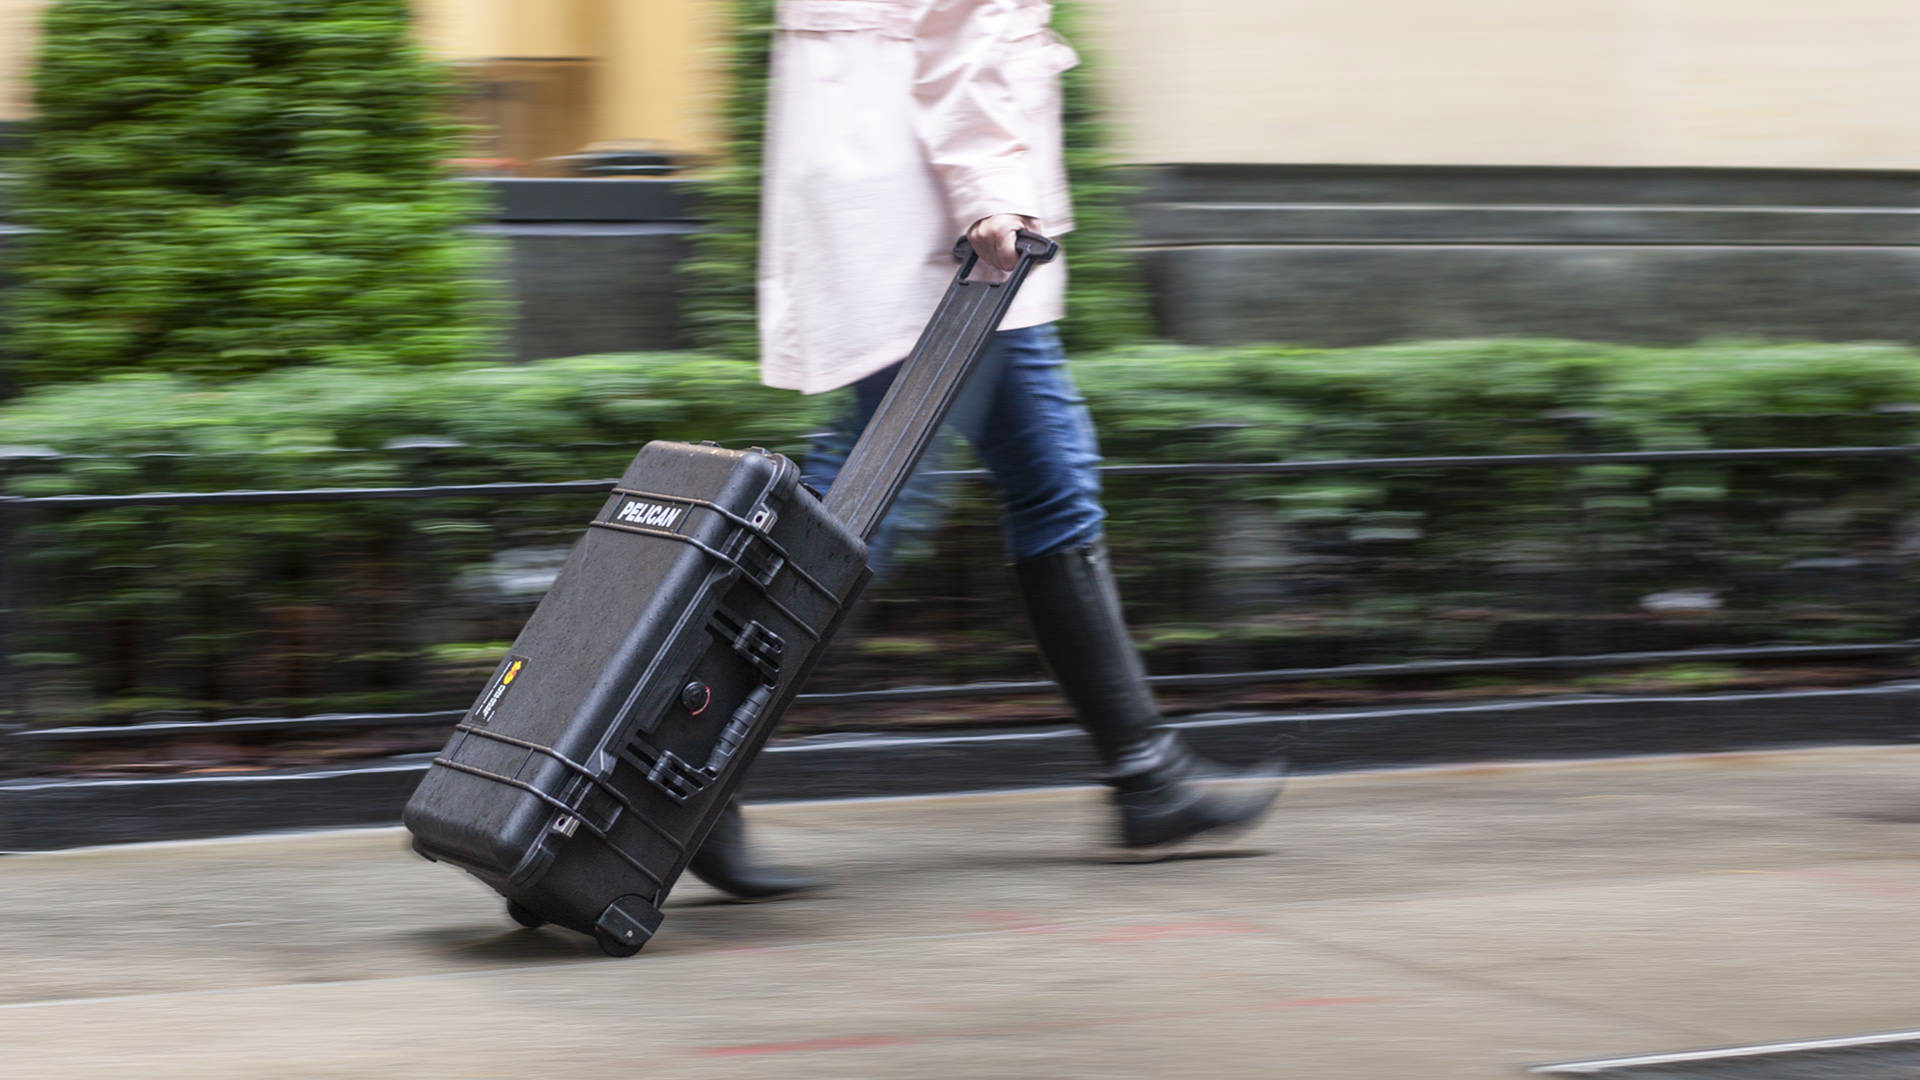
My most trusted loyal companion.
Made in the USA – Used by military, EMS, firefighters and others Pelican was founded by Dave Parker specifically for SCUBA first aid kits… Bet ya didn’t know that 🙂
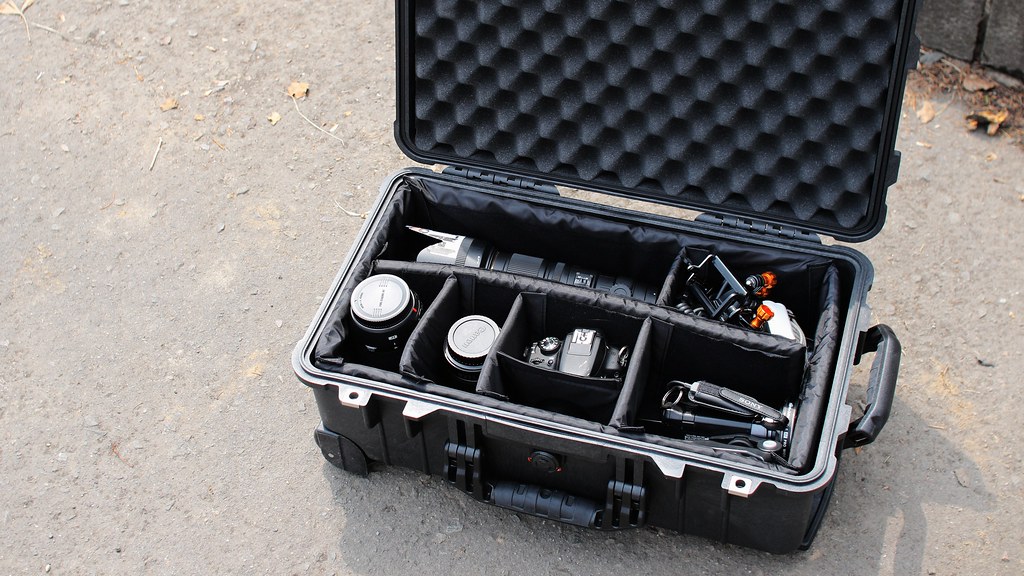
If you really want to keep your equipment safe this is the best solution. Buy padded dividers instead of foam and you can change the configuration however you want. 100% durable and 100% safe AND international carry-on approved. This is what you want especially if a lot of other people will be handling your equipment in places such as: boat ferries, big dive boats, van transfers or if you absolutely have to check it in on an aircraft. Also great for keeping your equipment safe on speedboats. The ultimate in piece of mind. Waterproof, crush proof, fireproof, even has an air valve to automatically deal with pressure changes. You can also lock it with a padlock or TSA lock while traveling.

Downside is that it is a little bit more expensive than some of the other options and can be a bit more bulky. I overcome that by using these great backpack straps that I have modified to make them a bit more convenient…. I’ll save that for another post… Also can be a bit conspicuous in places where you don’t want people to realize you have expensive camera gear. It looks like a mystery box full of something important to would-be thieves. Keep your eyes on it.

You may also need a larger model to accommodate larger cameras. But this fits my entire A7Rii set-up strobes and all.
Want to nerd out? Watch how they are made and see what extremes they put it through during testing:
Ruc Pac straps
Think Tank Photo Airport Helipak V2.0 – Travel – to and from hotel – large boats
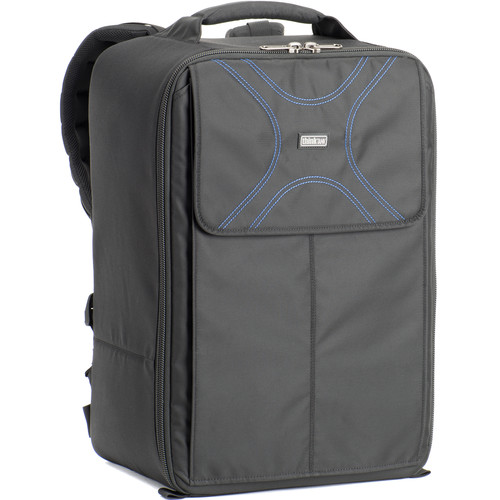

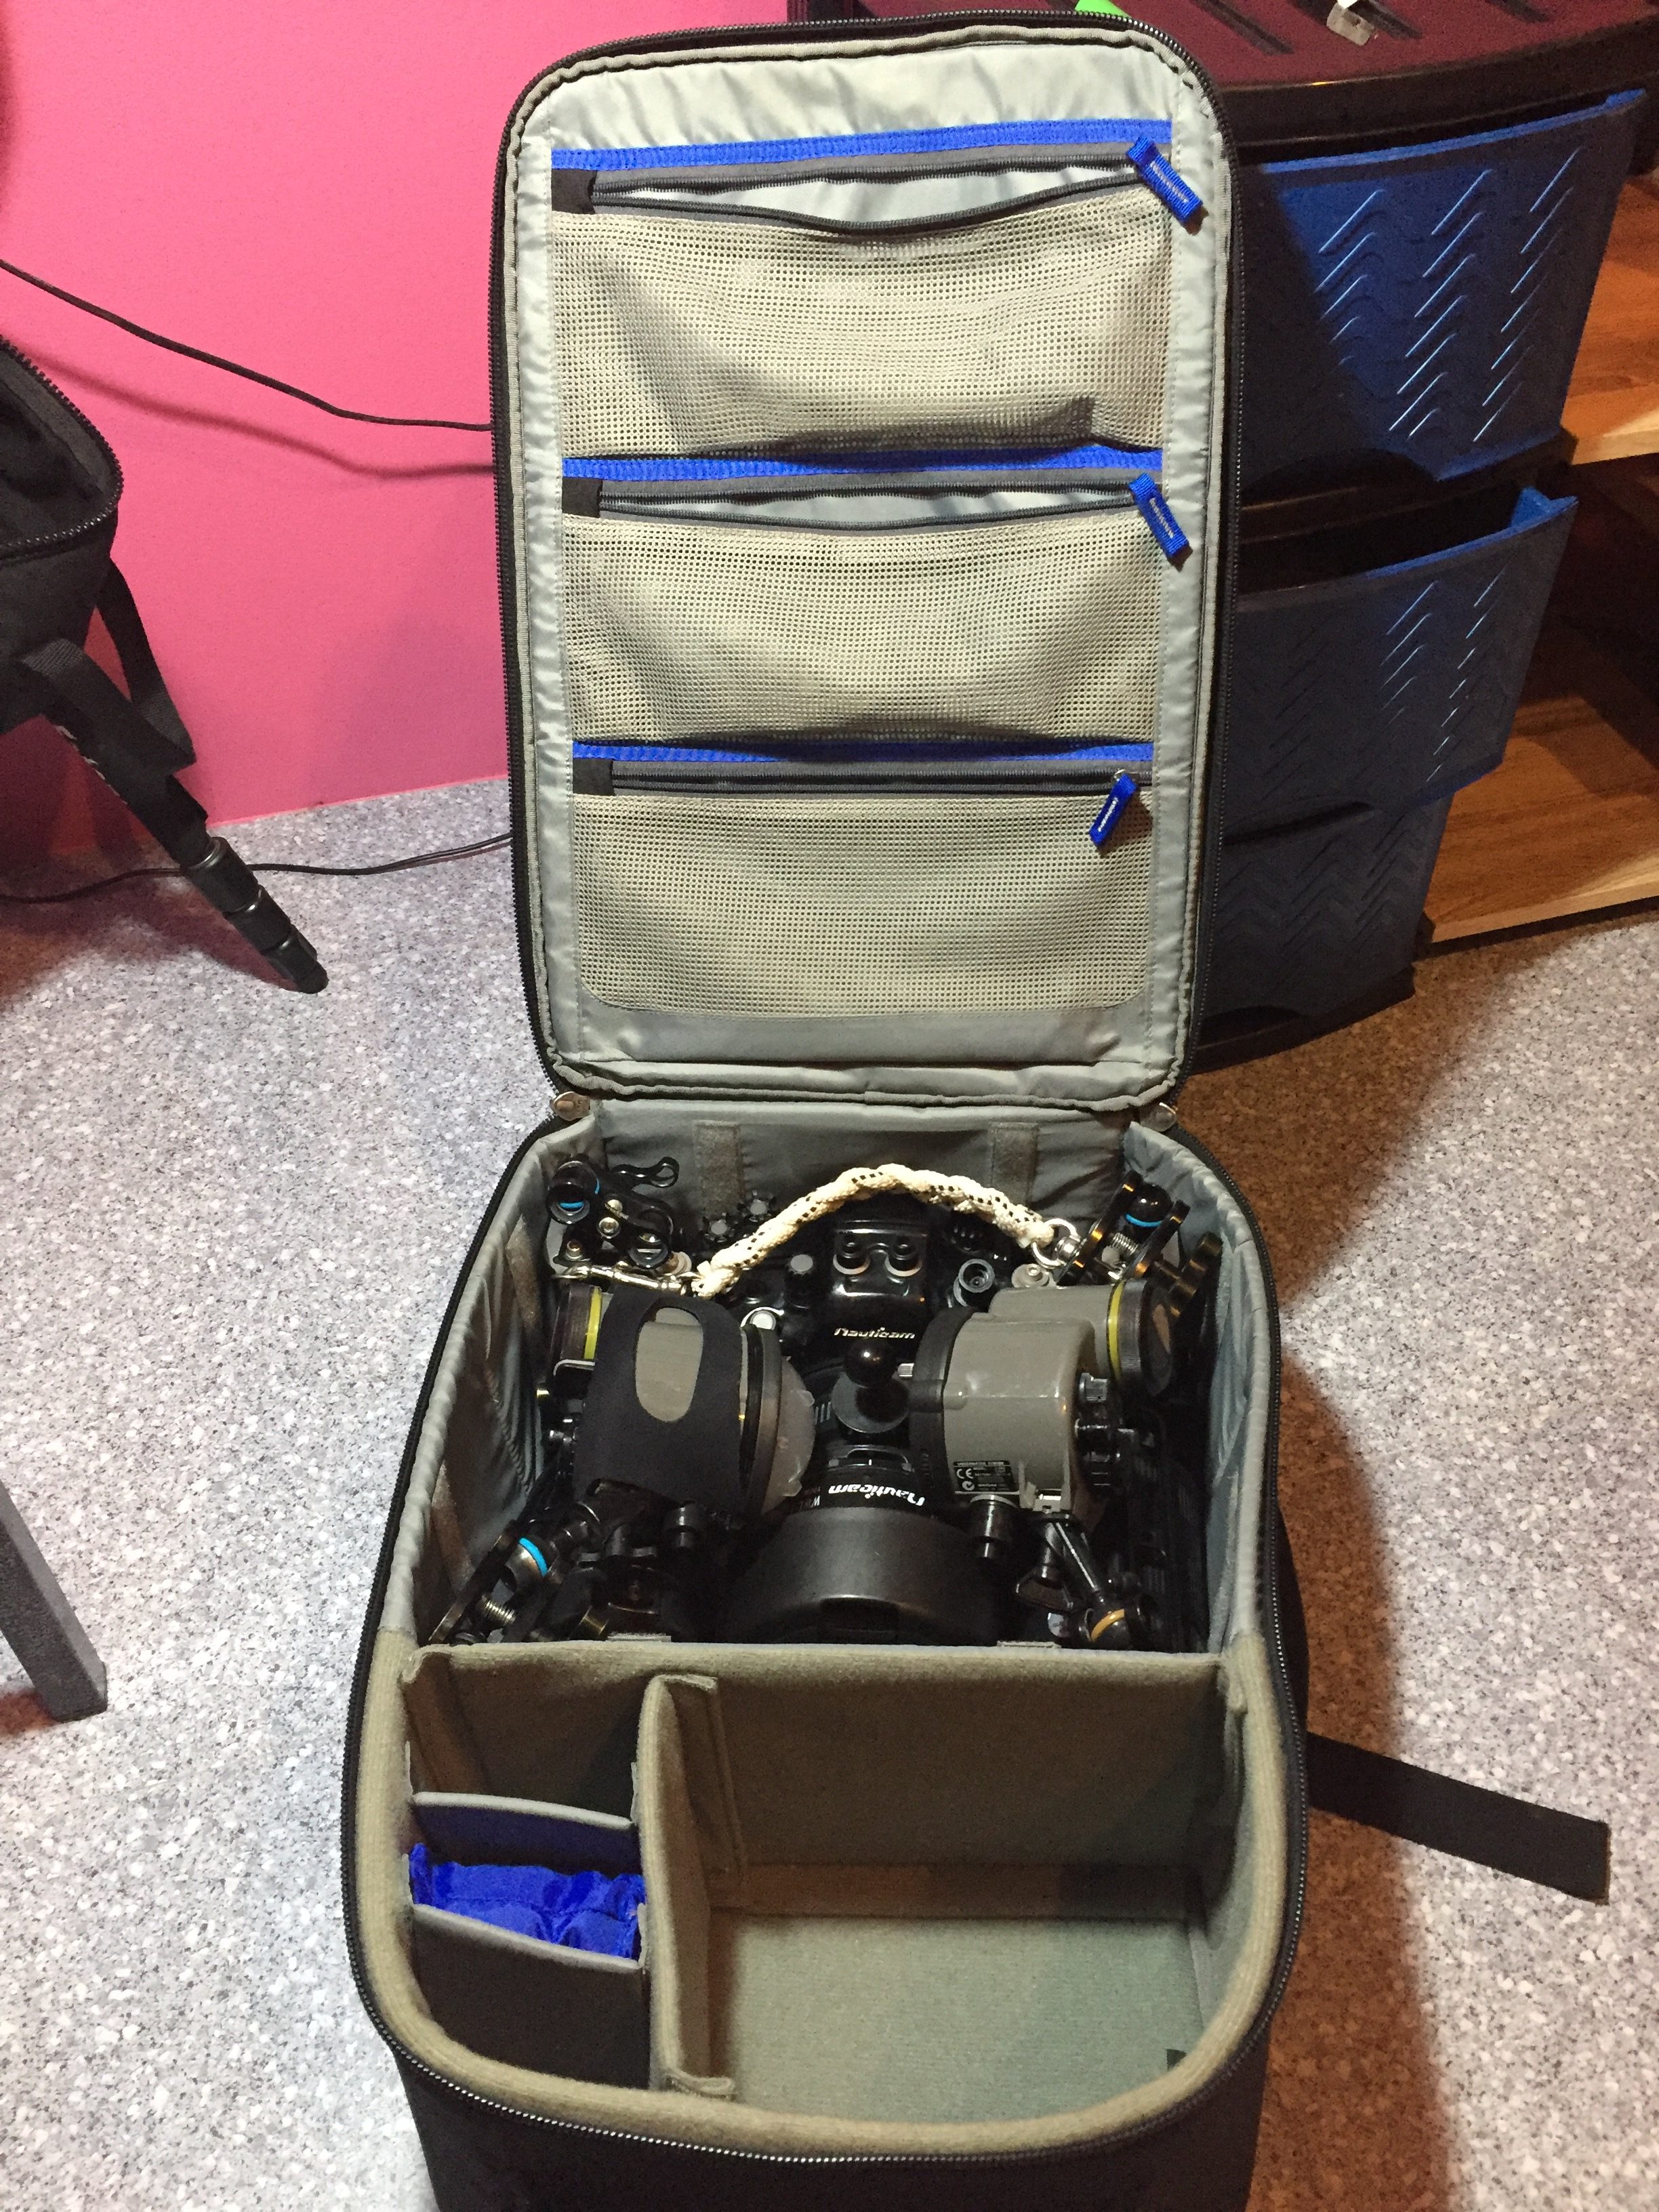
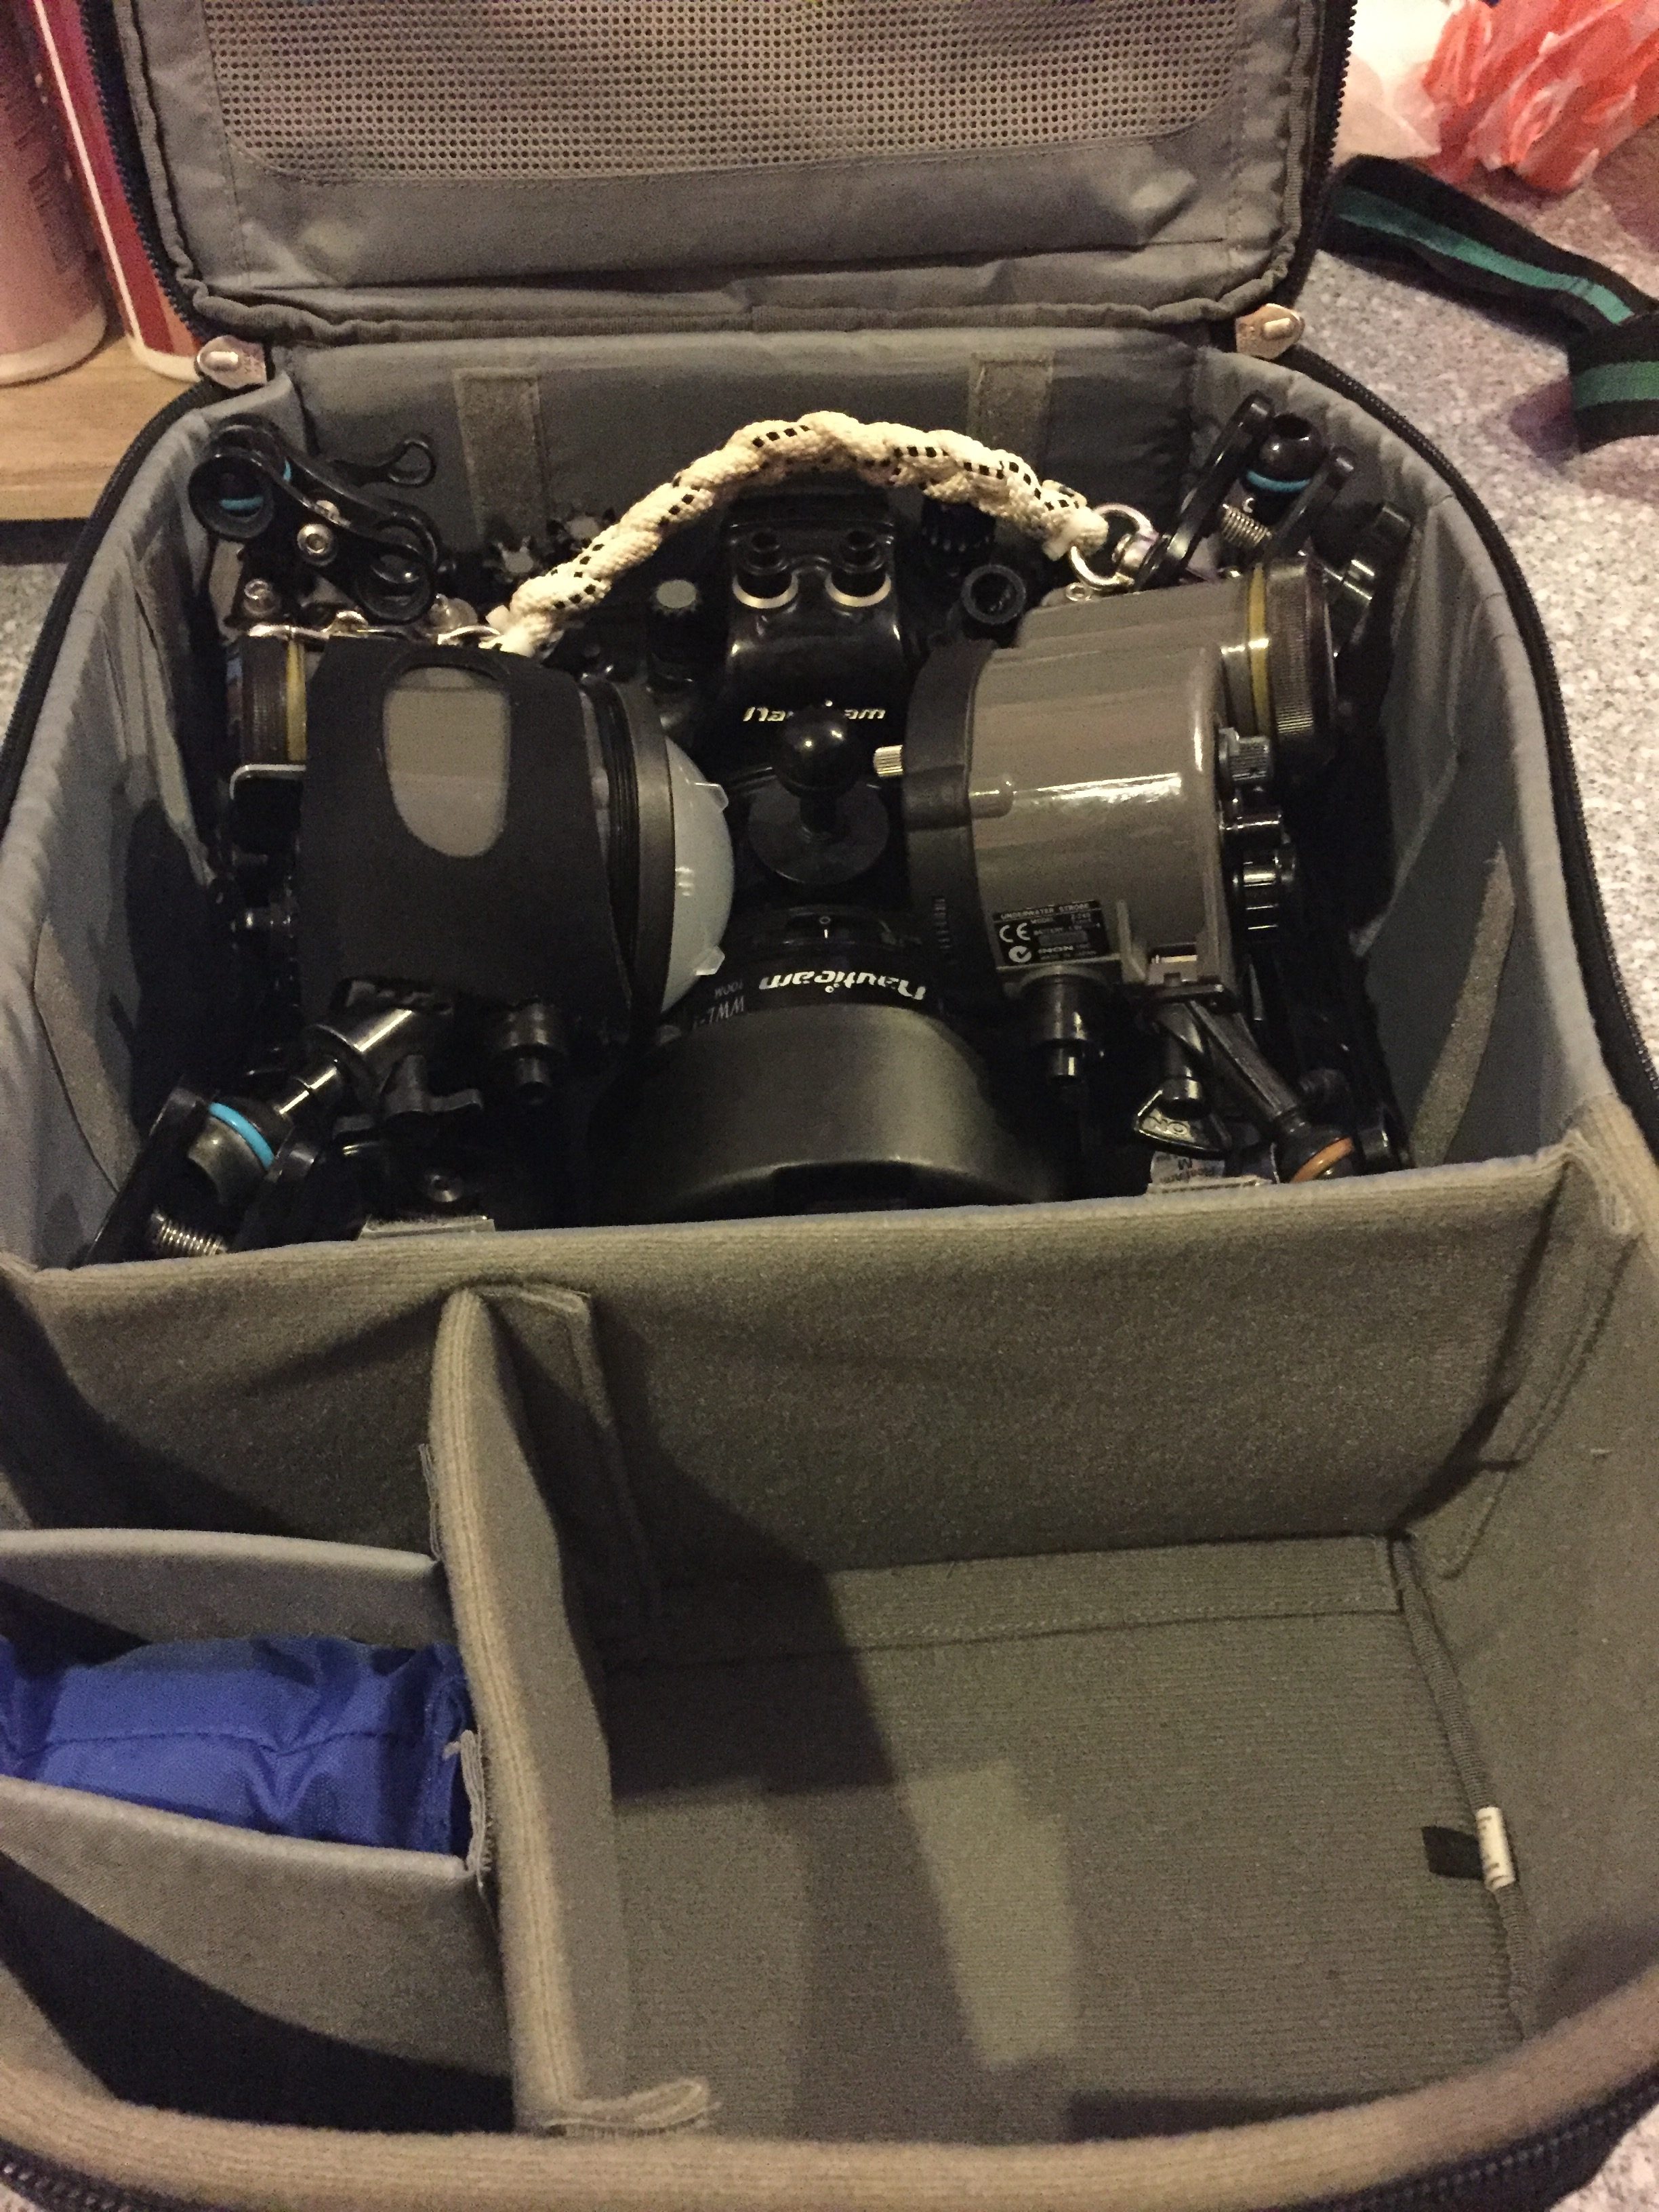
This is my second option. Semi-hard sided soft case that is originally made for Phantom drones. Think Tank is an excellent brand that gets a ton of great reviews by photographers and for good reason. A lot of attention to detail when it comes to how they are made and to serve the purpose of a traveling photographer. With a ton of storage space as well as a pocket for a 15″ laptop its a great way to get your equipment to and from your destination while traveling. Also great for trips where you will not be taking your housing and just need somewhere safe to pack your camera gear and computer or other non-camera related stuff. Very comfortable. I know a lot of photographers and videographers who use think tank bags when shooting on location or at weddings. Also international carry-on approved
Use this with the Square grouper (below) or my crate and life jacket hack on the boat.
Downside: Not as protective as the pelican. I would not trust this to check-in on a plane. Not crushproof, therefore I wouldn’t want it on the bottom of a pile of bags in a van or boat. Does not have any security features like locking zippers. The front zipper for the computer and accessories is a bit awkward to use. Be careful it can get very heavy when filled to capacity with housing, camera, strobes AND a computer.
Cinebag Square Grouper CB70 – to and from hotel or dive shop, on the boat – great for speed boats and smaller boats.

The Square grouper is not meant as a bag for travel but more as a bag to get your gear from hotel or dive shop, to the boat and to keep it protected on the boat. More to be used in conjunction with another bag for travel. The square Grouper folds flat allowing you to easily pack it in your luggage.
Although I haven’t had the pleasure of using one myself the concept is pretty straight forward and seems well thought out. Padded cooler type bag keeps the rig set up and protected. After the dives it can also be filled with fresh water to be used as your own personal rinse tank. I would love to try it out in real world situations as someone who is on a boat almost everyday to give my honest opinion. If that happens I will be sure to update…
The price is steep. At $151 USD you might be able to just find a generic soft sided cooler on amazon for around $50 but without some of the thought out additions and accessory pouches (…again, I don’t know never having tried it out myself). On the plus side, on dry days I assume you can pack this bad boy up with ice and use it to keep drinks cold on the beach. YEAH!
Backpack and towel – to and from hotel and on the boat.
To me this is the old school method before there were so many options. Also it is all you need for smaller cameras especially without strobes and dome ports. No frills, wrap your camera in a towel and put it in a backpack or duffel bag. While traveling you can keep your gear protected in your luggage by surrounding it with you clothing or dirty laundry. Also a bit of thief deterrent if it’s dirty enough 😉
In conclusion, remember that it is better to be over protective rather than have something break and different situations call for different solutions
I love creative solutions so please let me know what you use in the comments below and how it performs for you.

- 10 Things You Must Know Before Starting a Career as an Underwater Photographer – April 15, 2021
- What is the Best and Fastest Way to Learn Underwater Photography – September 8, 2020
- How to Extract Perfect Still Photos from 4K Video – May 14, 2020
4 comments
Cooler bag from Costco was $10. Holds my NiMAR housing strobe arms and video light also holds water all day. Even if it lasts one year you can buy 15 of them for price of grouper bag.
That’s a great affordable solution Kerry!
Some people prefer the dedicated Square Grouper bag, and some prefer to use that budget for other accessories 😉
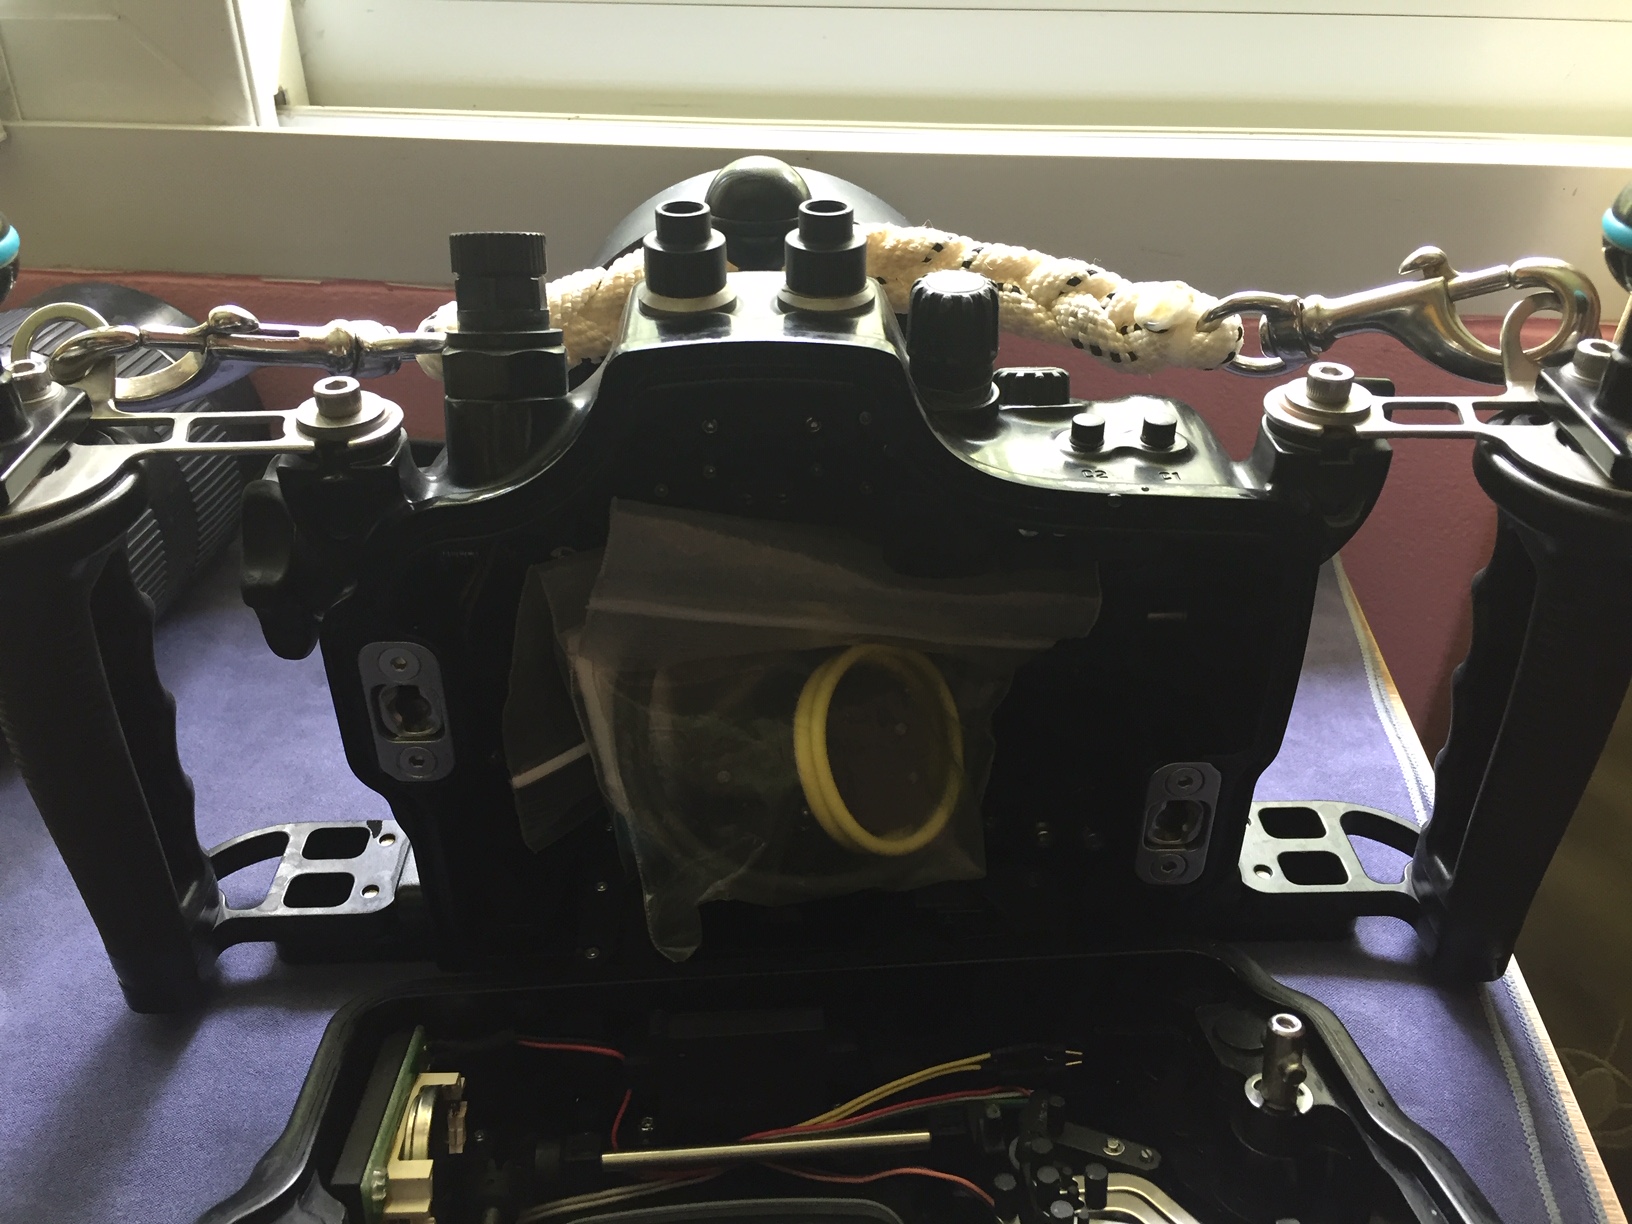
Great article. One thing to add. Make sure your housing is open on the flight (or the port is removed). The pressure change on the flight could vacuum sealed the housing. It happened to me once and I couldn’t open it on arrival. I had to wait until I was in the air on the way home to open the housing.
Great tip Duncan!
I know a guy that gave his to a pilot friend to open it up on one of his flights 😉 It can get really stuck!
I usually leave the o-ring out on compact housings, or leave the port off on DSLR’s.