
 USD
USDNauticam Underwater Housings
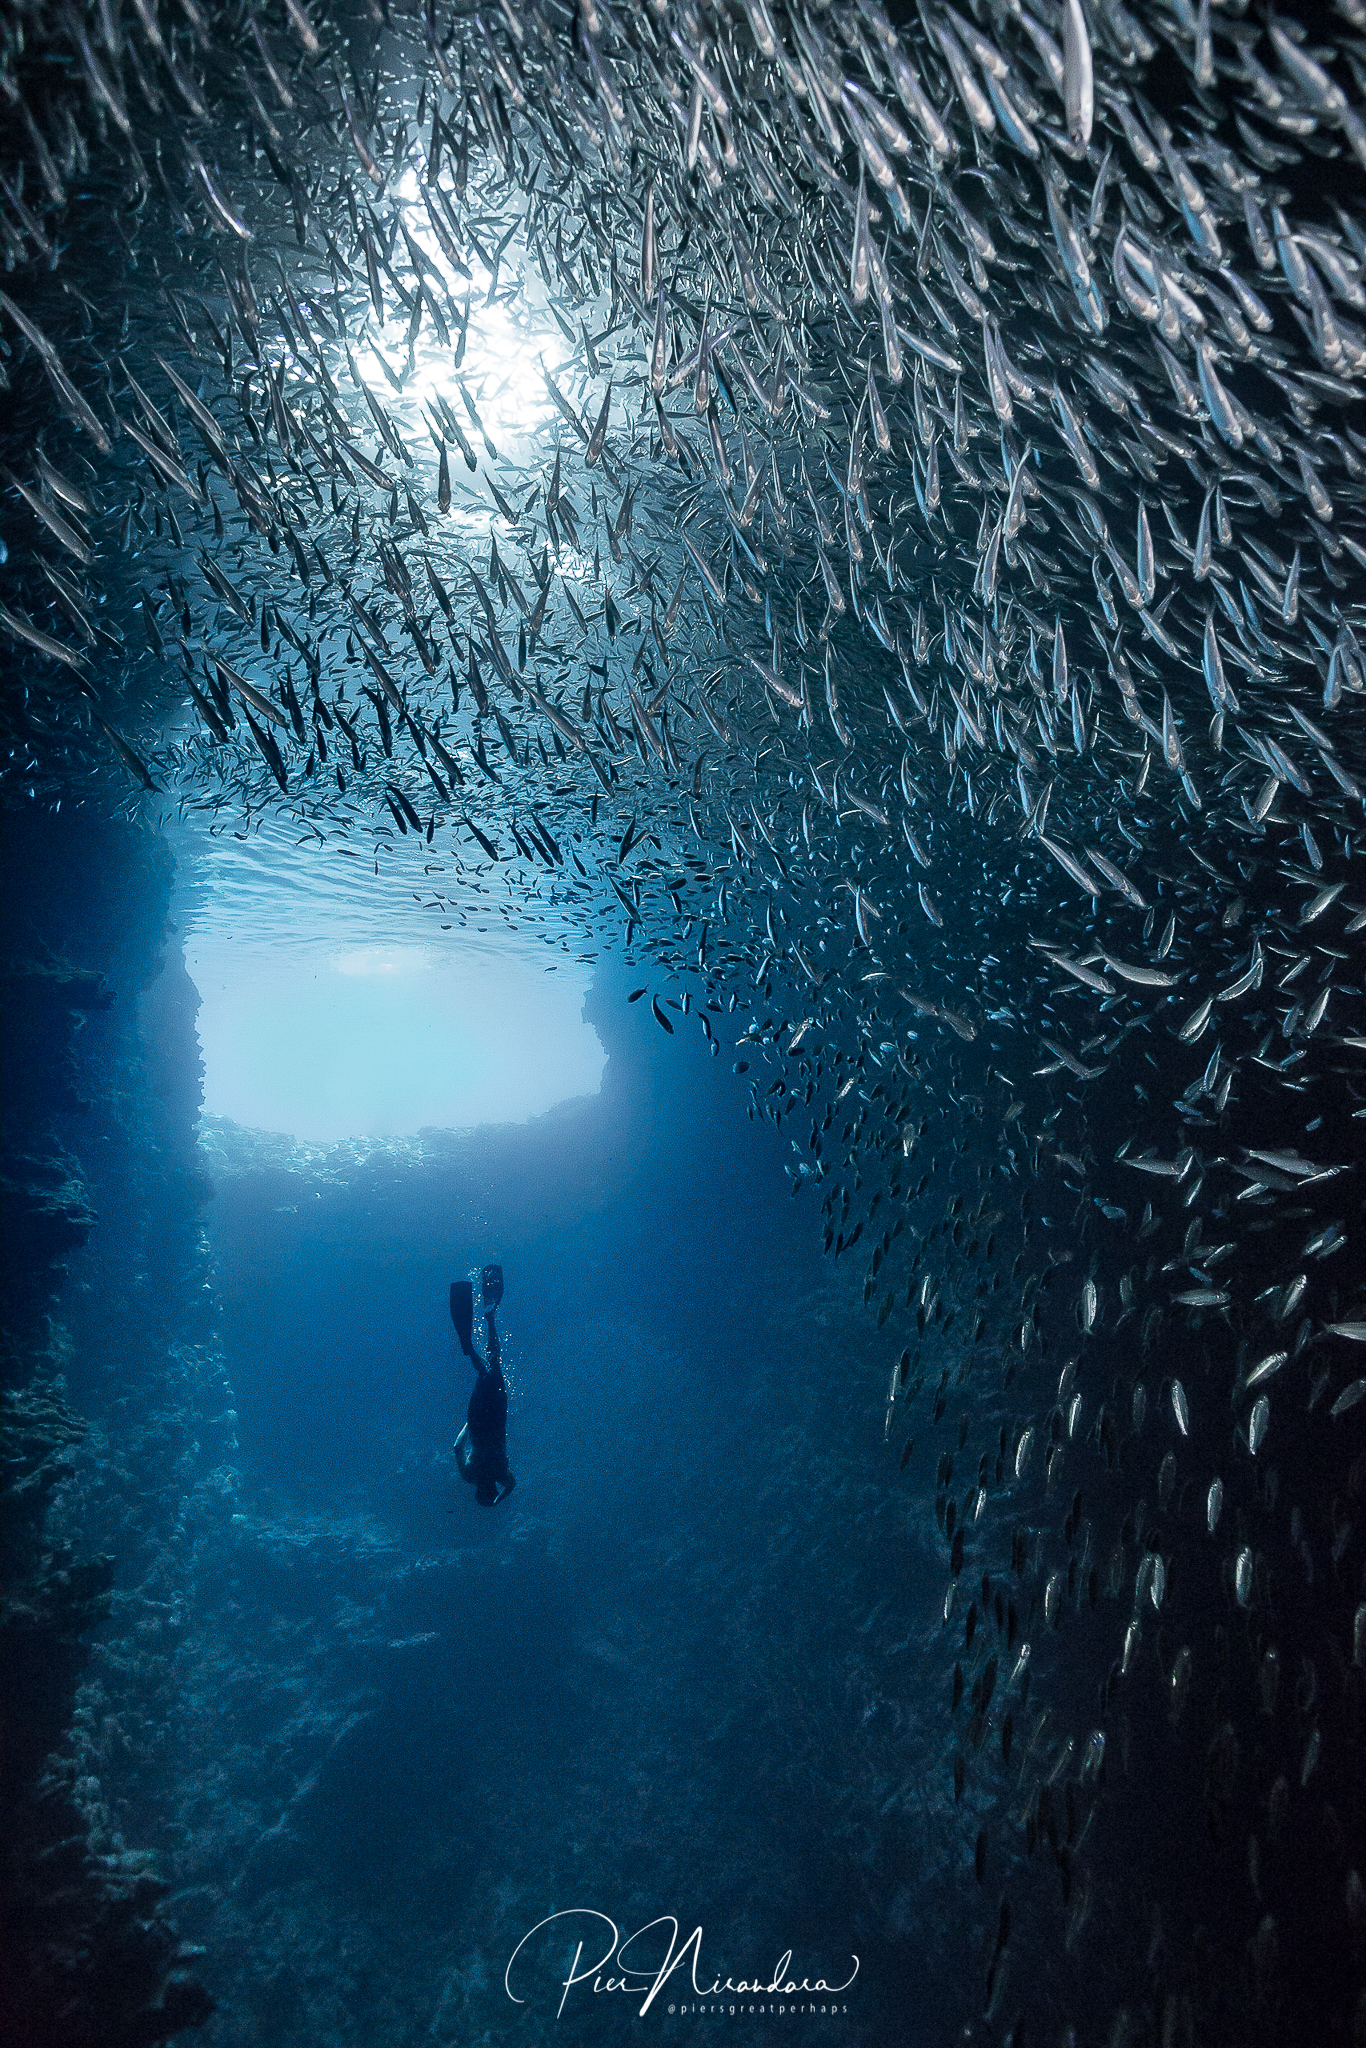
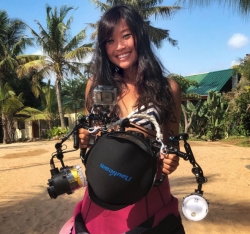
A few years ago, I finally bit the bullet and purchased a Nauticam housing for my Canon 5D Mk3, followed by one to accompany my new Sony A9. I’d been diving and shooting topside for almost a decade at that point, but was still terrified of making the jump: the price tag, complex equipment, and logistics of traveling with so much gear were equally overwhelming. In hindsight, I have zero regrets and have never looked back.
The task of choosing an underwater camera housing may seem daunting at first, but with some research and practice, will enable you to take your photography to the next level.
If you’re ready to take the plunge, read on to see why Nauticam is my housing of choice.

Why Nauticam?
On any dive trip, you’re likely to see someone sporting Nauticam gear, and its trademark black and blue colors are a common sight on liveaboards. As one of the most popular options in underwater photography equipment, Nauticam offers both pro-level tech and quality gear that’s user-friendly enough for passionate hobbyists. With an abundance of housings, domes, ports, and accessories, Nauticam allows you to build your systems from the ground up, mixing and matching equipment as you go for various diving experiences.
Some of the brands you can use with Nauticam:
- Canon
- Sony
- Nikon
- Olympus
- Panasonic
- RED
- Fujifilm

Housing Ergonomics
If you’re a sucker for ergonomics, Nauticam makes quite a strong case. The buttons are laid out in simple, intuitive places, with clear symbols to identify the main functions you’ll often need (ISO, MENU, etc). The grip fits well in your hand, the dials are a joy to use, and the buttons are built in such a way that rarely stick even after prolonged saltwater exposure.
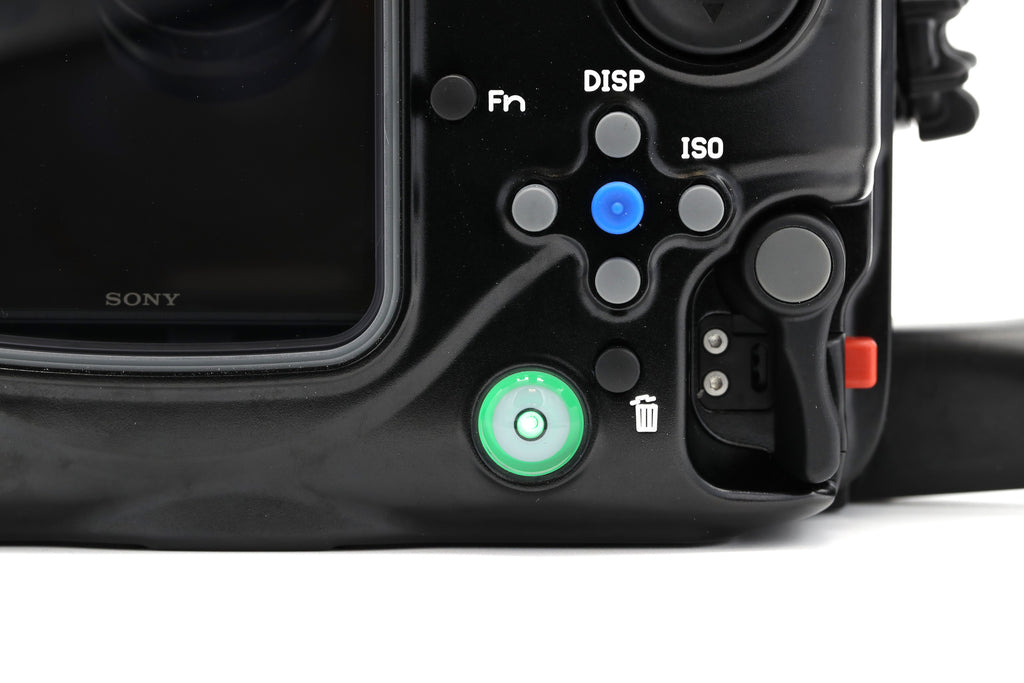
Port lock, vacuum sealing, and leak alarm
Perhaps one of the flagship features of the Nauticam housing system is the patented port-lock system and vacuum valve. The latter is an add-on I highly recommended: powered by a tiny battery that never seems to die, a few pumps will create a vacuum inside your housing and turn the light green. Should you ever have a leak that threatens the equipment inside, the light will flash red and signal you to abort the dive. It’s an easy way of insuring your expensive camera gear stays dry!
That being said, I’ve never actually had a leak within my Nauticam housings within my years of using them—which is something to be said about the quality of the housings.
Housing depth rating
Recreational divers will rarely have to surpass 40m / 130ft, but you have ease of mind in knowing that most Nauticam housings have a depth rating of much more—100m / 330ft or so, almost triple what you would need.
Port Systems
One of my favorite aspects of the Nauticam housing system is the versatility. Whatever you’re shooting topside, you can probably build a Nauticam setup to transfer it underwater. A common setup is a main housing for your camera body, an extension ring (and sometimes a port adaptor), and a dome.
Putting together the gear is relatively straight forward, and after a few practice runs, feels intuitive enough to become second nature.
Dome
The main distinction between domes is whether you prefer acrylic or glass. The former is generally cheaper and lighter, but can be easier to scratch and less durable. There’s also an argument that glass domes are better at shedding water, which mean they perform better when photographing split-shots. If this is something you want to do often, I recommend choosing a larger, glass dome.

Ultimately, I’ve used both glass and acrylic and haven’t noticed a significant difference in quality, but switched to glass to help prevent my set-up from being too positively buoyant. I also make it a habit to always put on the neoprene cover whenever I’m not actively shooting—there’s nothing worse than a scratched dome!
Weight
I’ve backpacked with Nauticam housings before, and while it’s not ideal, it is entirely possible, as the housings are relatively painless to break down for travel purposes.
While you can’t really decrease the weight of a Nauticam housing, you can choose different gear to help mitigate the weight—smaller lenses (subbing an f2.8 for an f.4), choosing an acrylic dome instead of glass, etc.
Compatibility
While much of the gear can be repurposed across models (e.g. domes, port systems, etc.) the housings themselves are quite specific to camera bodies. If you’re about to upgrade from one camera body to another, make sure you check if the Nauticam housing is compatible. I’d recommend purchasing a housing only for a camera body you intend on using for the next few years, as slight shifts in physical components can throw off the compatibility.

Accessories
Nauticam provides a number of add-ons, including vacuum valves, strobes connectors, and hotshoe/coldshoe mounts. One that I use on almost every single dive is a one-inch ball adaptor that allows me to mount a GoPro to the housing set-up. This allows me to run a continuous b-roll while shooting, along with giving the flexibility to twist the GoPro around and capture some underwater selfies as well for a different perspective.
Cost
There’s no way around it: underwater camera equipment is expensive. Regardless of which housing brand you choose, you’re likely going to shell out a couple thousand dollars—and possibly more if you’re starting from scratch and building it from the ground up with other accessories, strobes, and add-ons.
The thing to keep in mind with Nauticam is that you really do get what you pay for. The quality is good enough for professionals, and when you have expensive camera gear that you want to protect, it’s worth to not skimp on quality. Nauticam is going to be more expensive than your entry-level surf housings, but with that price tag comes a higher depth rating, quality, and construction of materials. It’s also still user-friendly enough for someone who’s never shot underwater before. Additionally, once you’ve taken the plunge in buying an initial set-up, any other upgrades are generally cheaper as a lot of the gear is compatible across models.
Nauticam has also been known to sometimes run discounted events as well, and there are various avenues in buying second-hand Nauticam gear that significantly reduces the cost.

My set-up of choice
I’ve shot with a Canon 5DMk3, but recently switched over to the Sony A9. My current set-up is as follows:
- Nauticam Housing for Sony A9
- Nauticam M14 Vacuum Valve II
- Nauticam N100 to N120 35.5 Port Adaptor II
- Nauticam Extension ring 60mm
- Nauticam Zoom Gear for Sony FE 16-35mm f2.8 GM
- Nauticam 180 Optical Glass Wide Angle Port
- Nauticam 5-pin Bulkhead with Universal Connection
- Sea & Sea YS-D2 strobes
There you have it. What set-up have you used, and what do you prefer? Drop me a note @piersgreatperhaps, and happy shooting!


- Nauticam Underwater Housings – December 15, 2020
2 comments
Thanks for this Pier. Very interesting and informative.
Pier, I enjoyed reading this and your views on Nauticam. Very very helpful. Thank you