
 USD
USDHow to Extract Perfect Still Photos from 4K Video
Have you captured some amazing video but wished you had a photo to share of the encounter? Maybe you have some downtime and are running out of photos to share on your social media. Are you like me and have clips that weren’t good enough, long enough (or steady enough) to add to an edited video, but does have a few great frames? If so then this is going to resurrect that footage into something usable that you can actually be proud of.
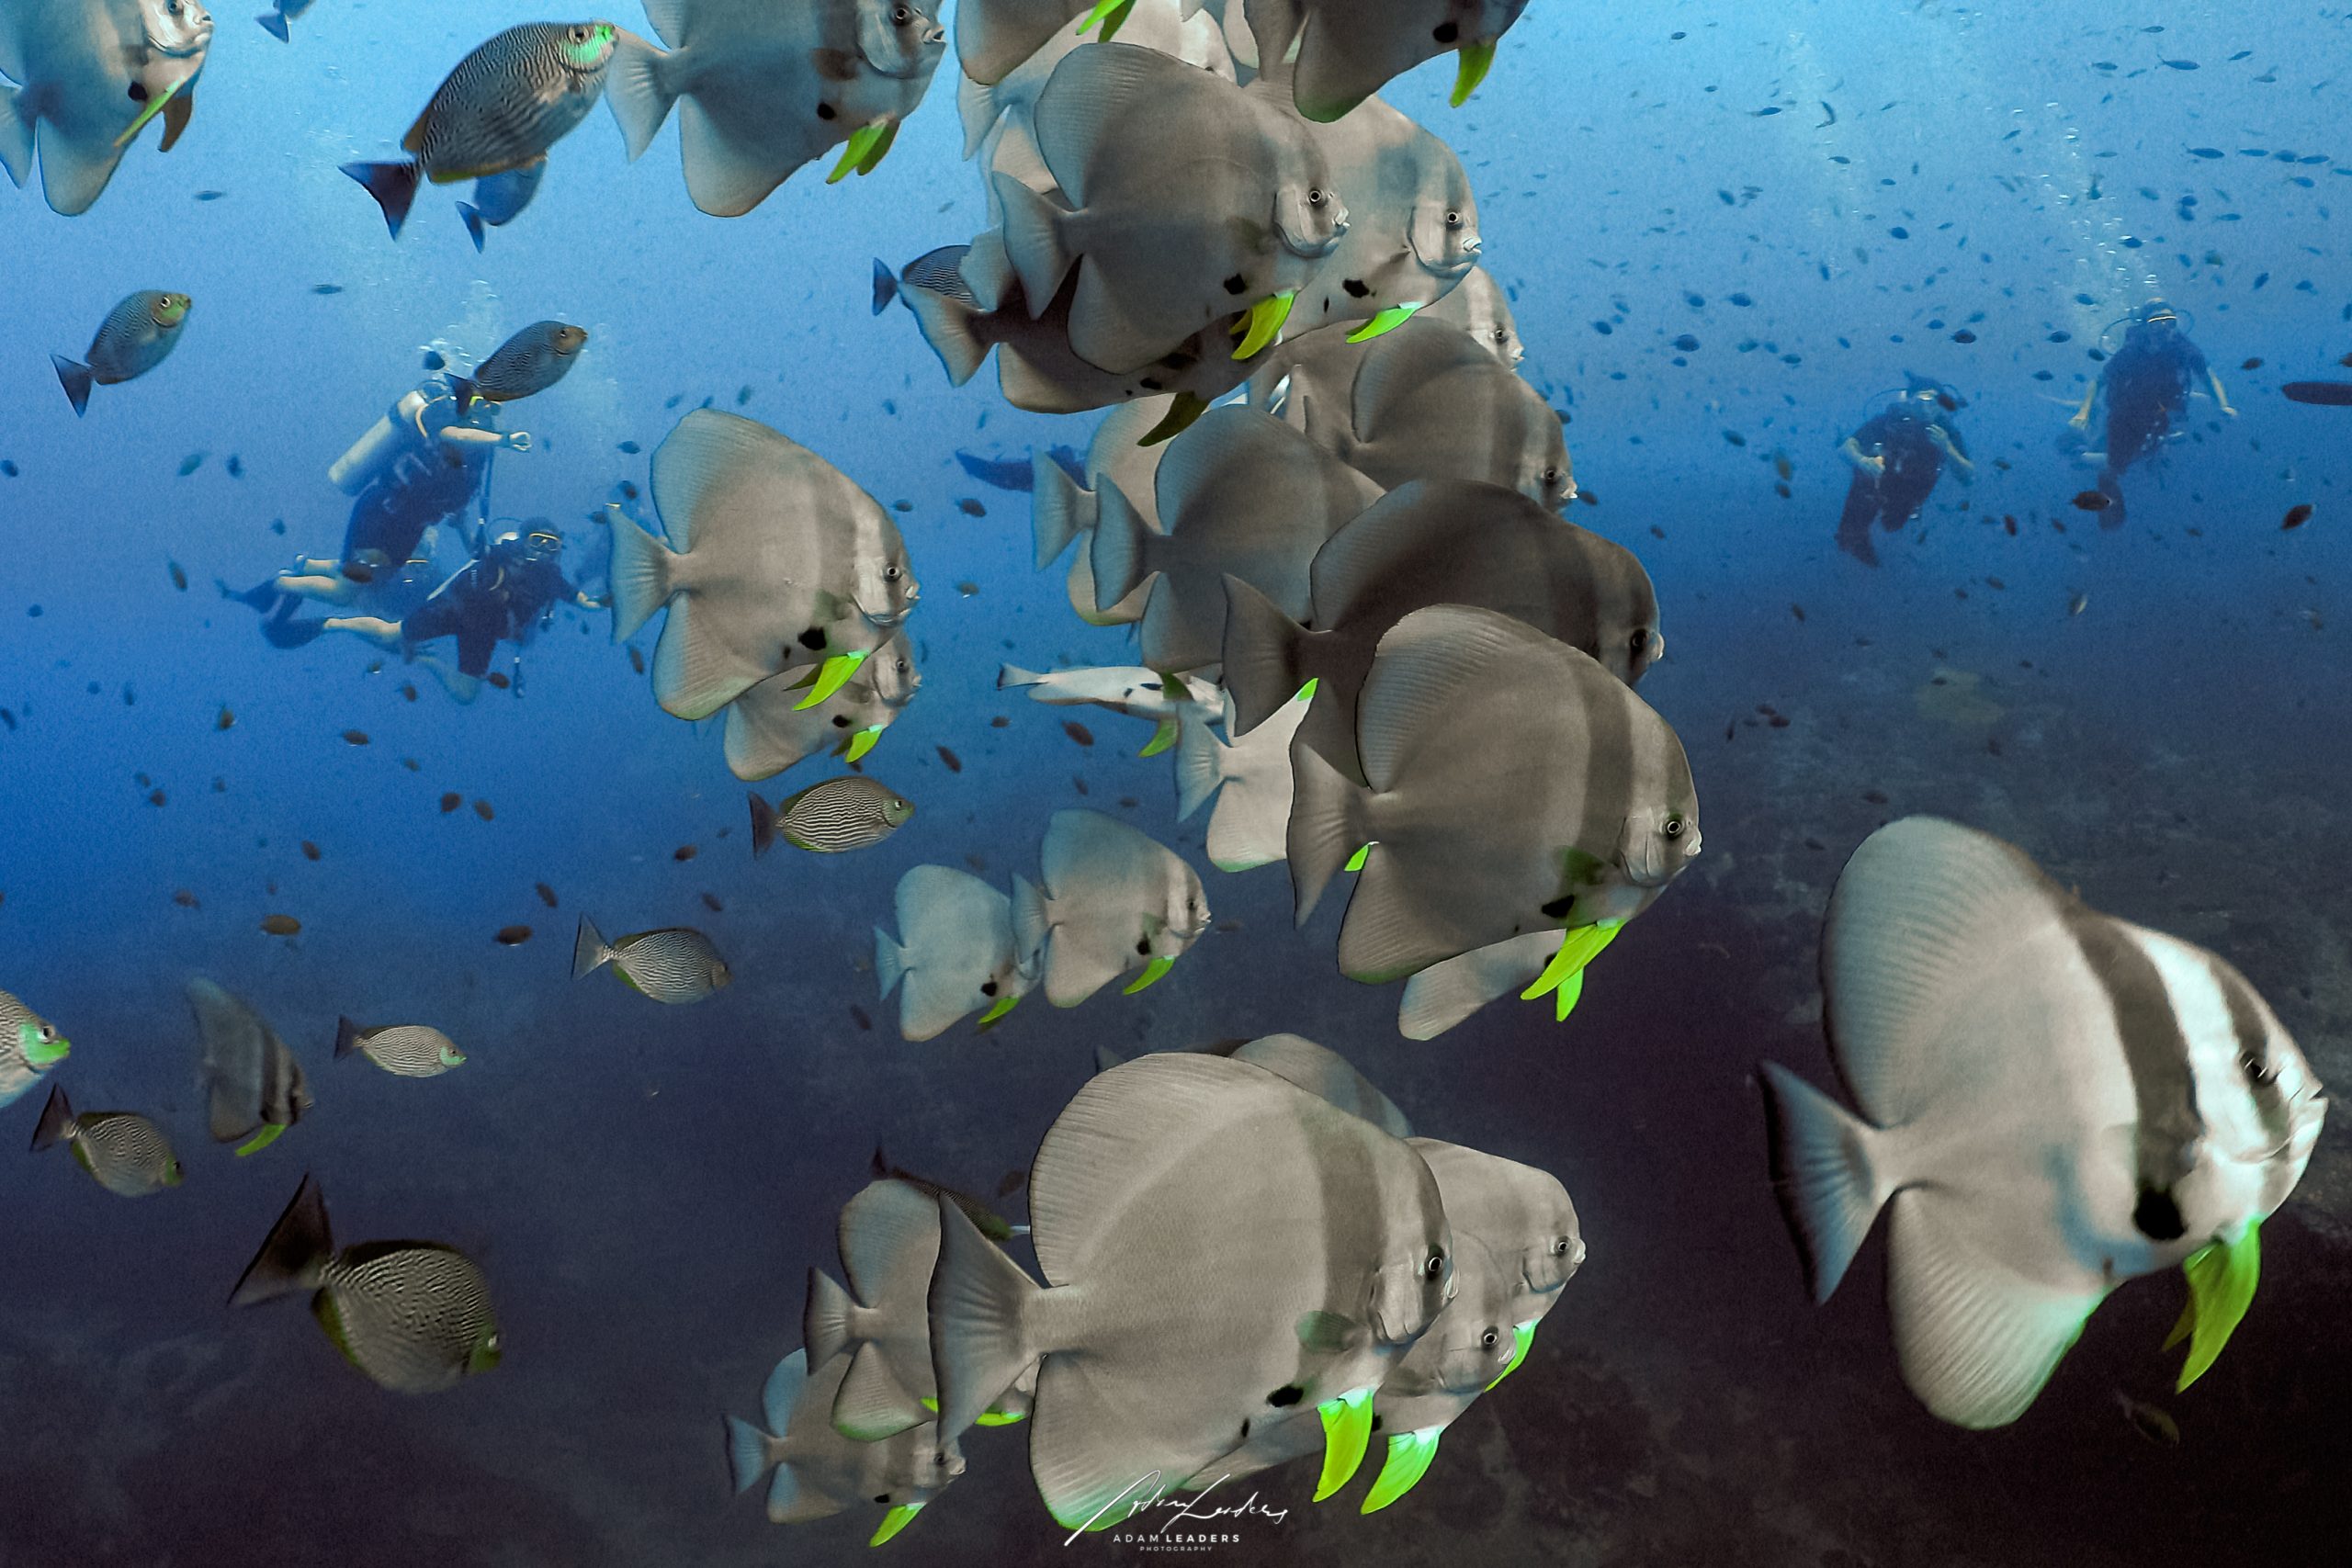
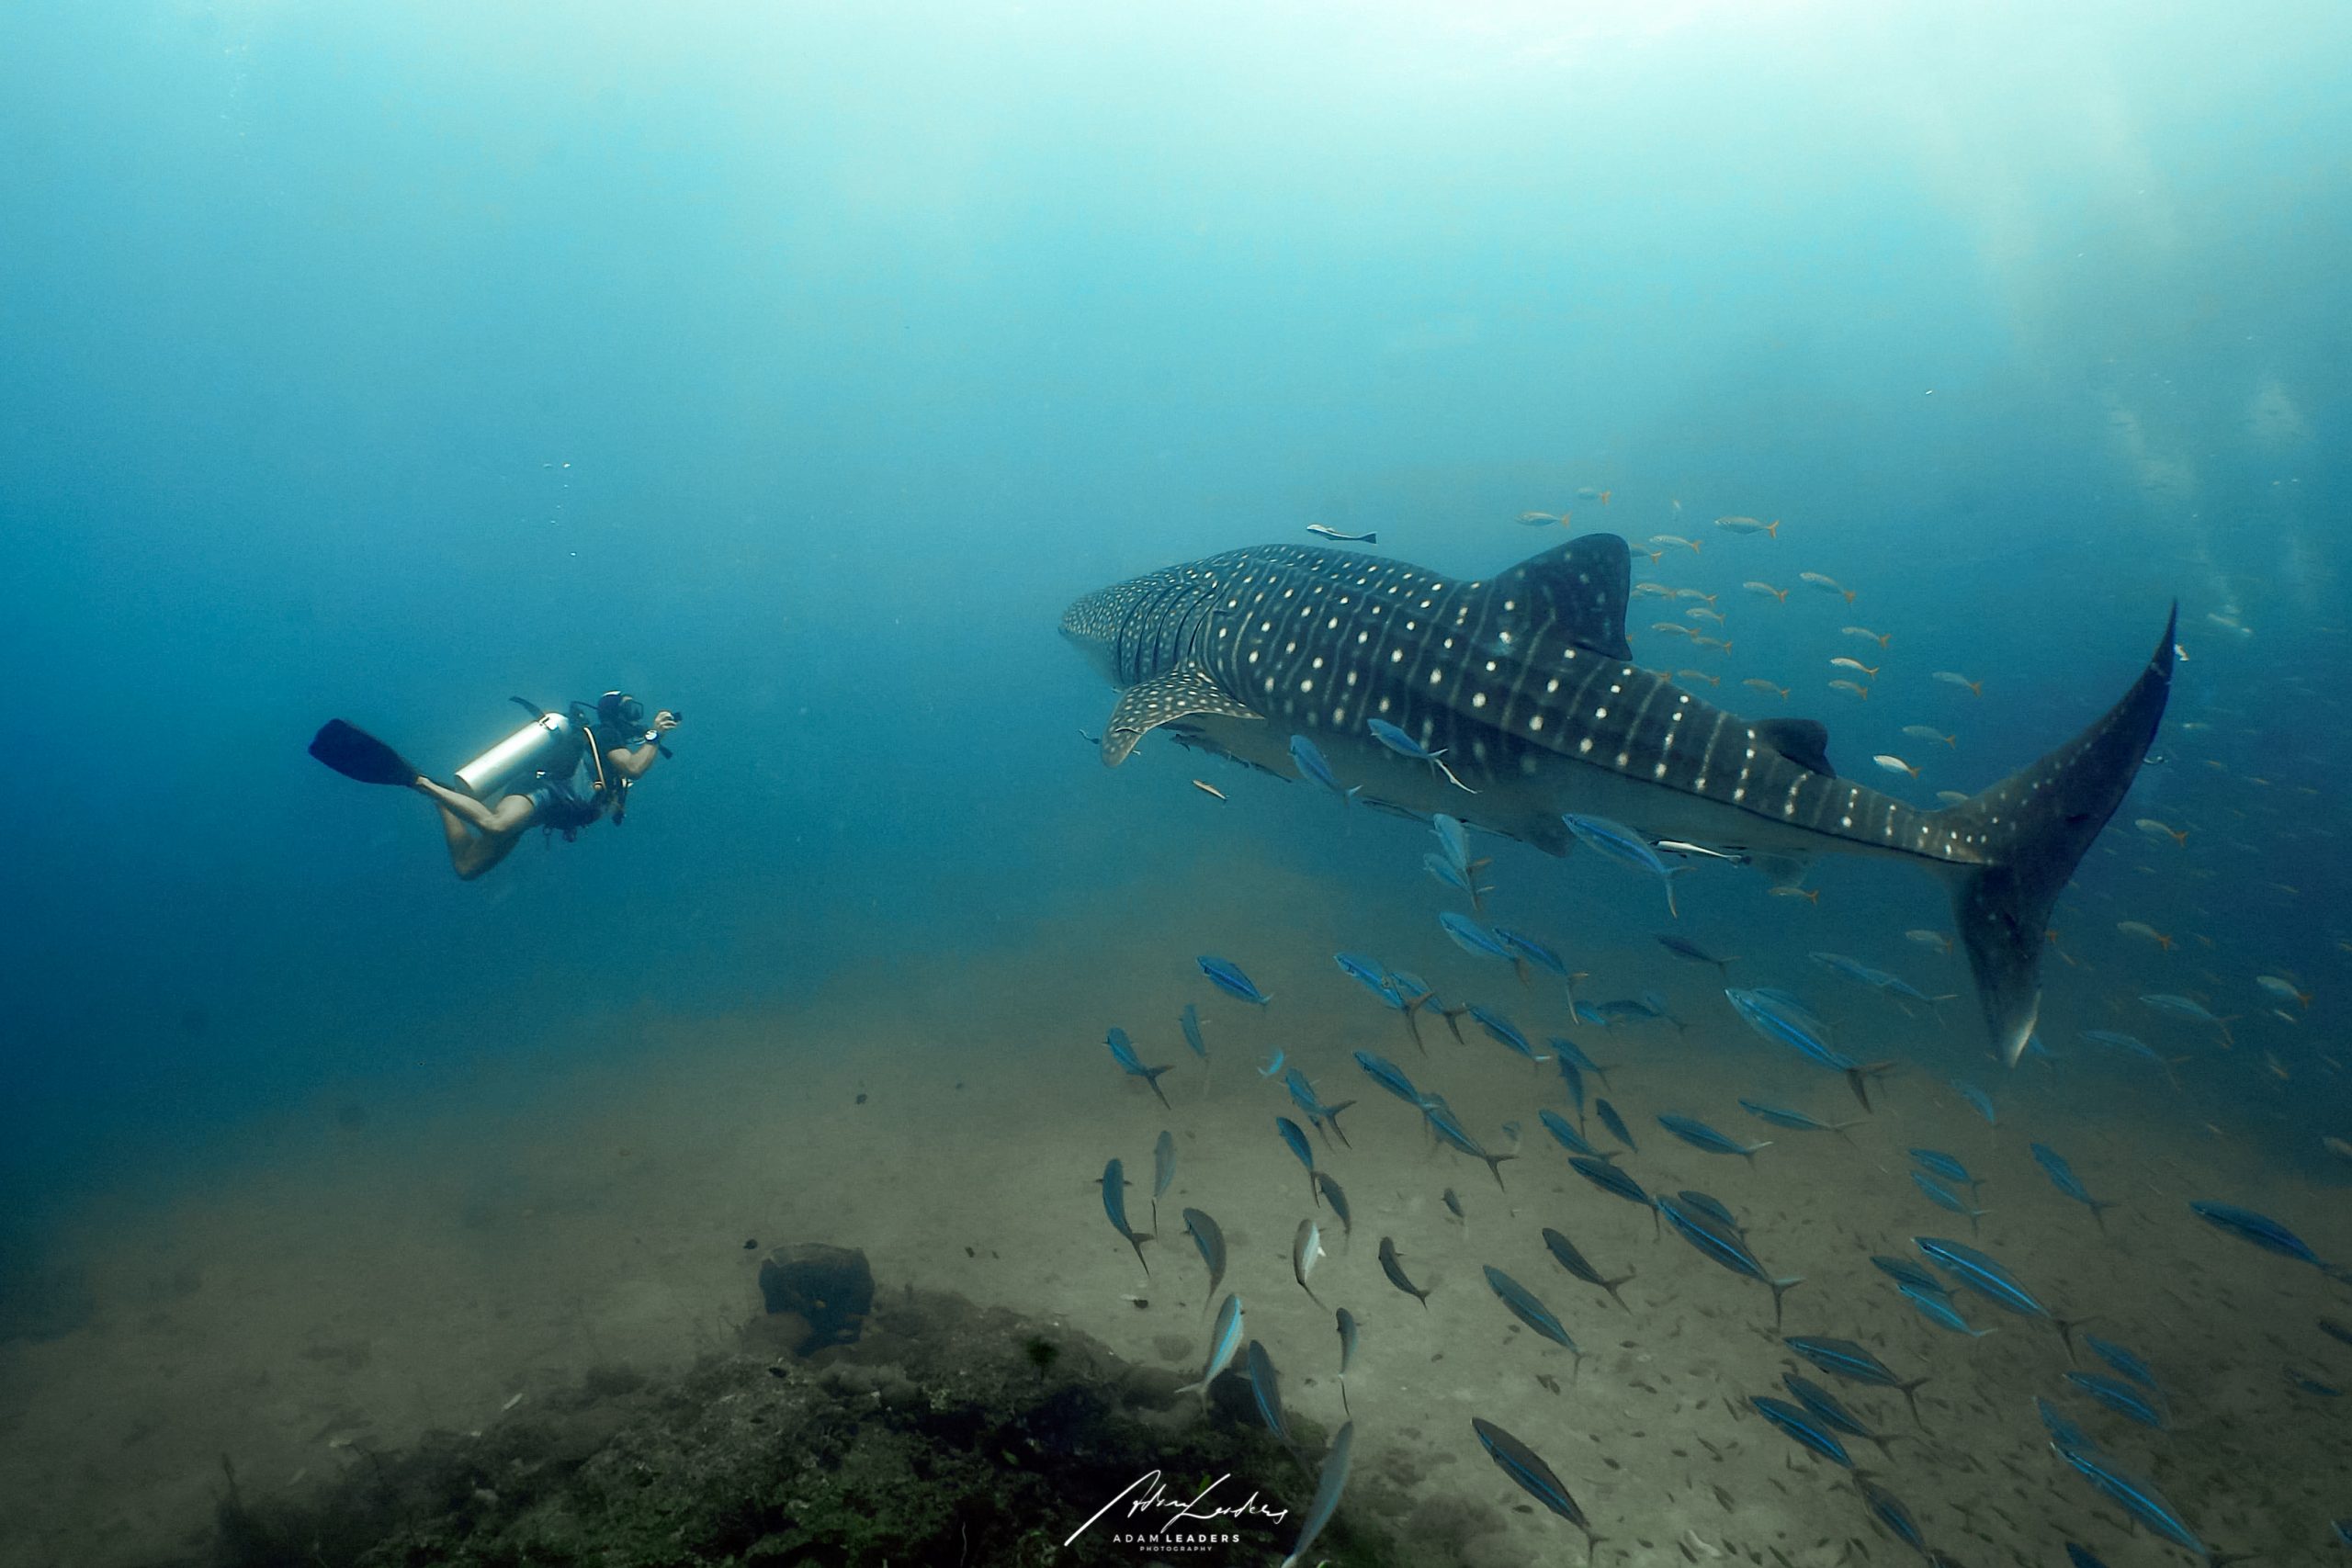
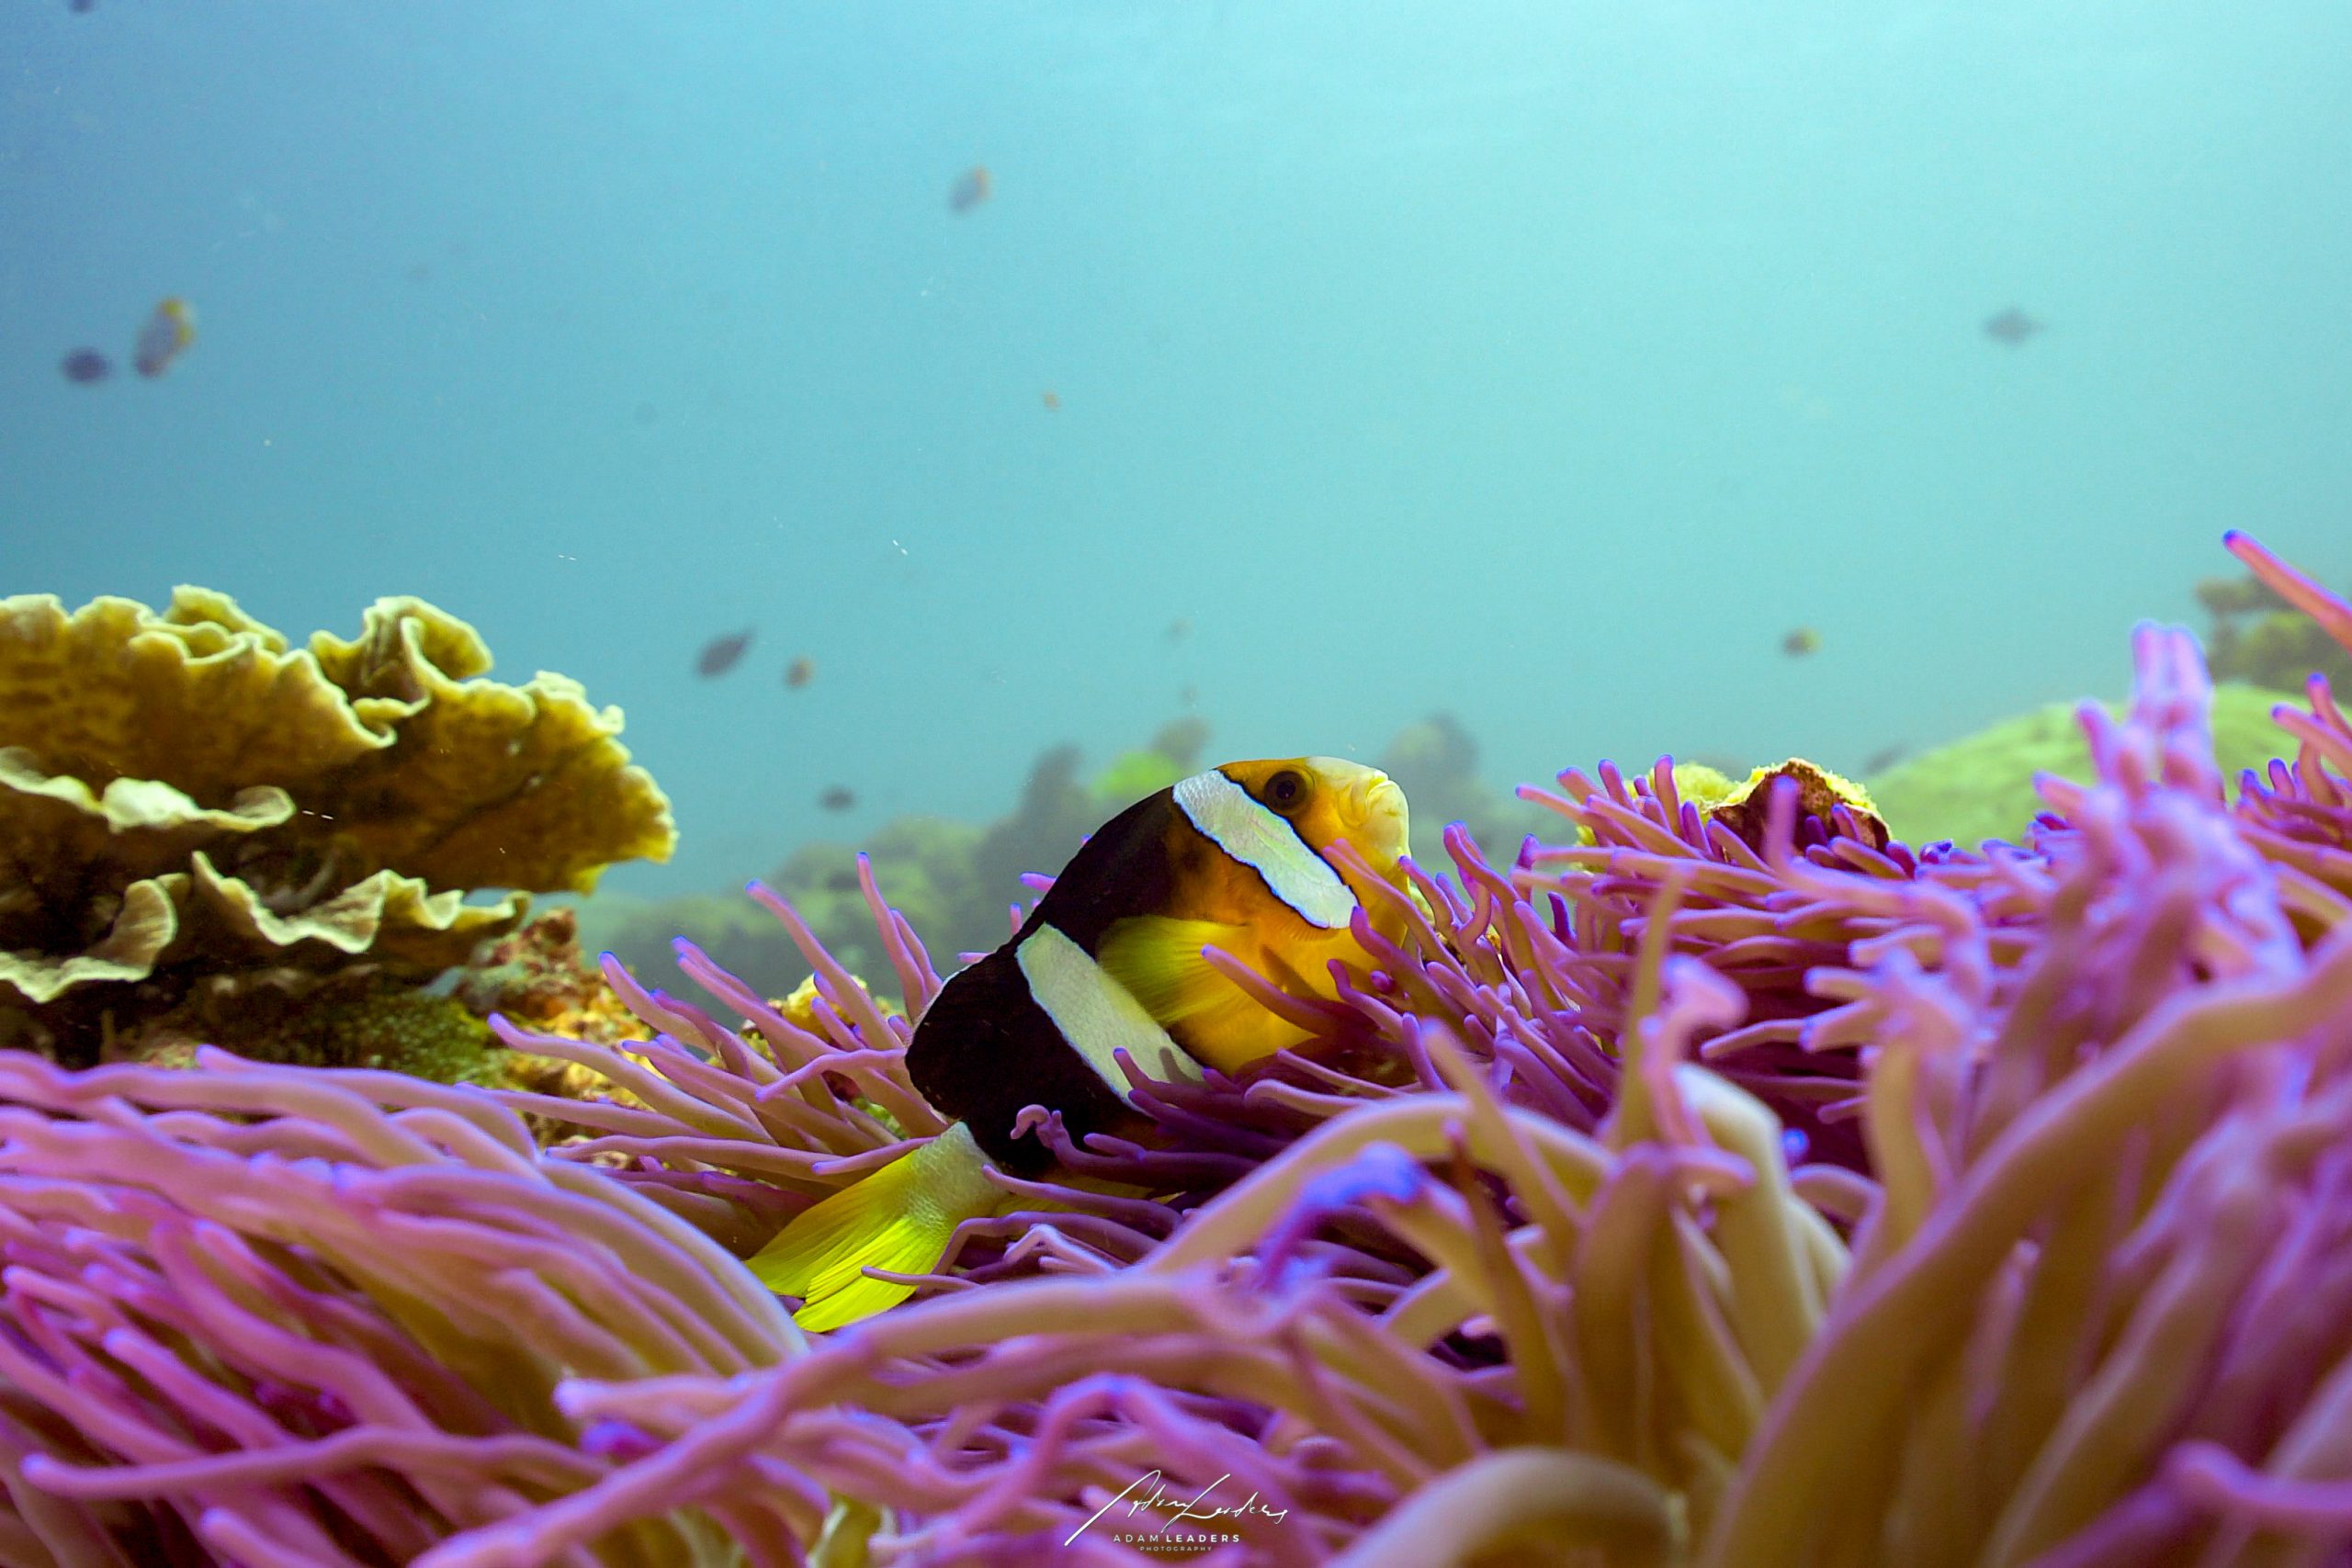
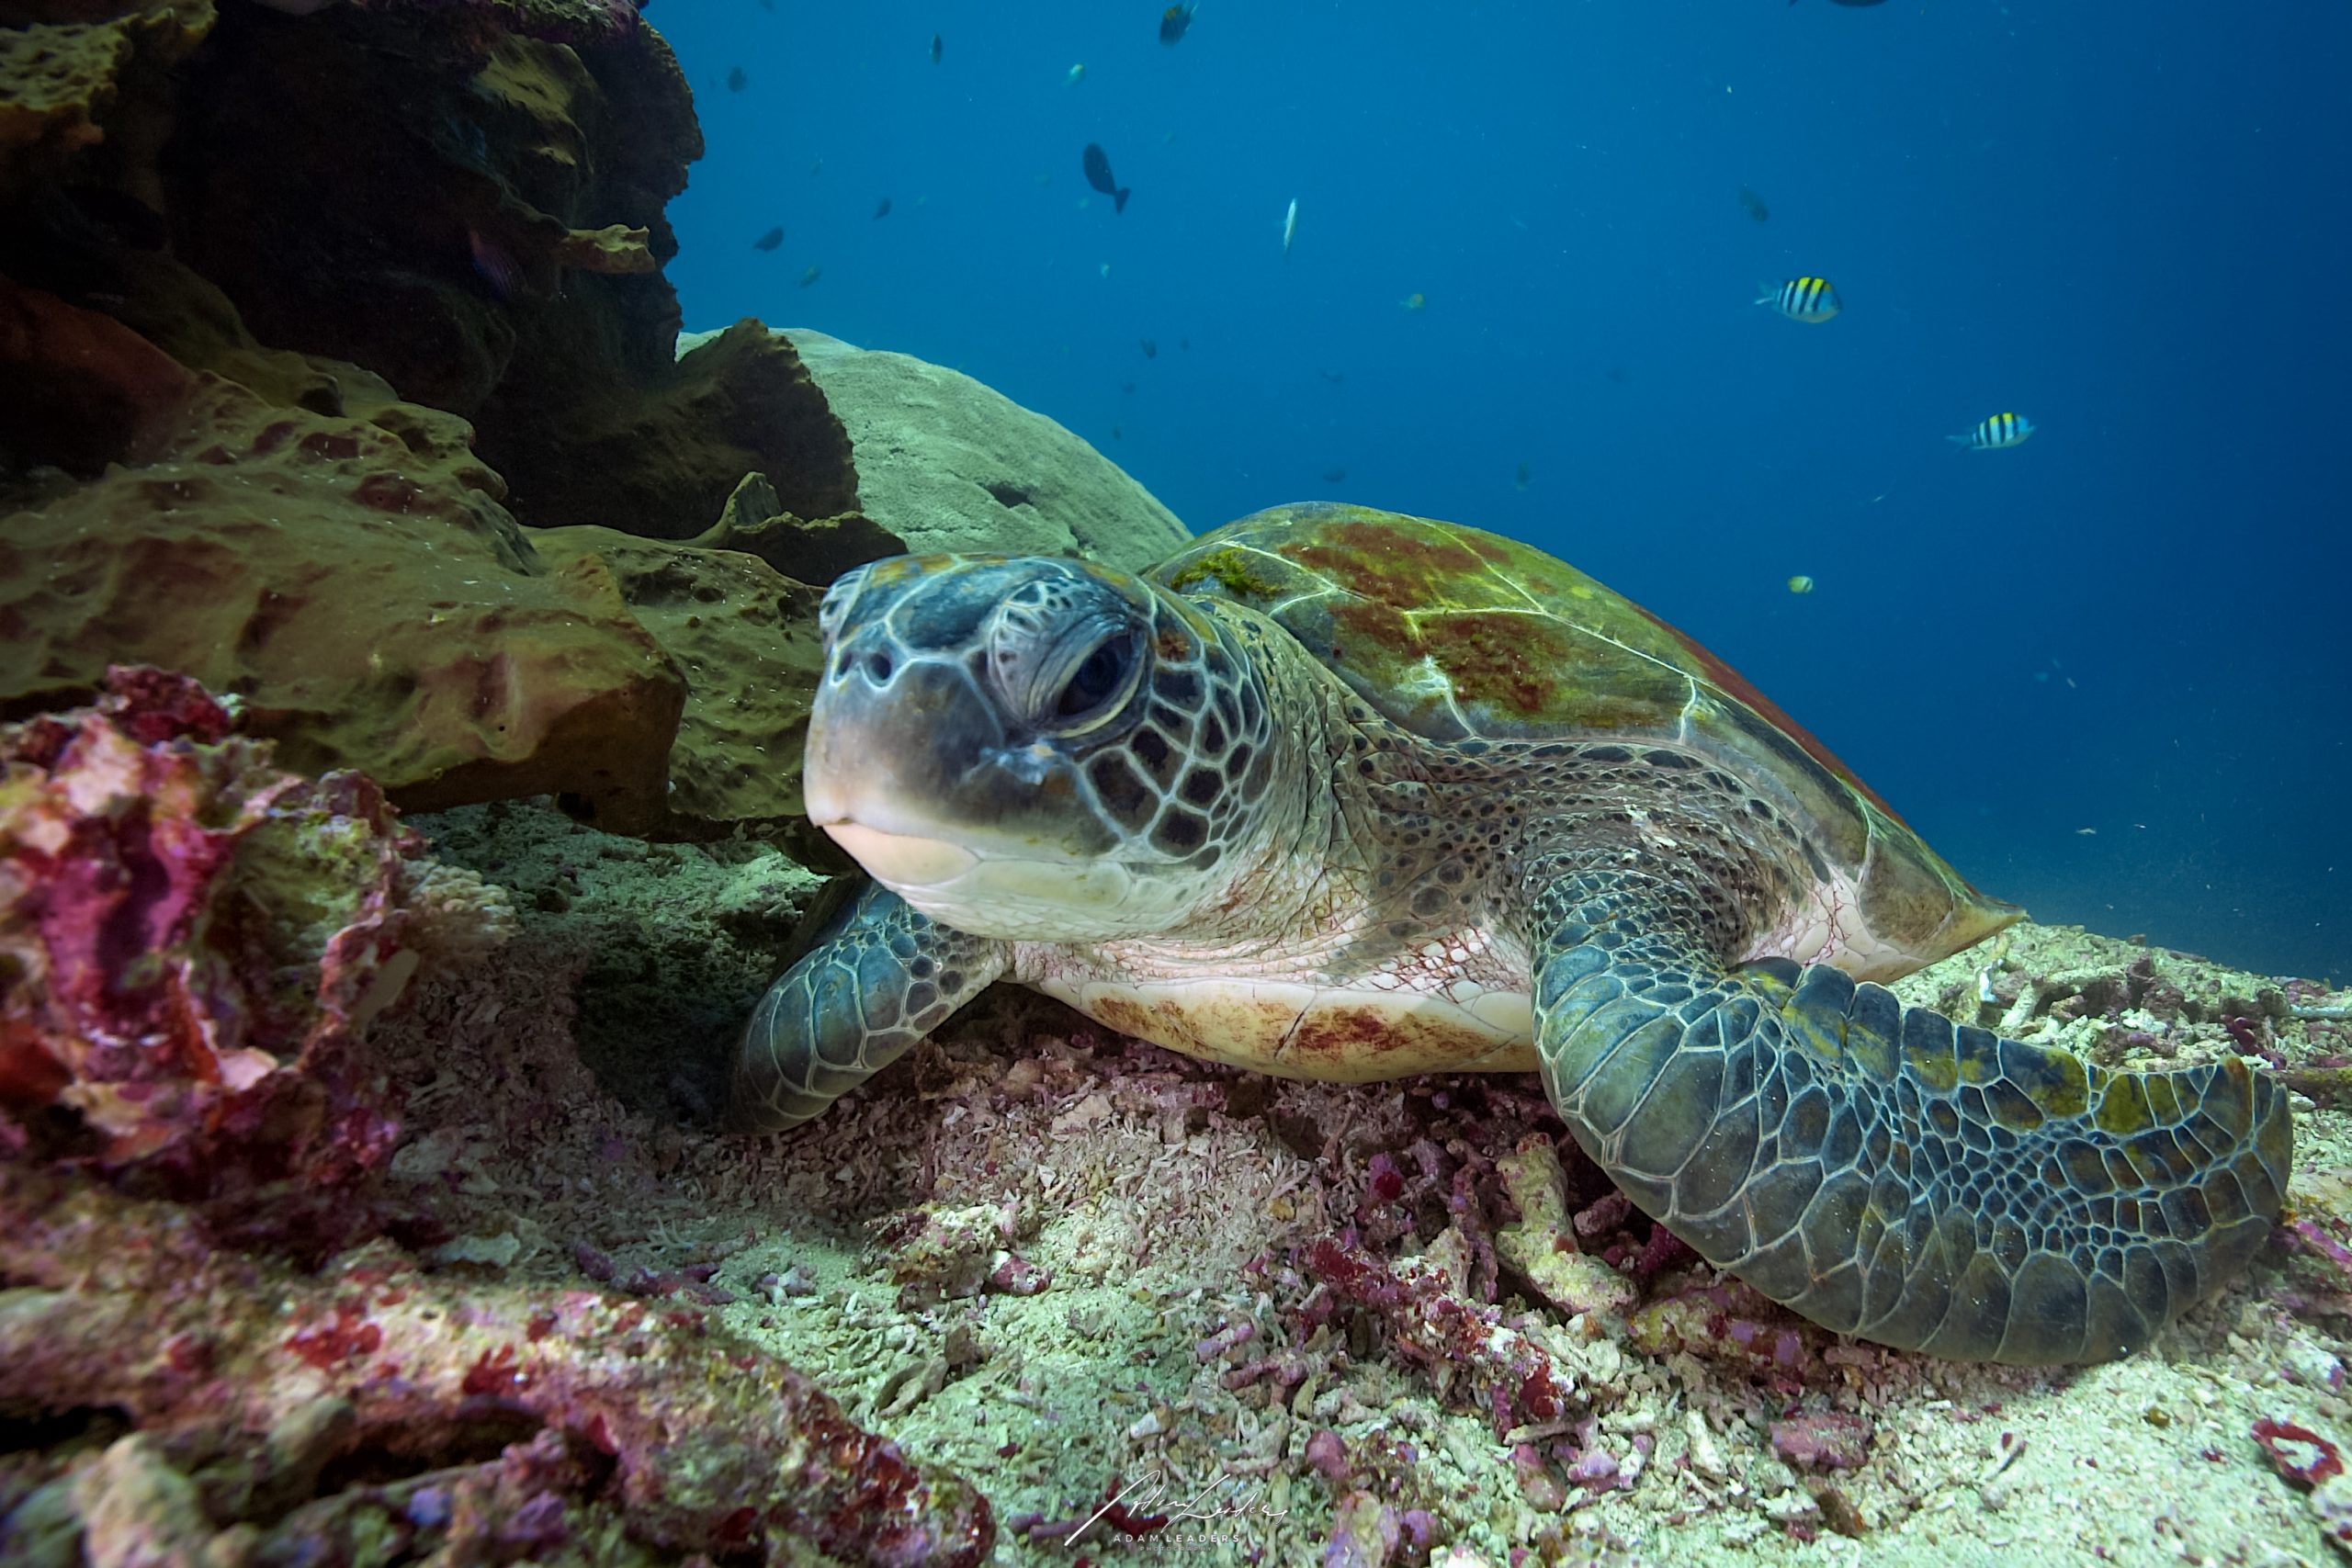
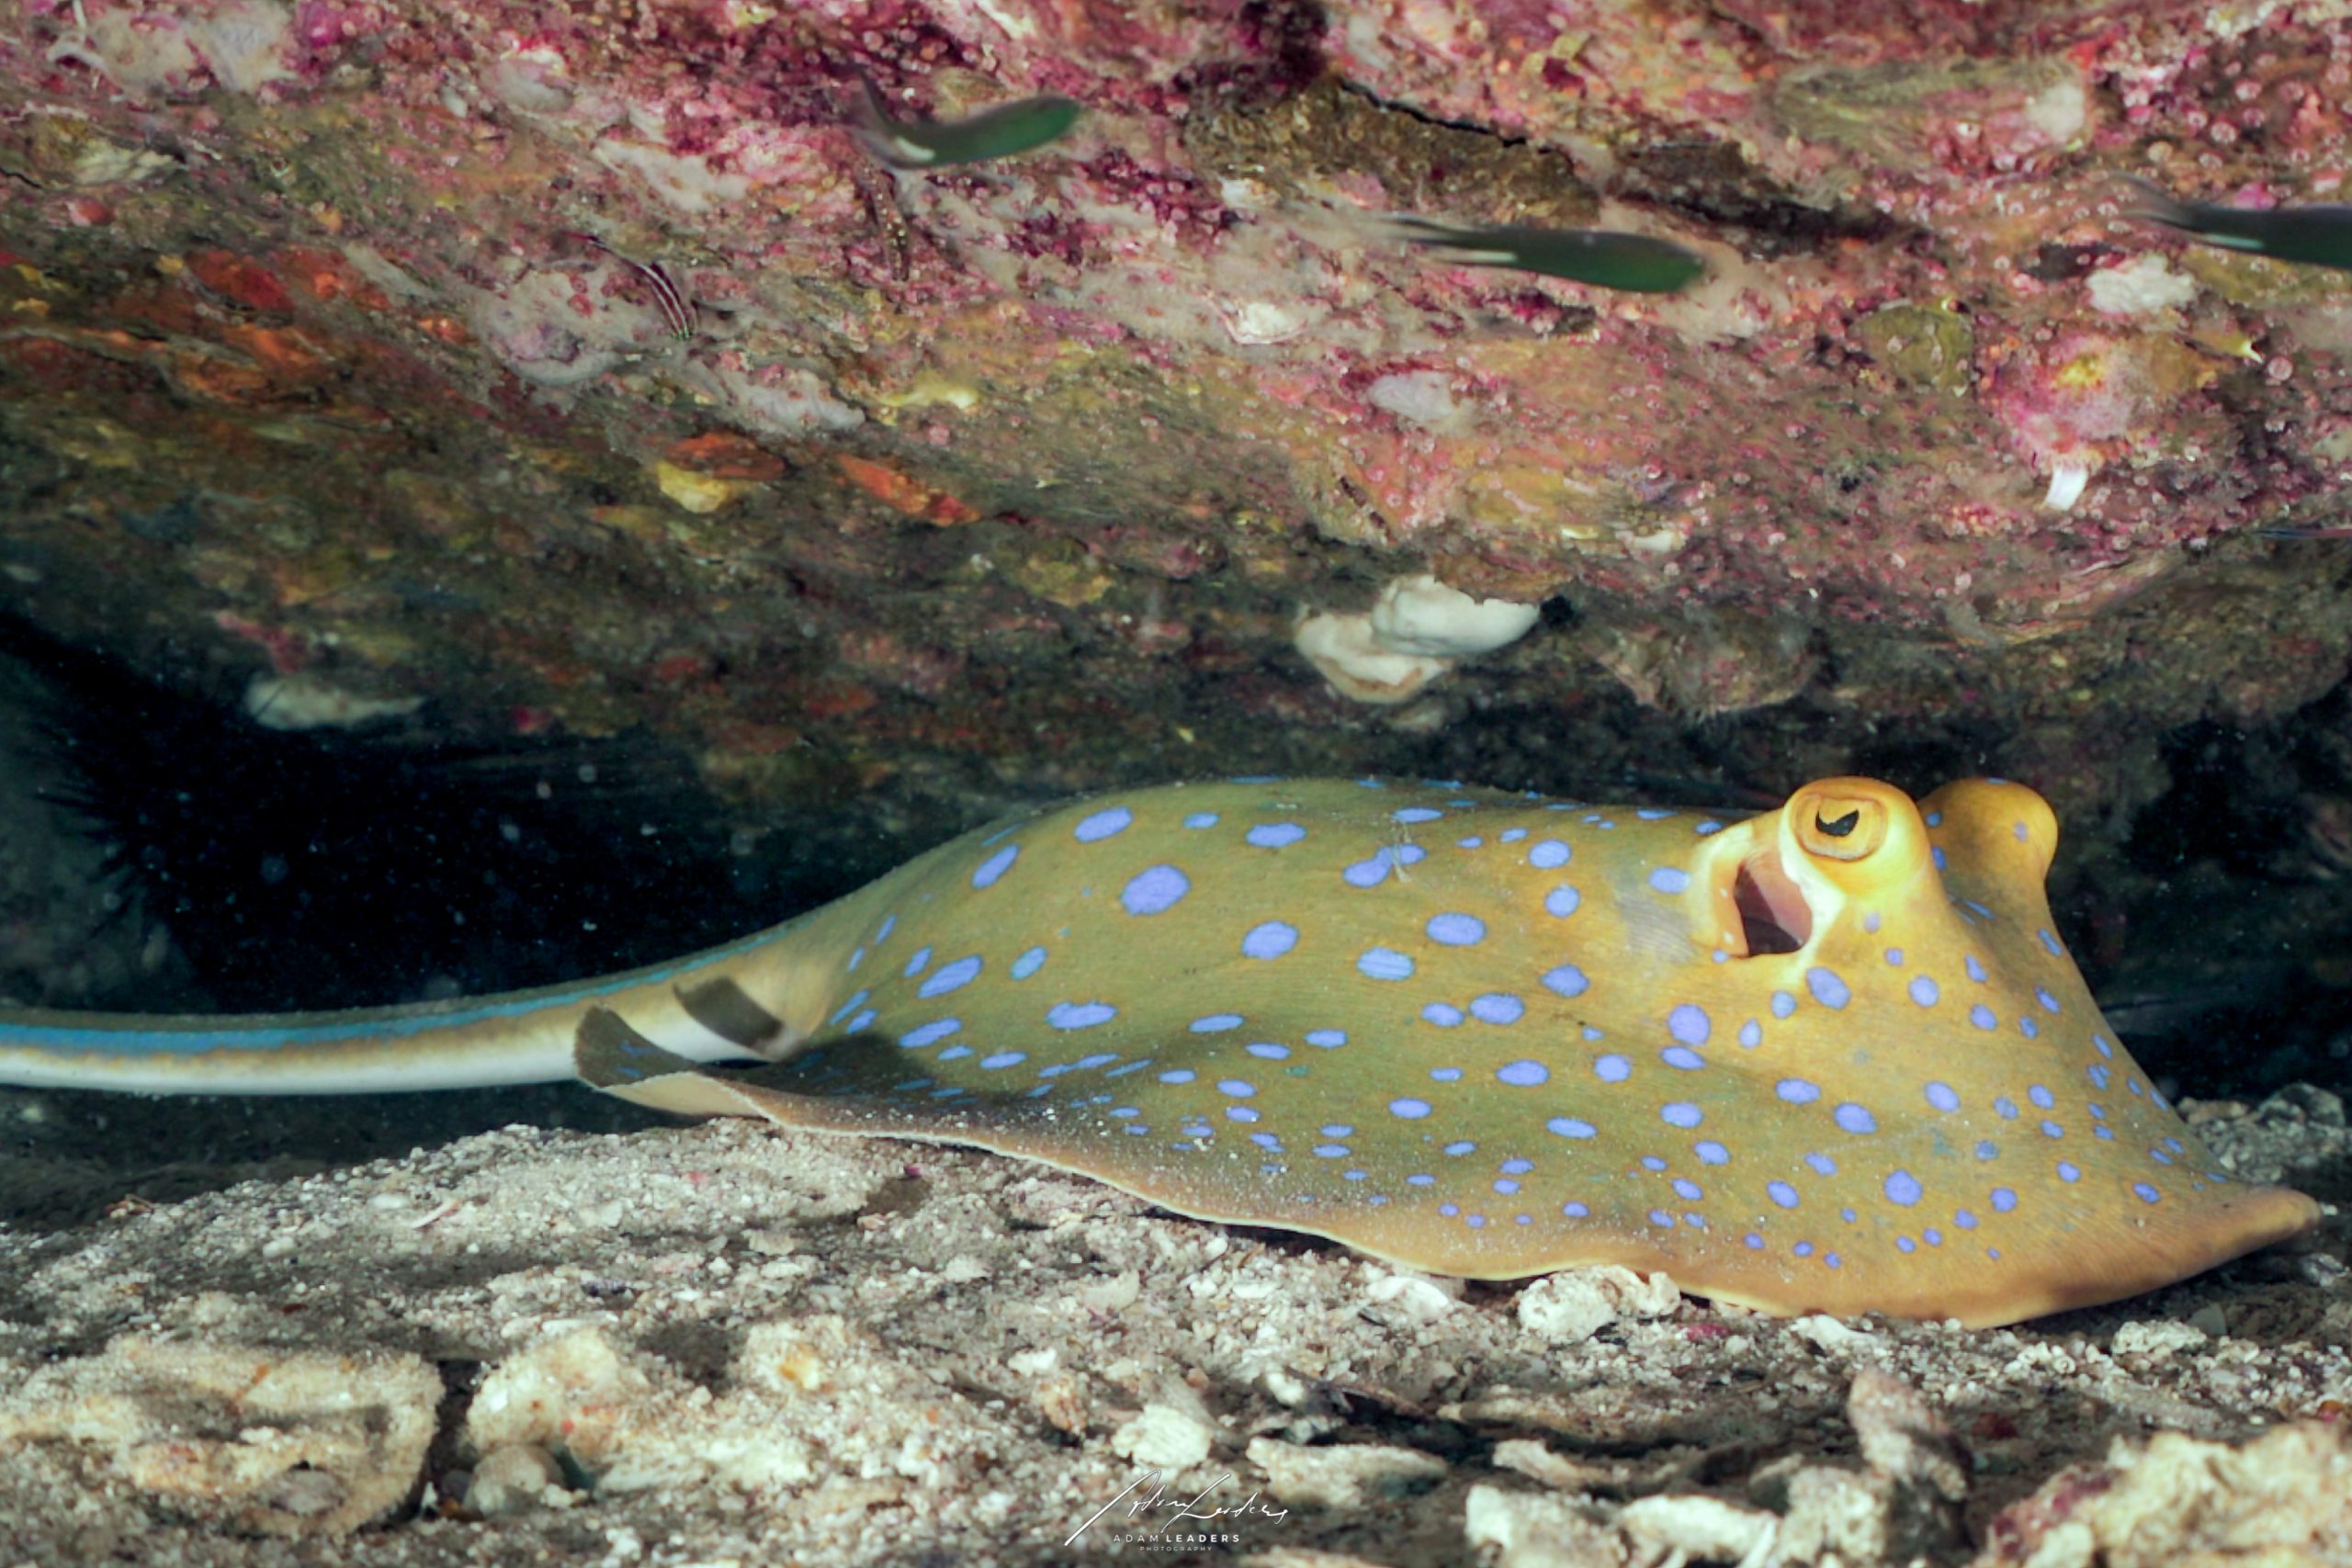

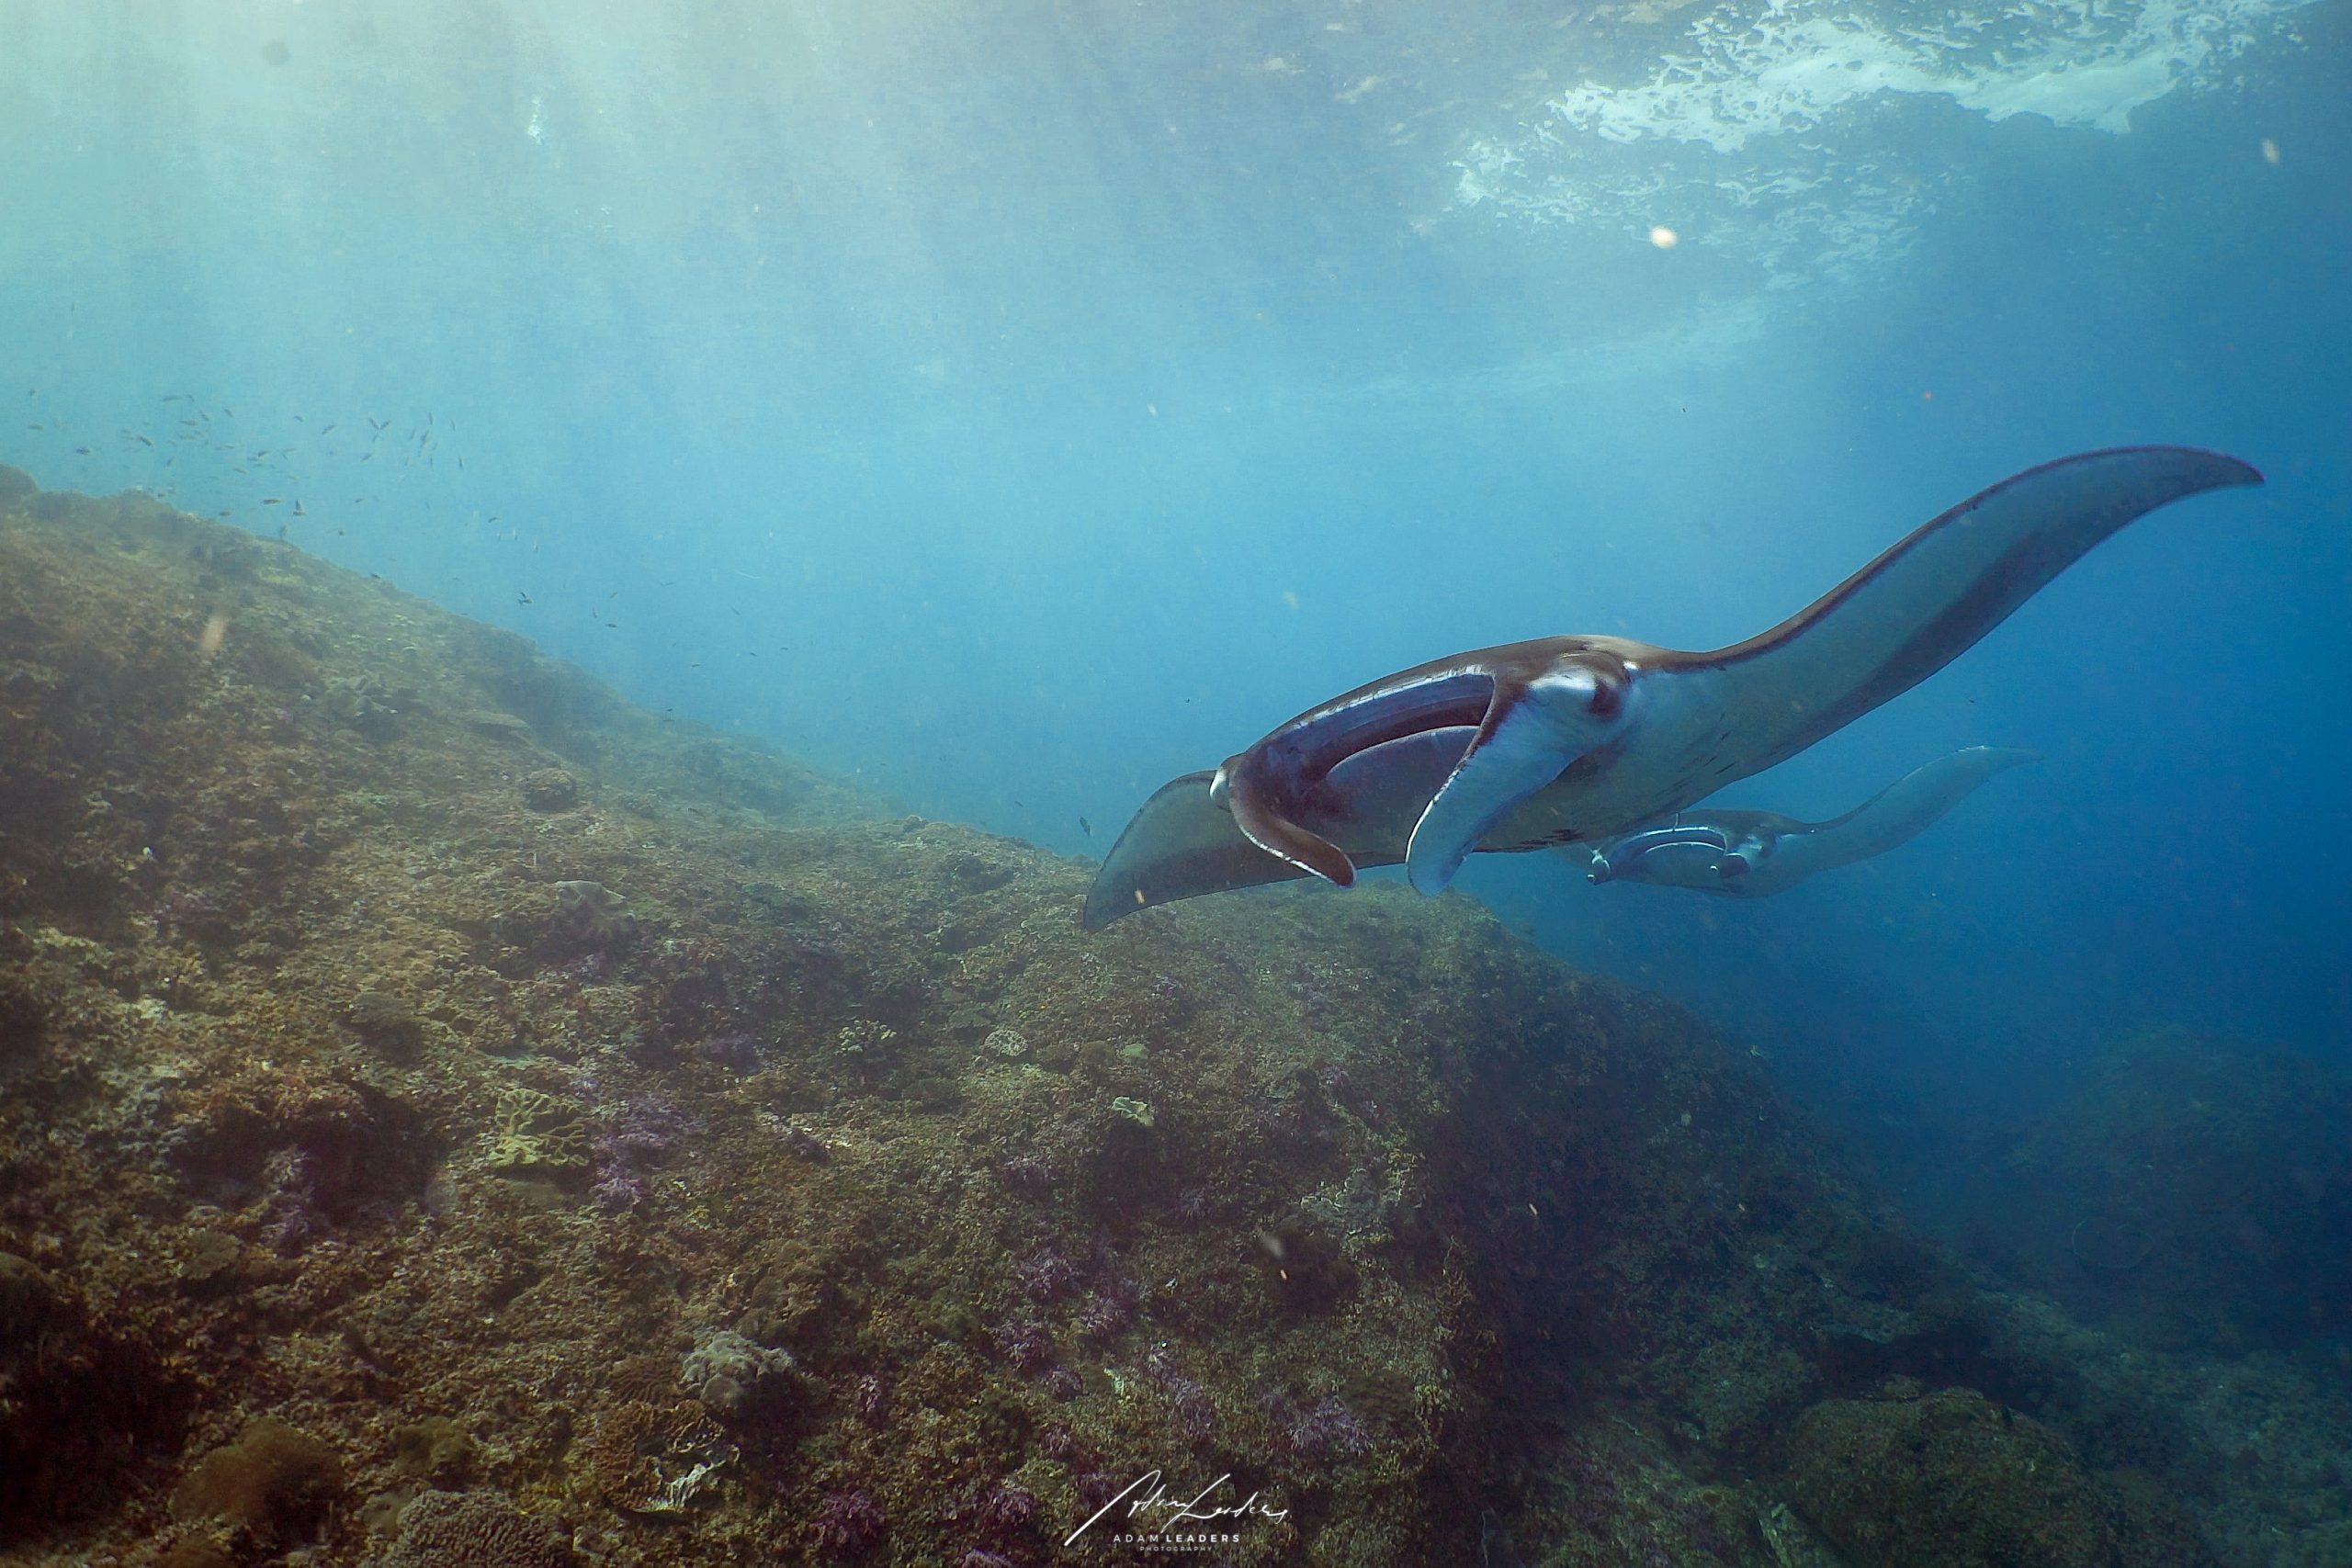
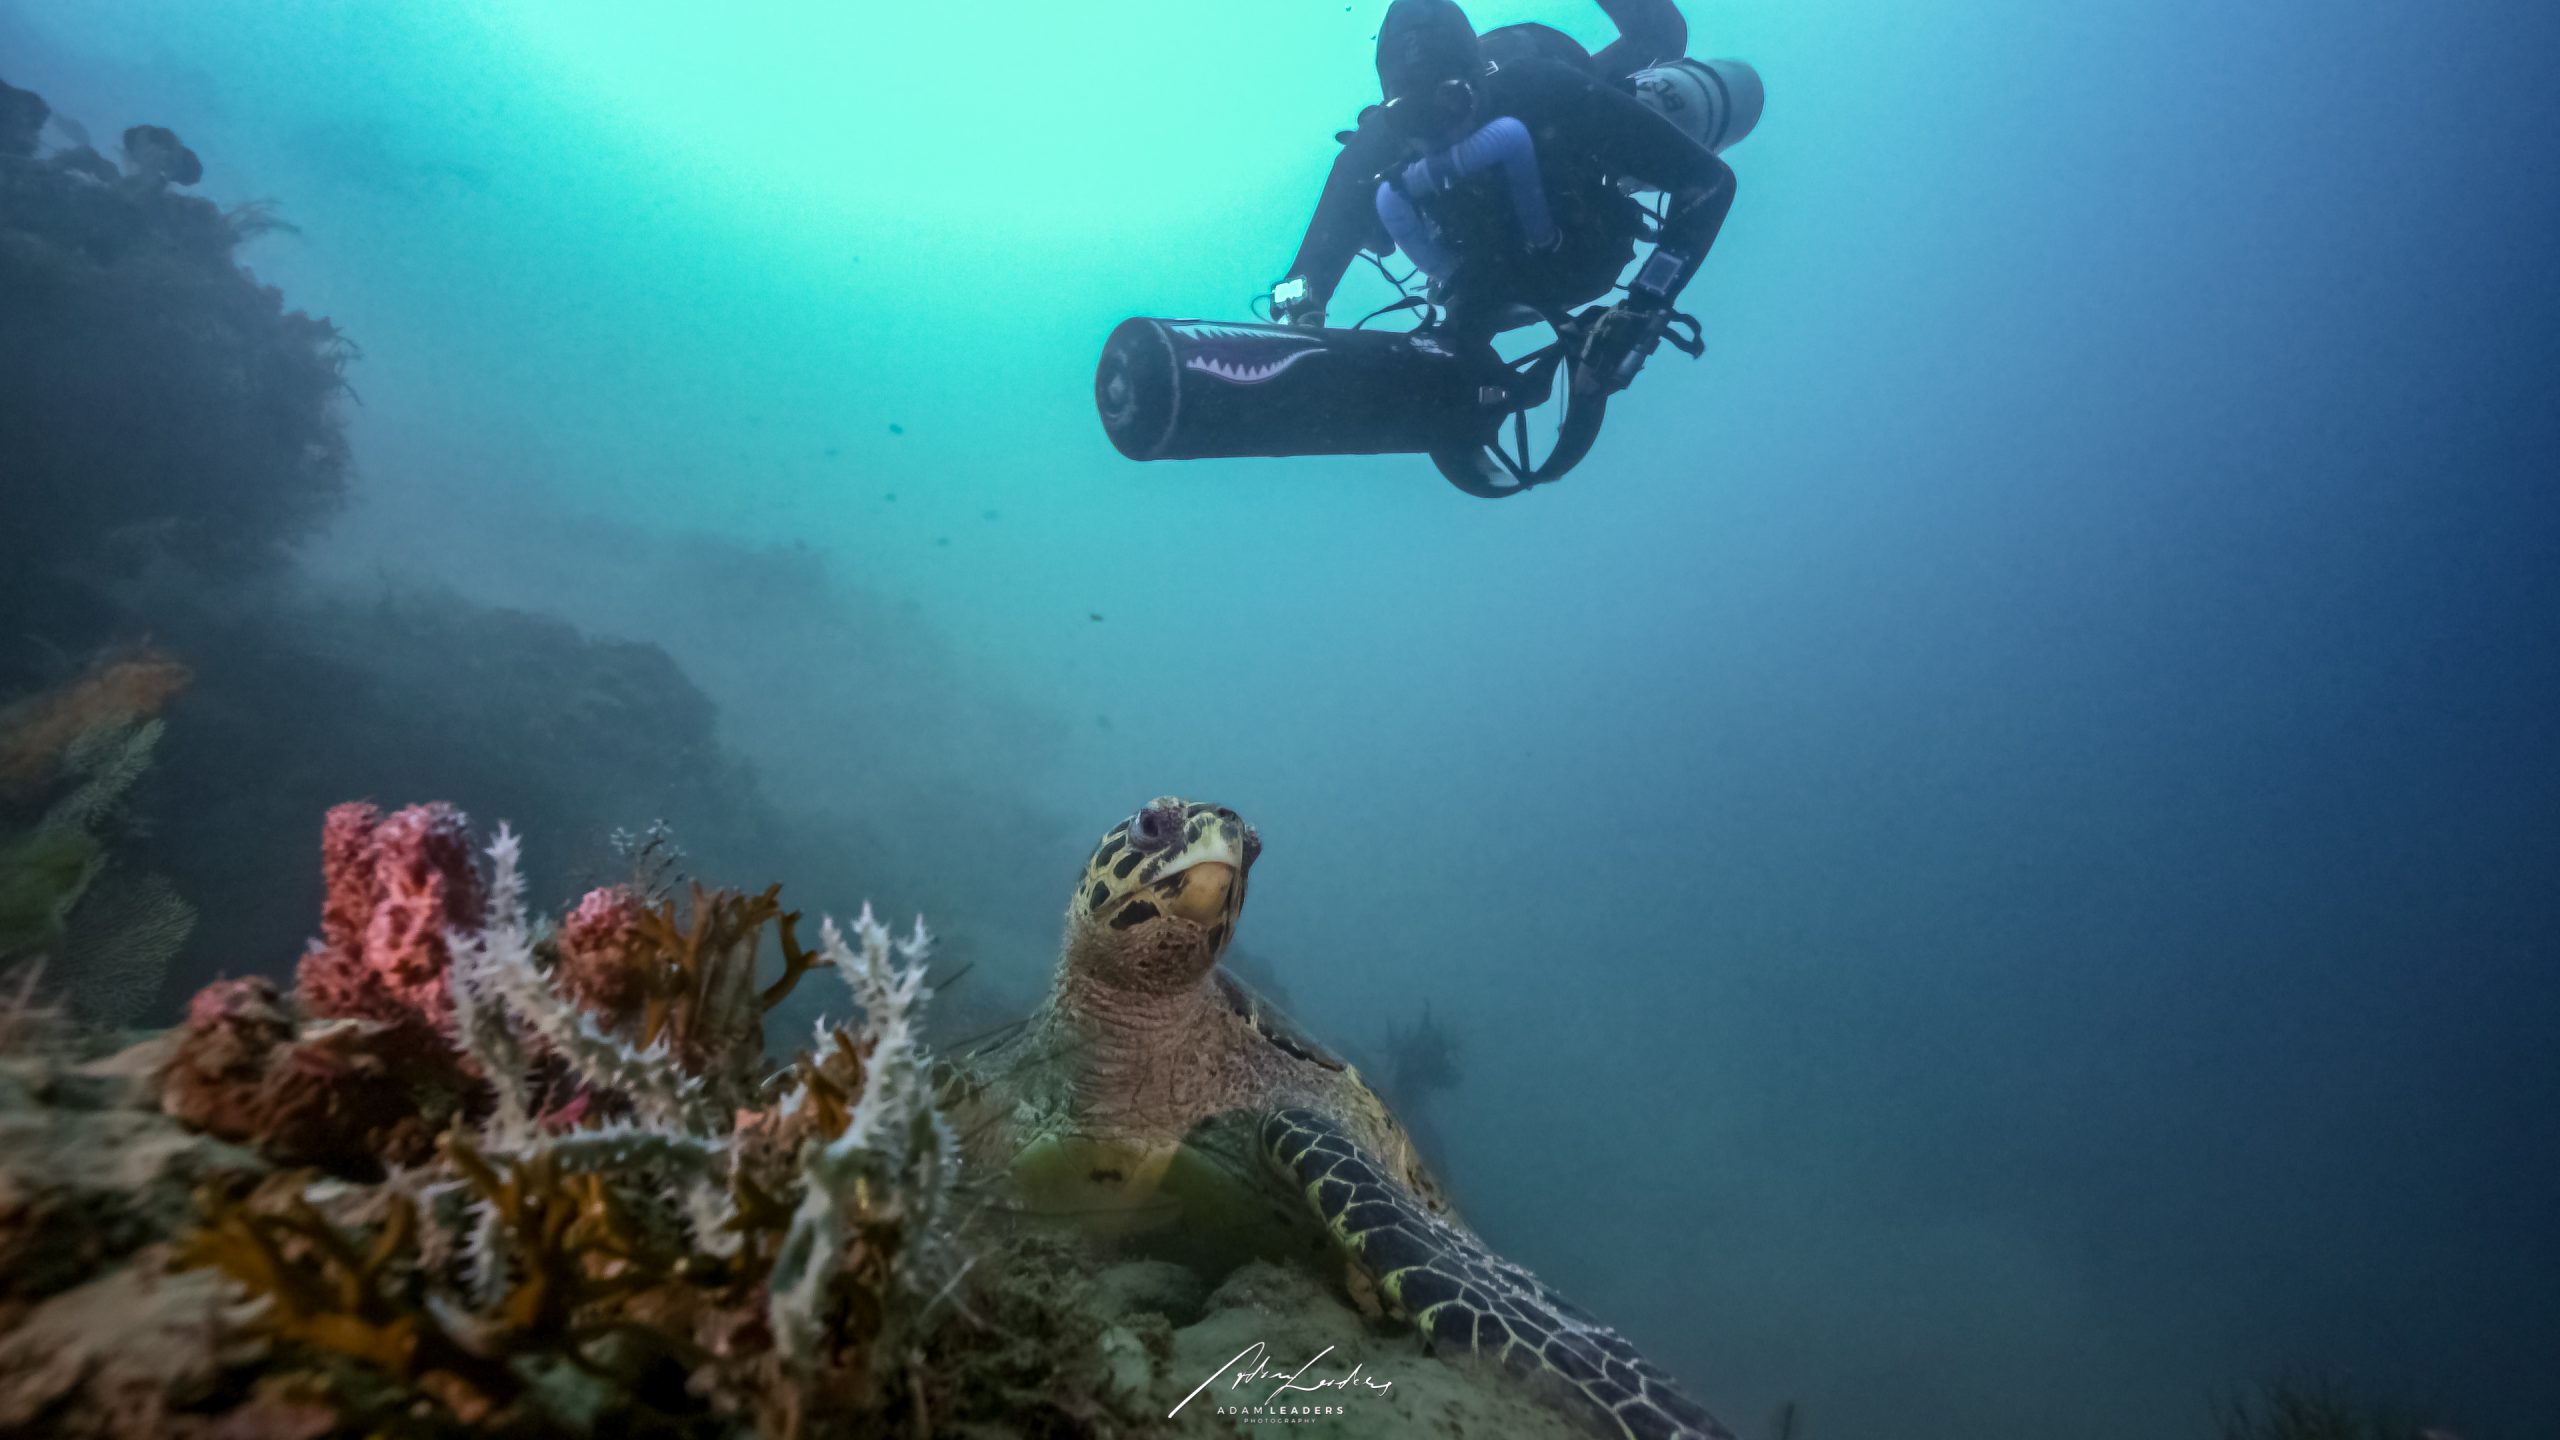
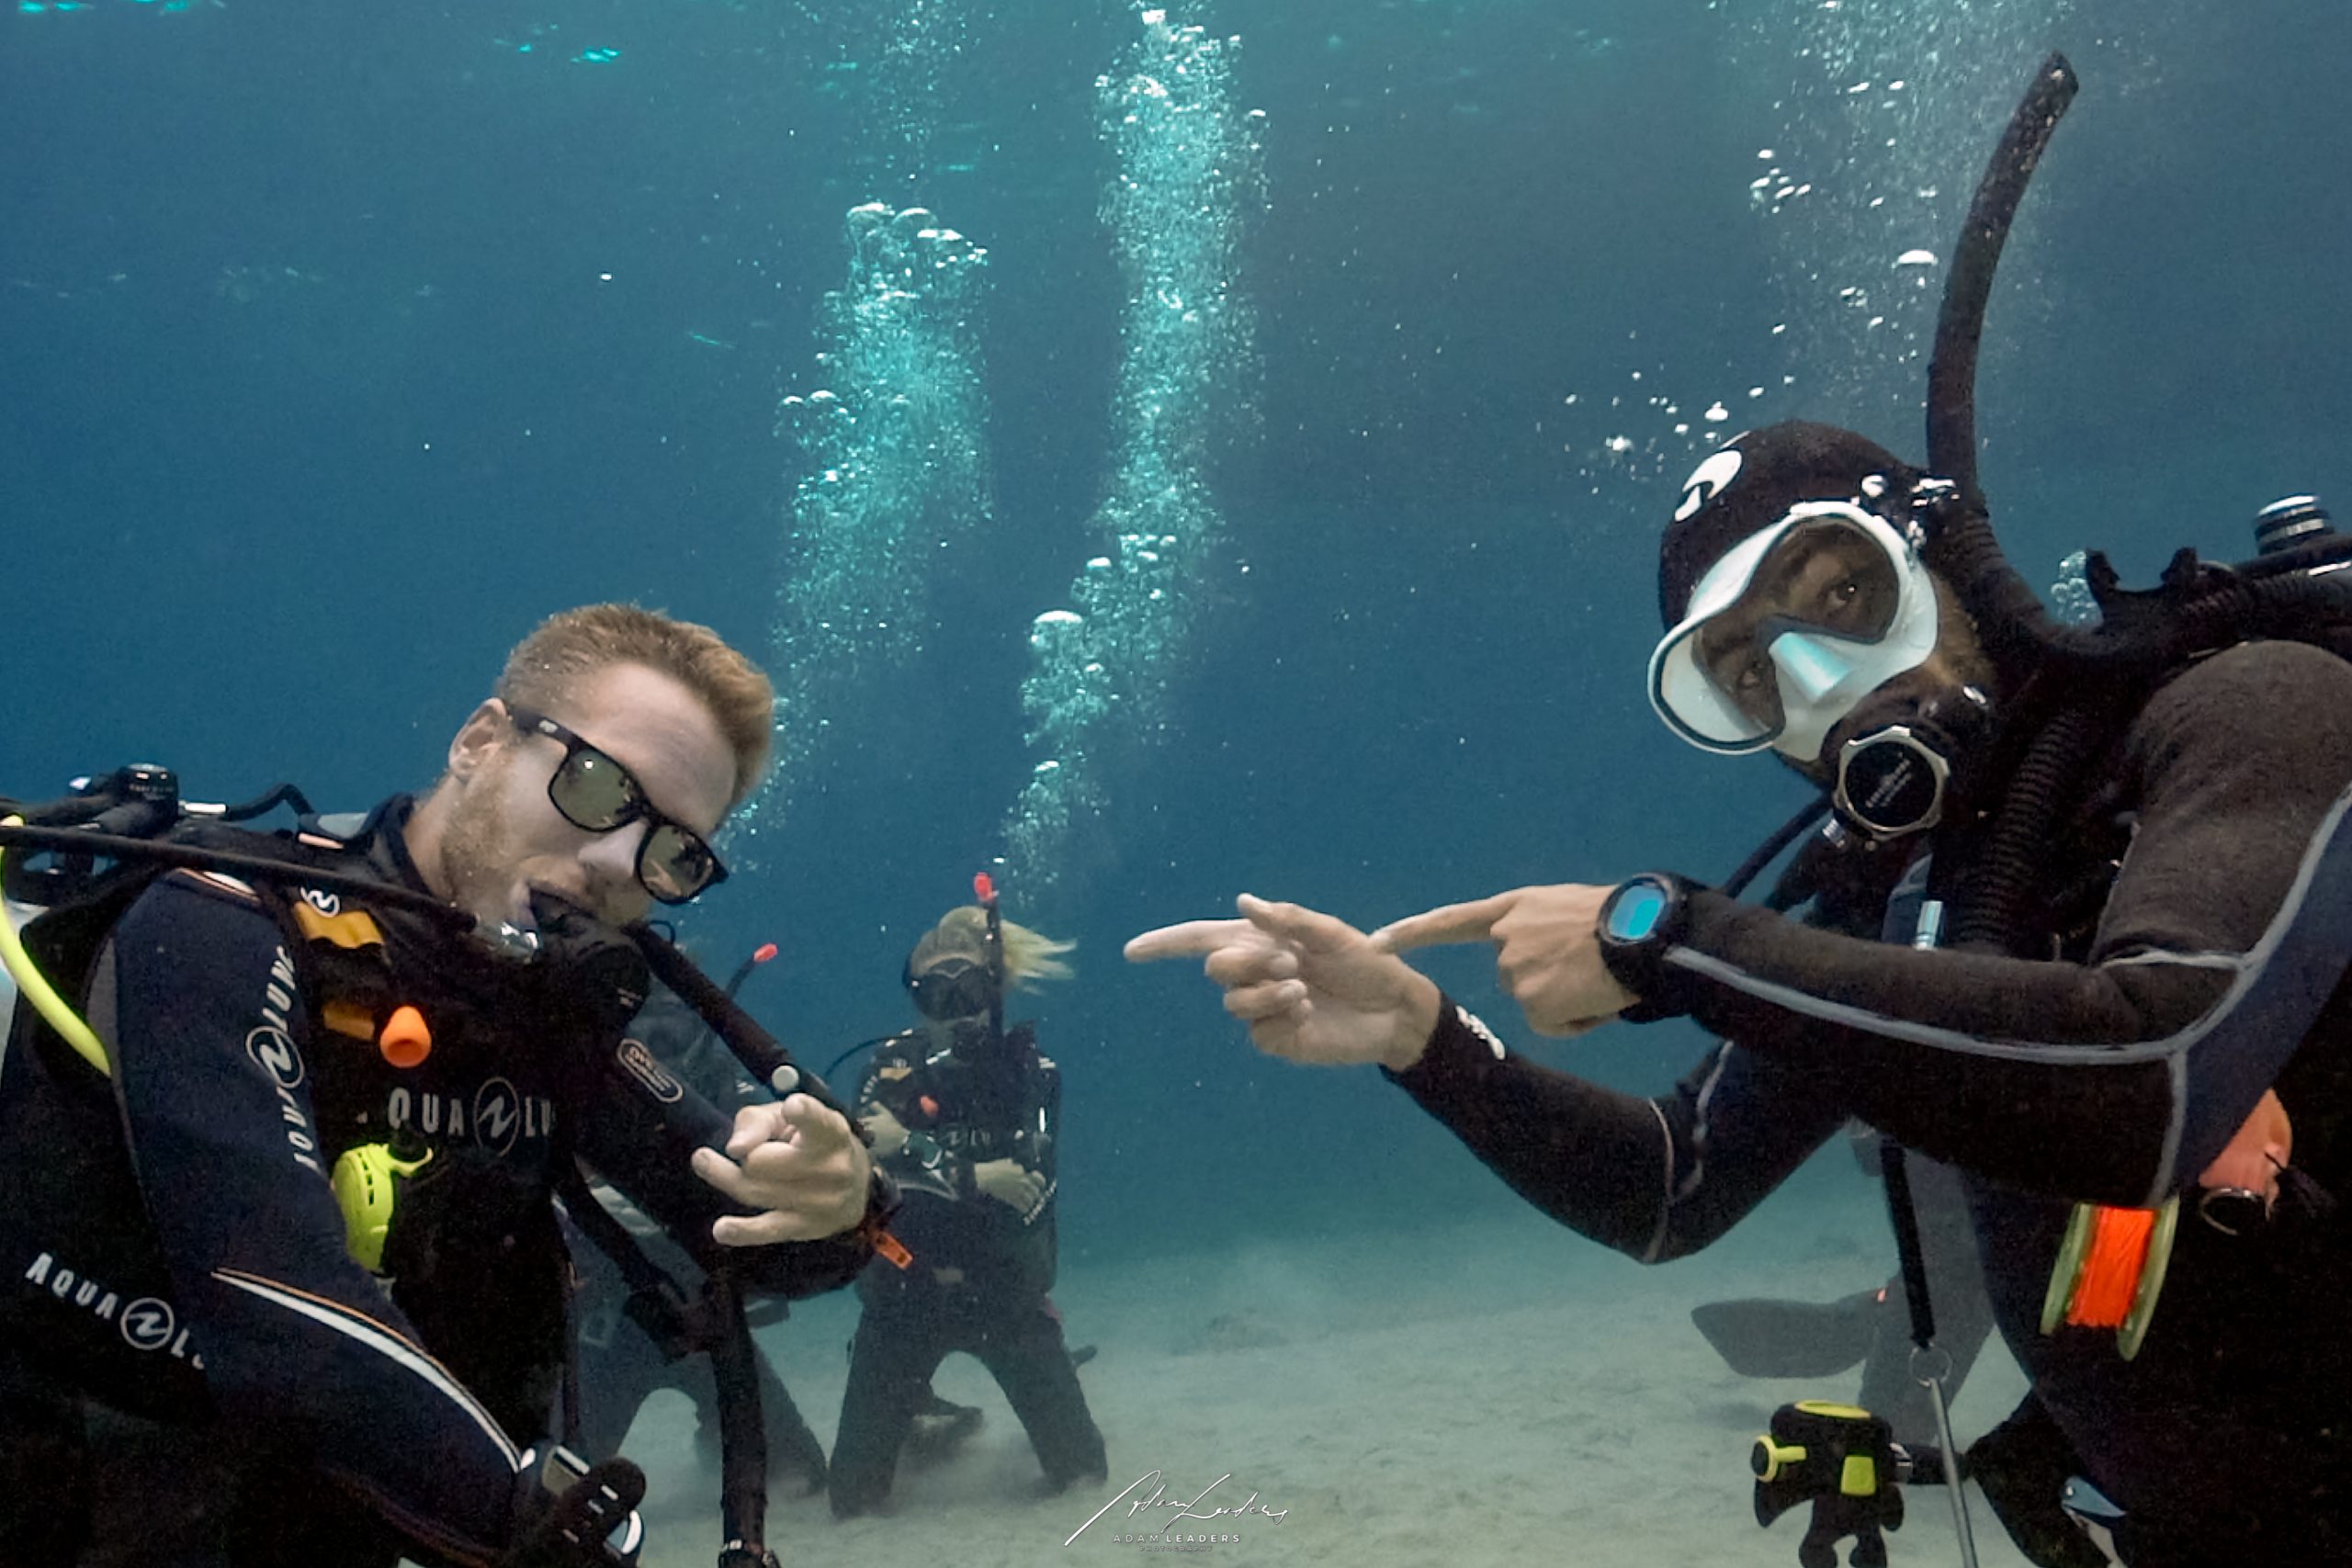
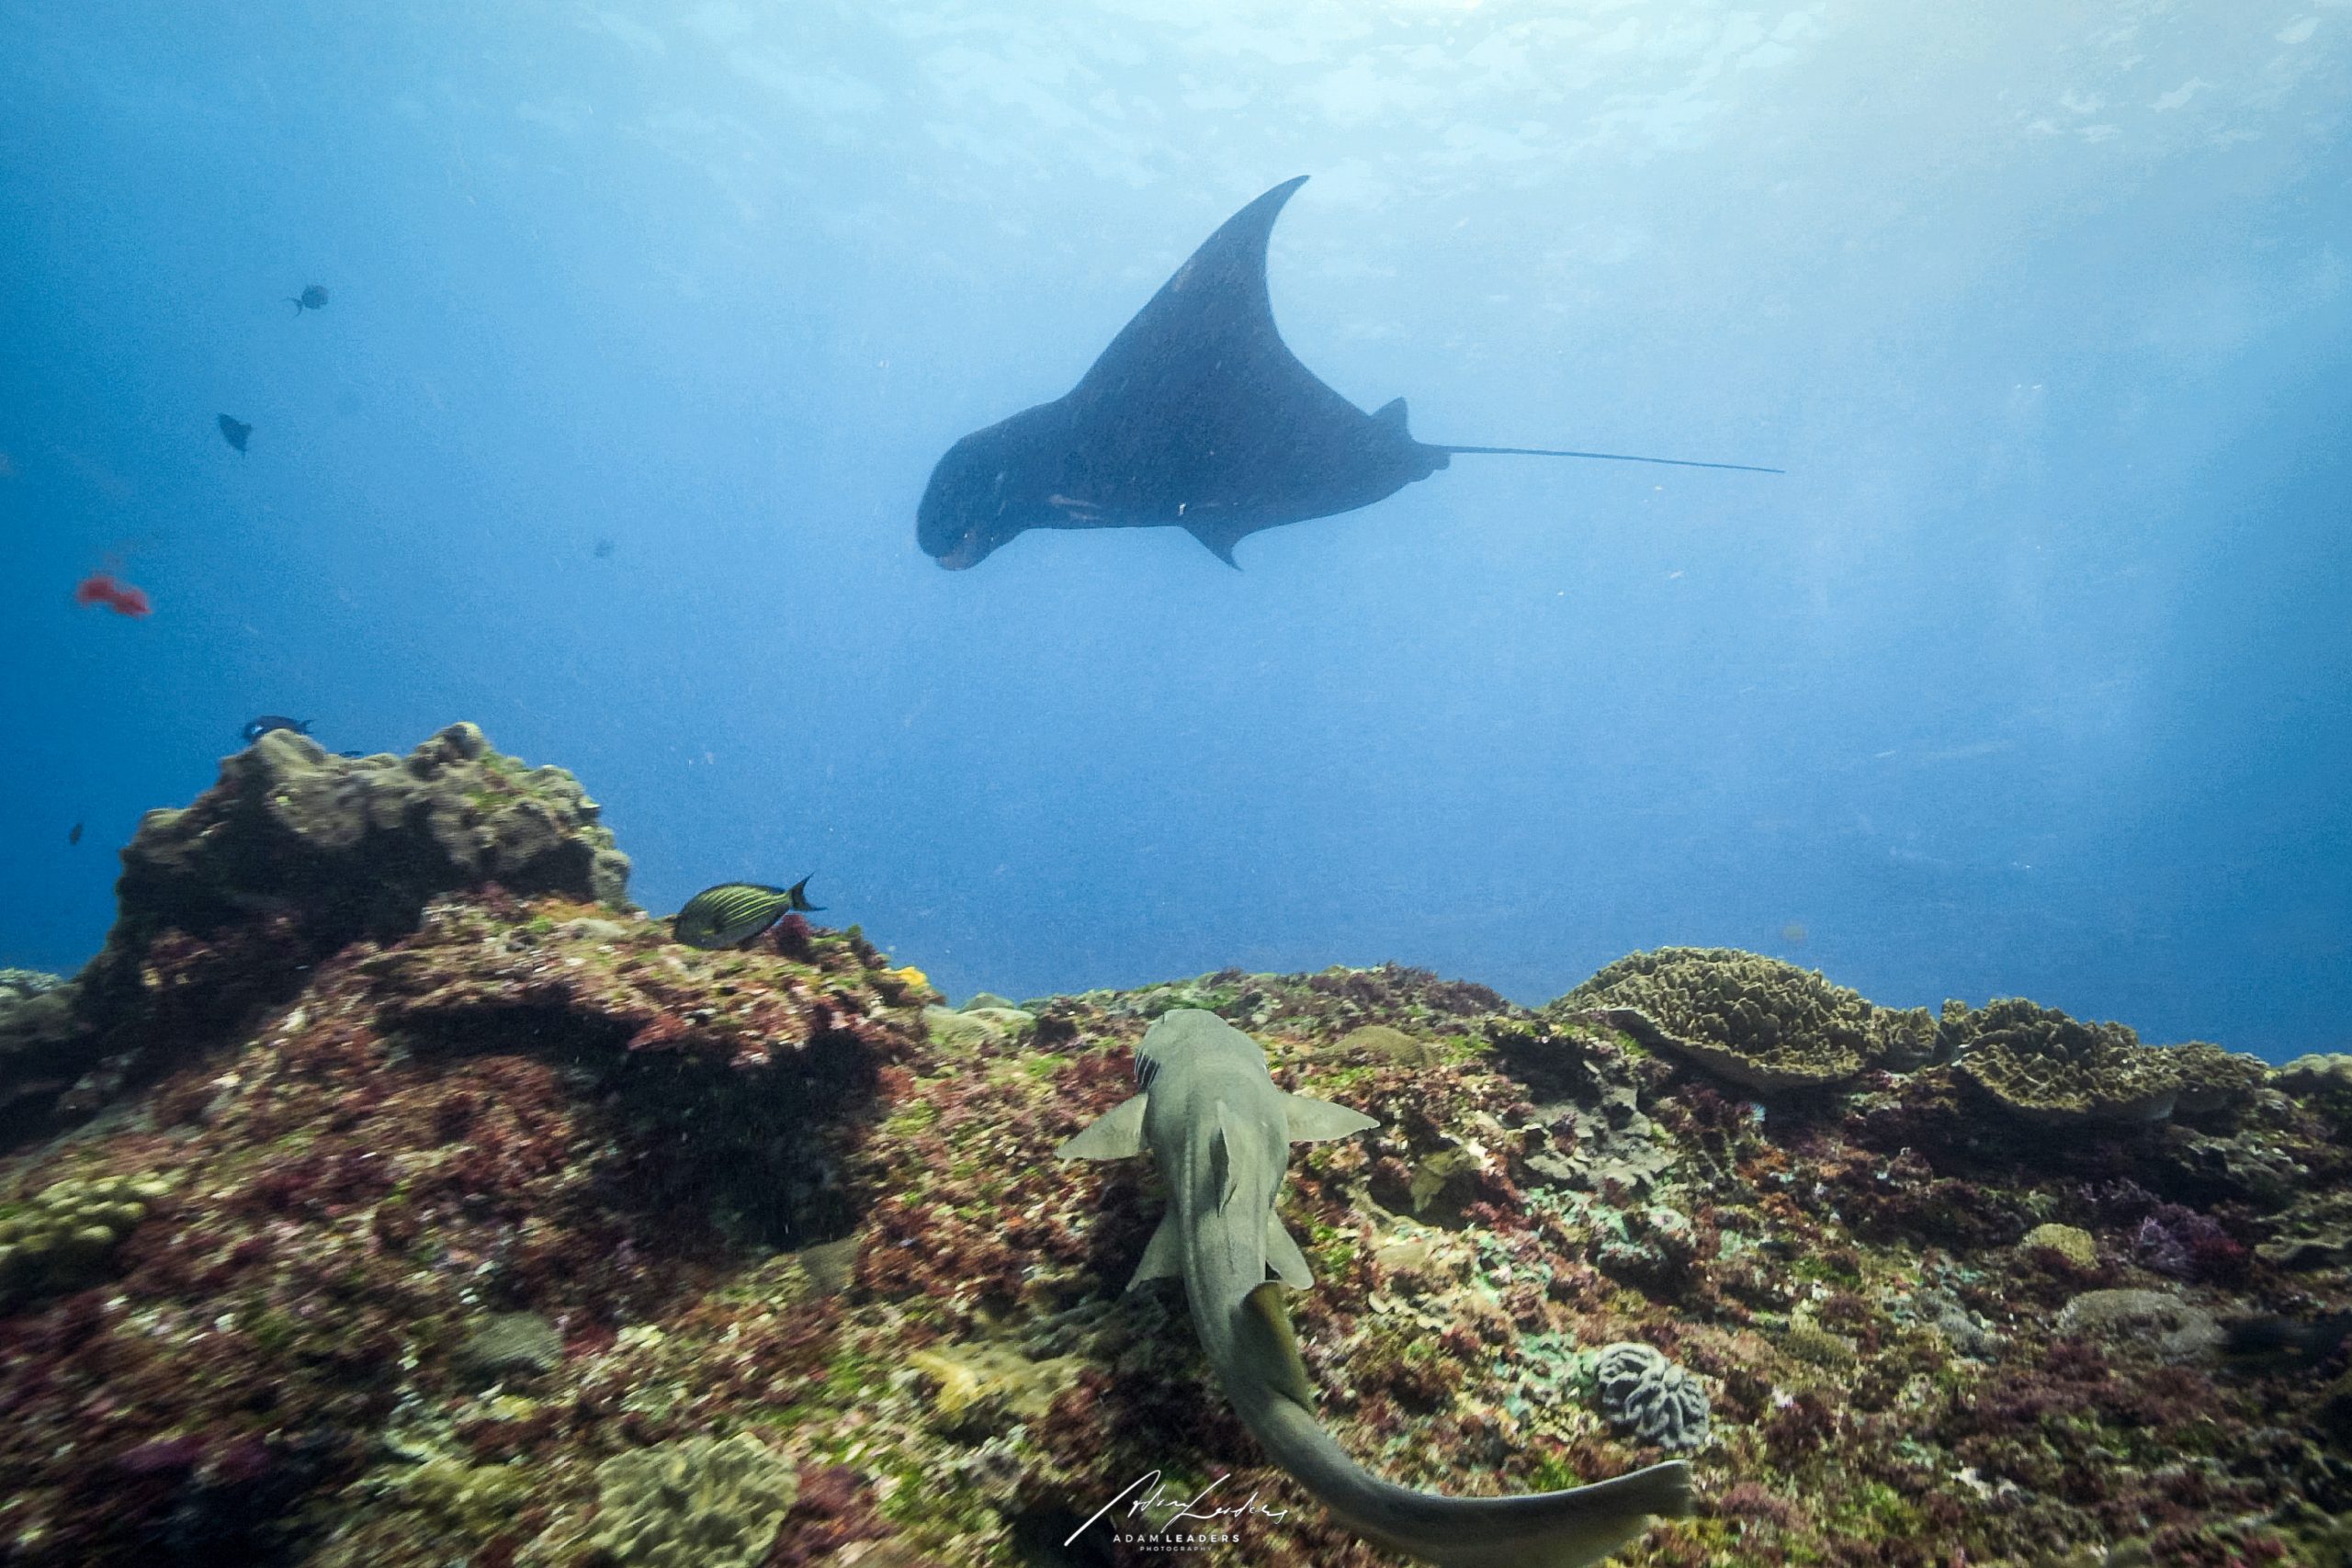
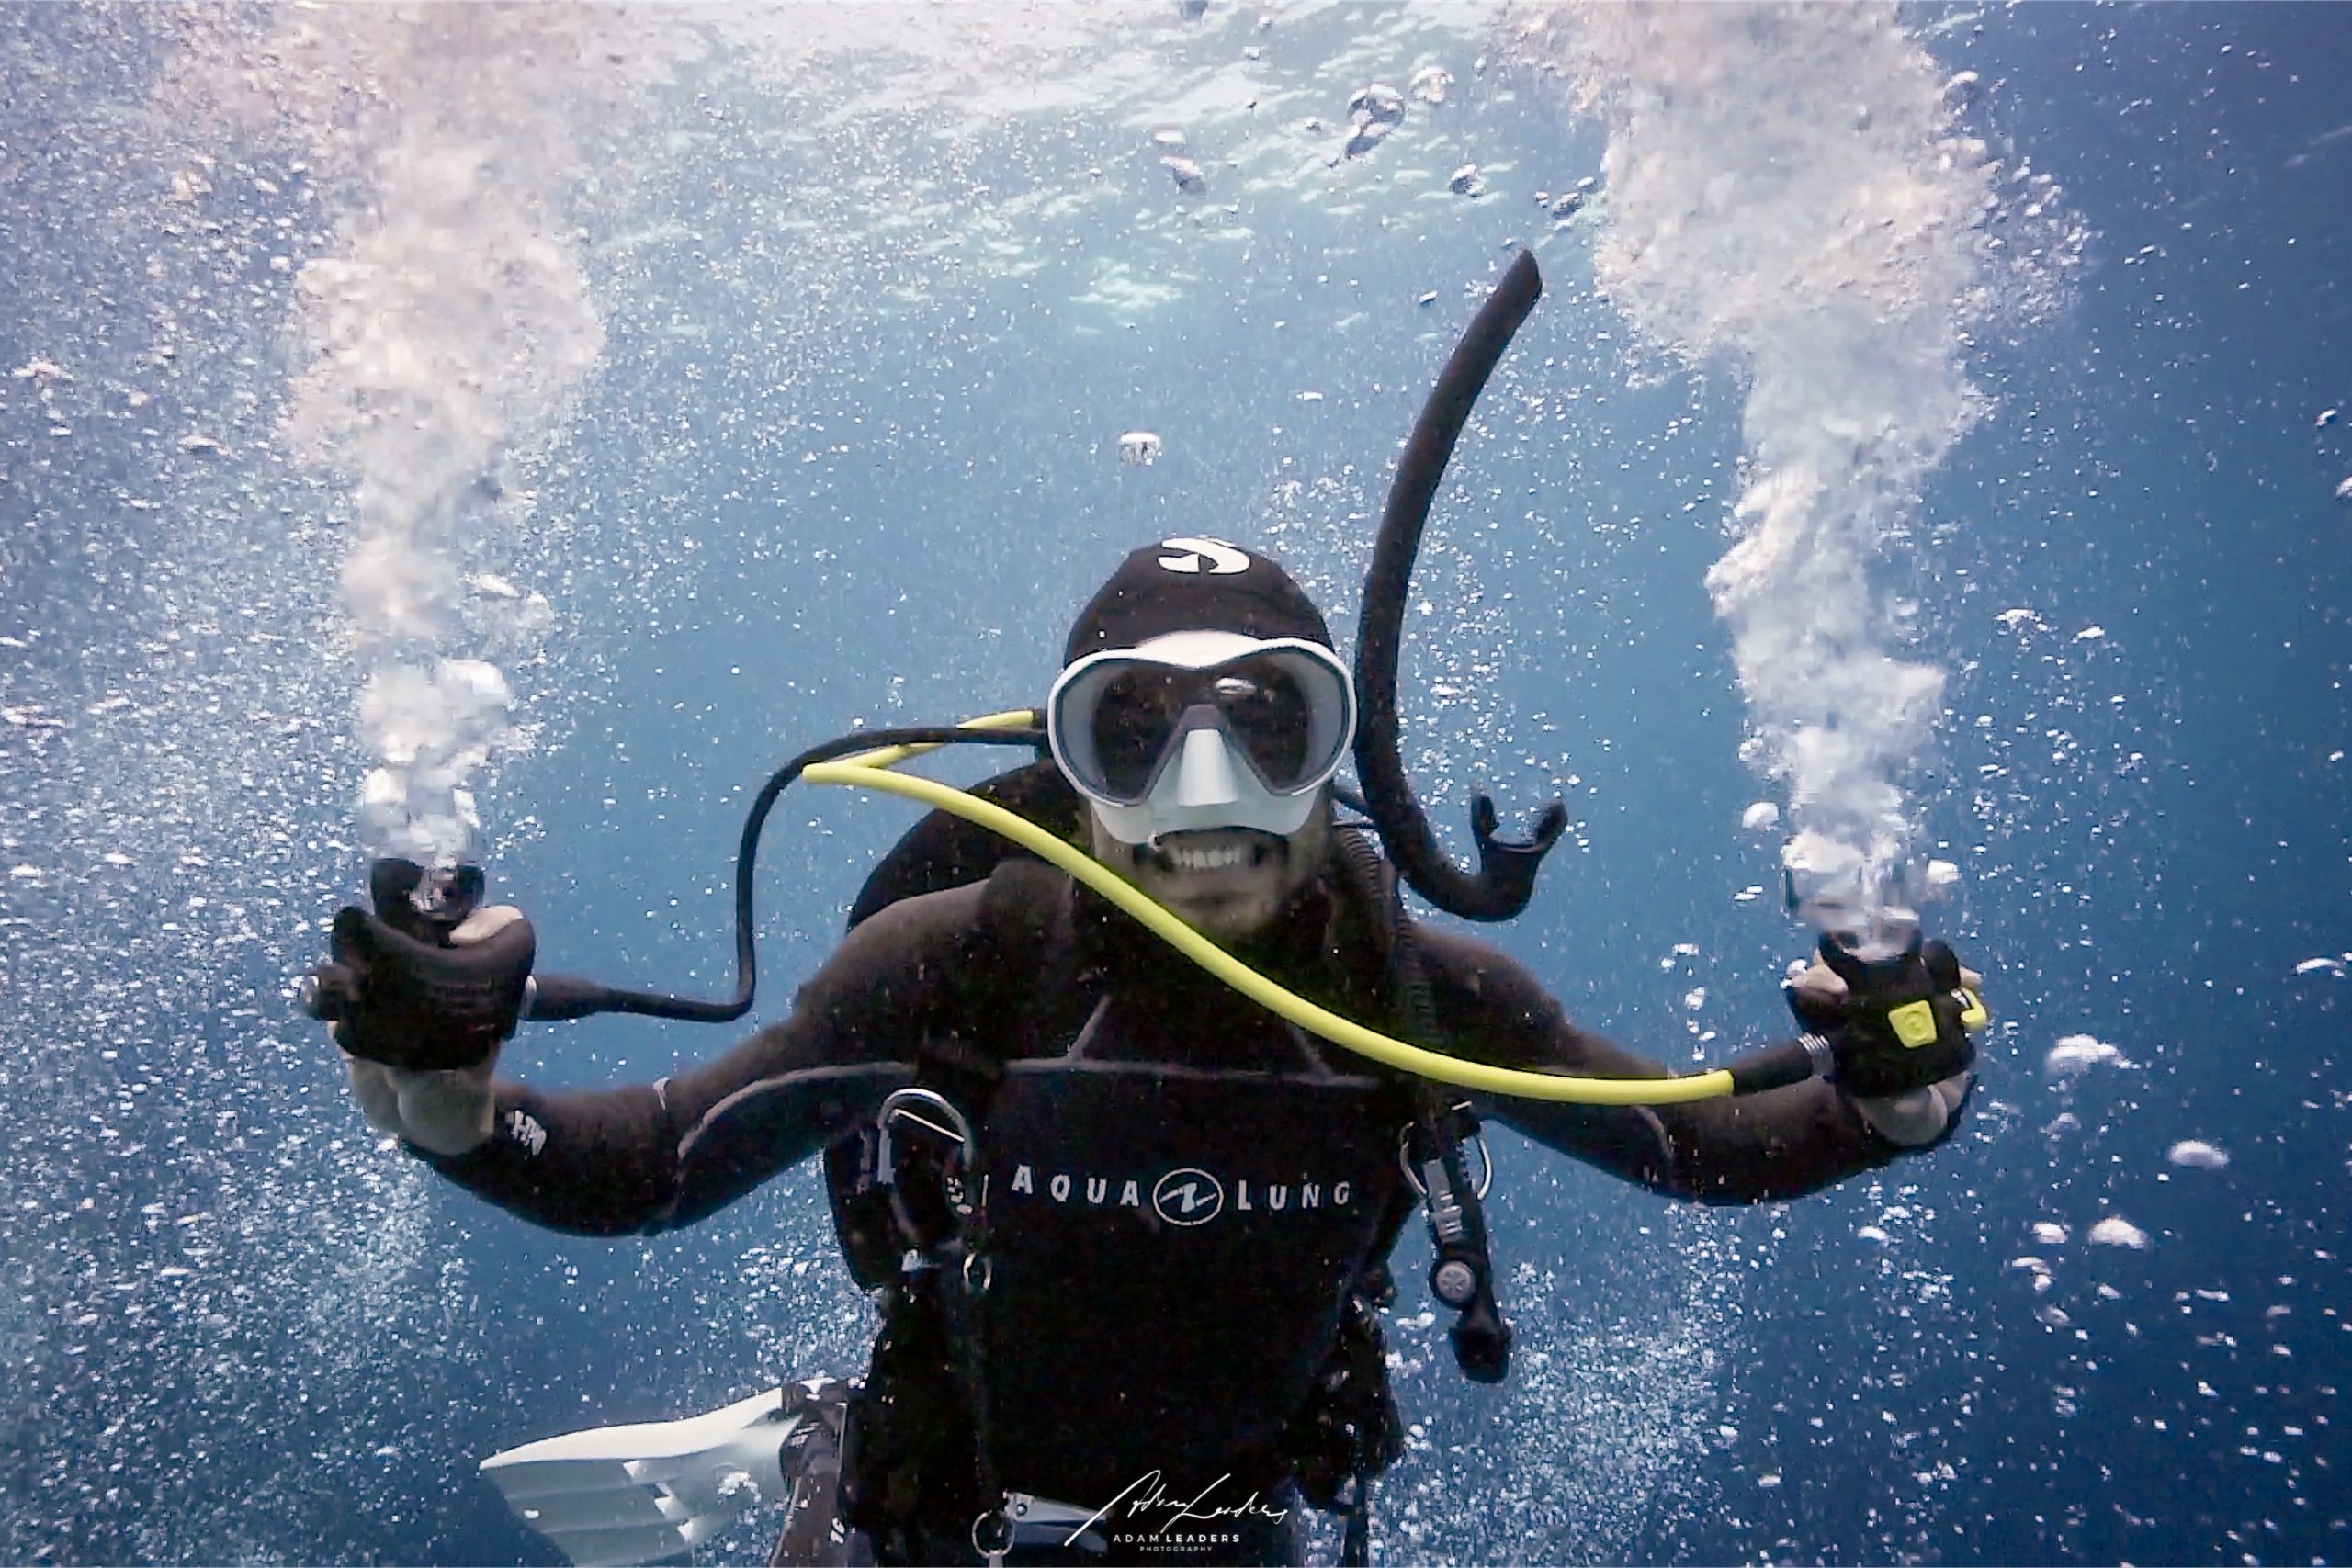
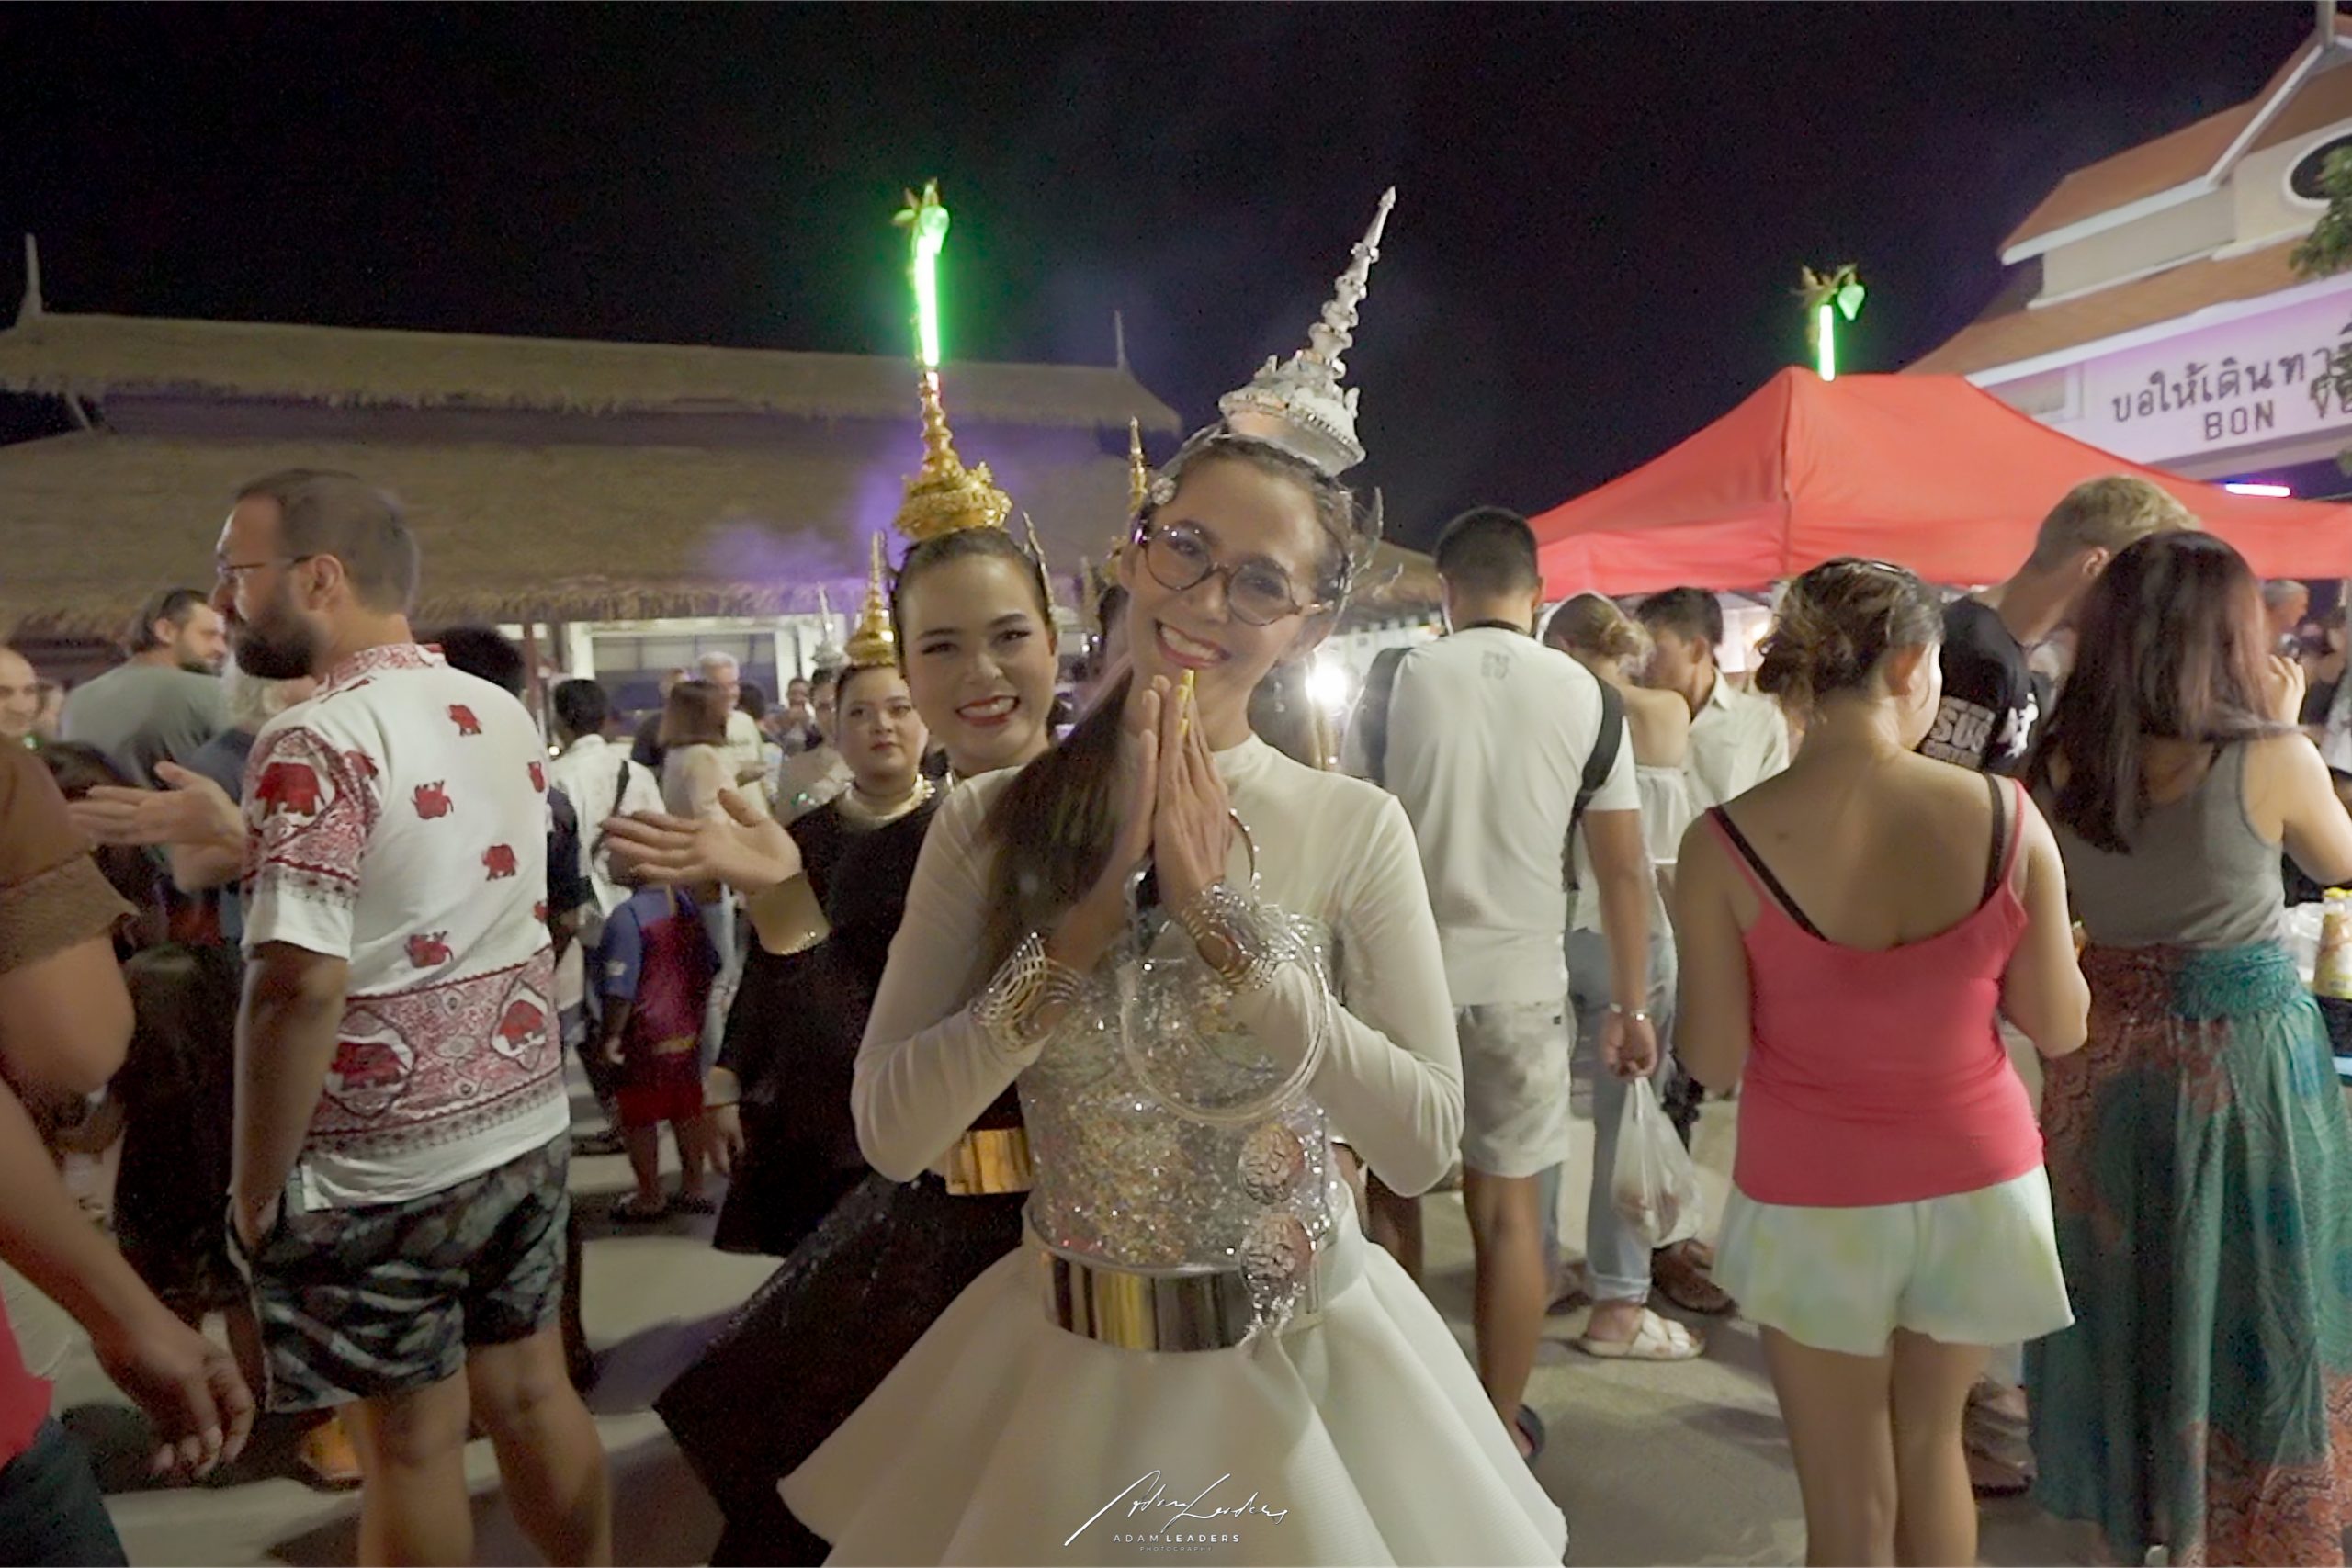
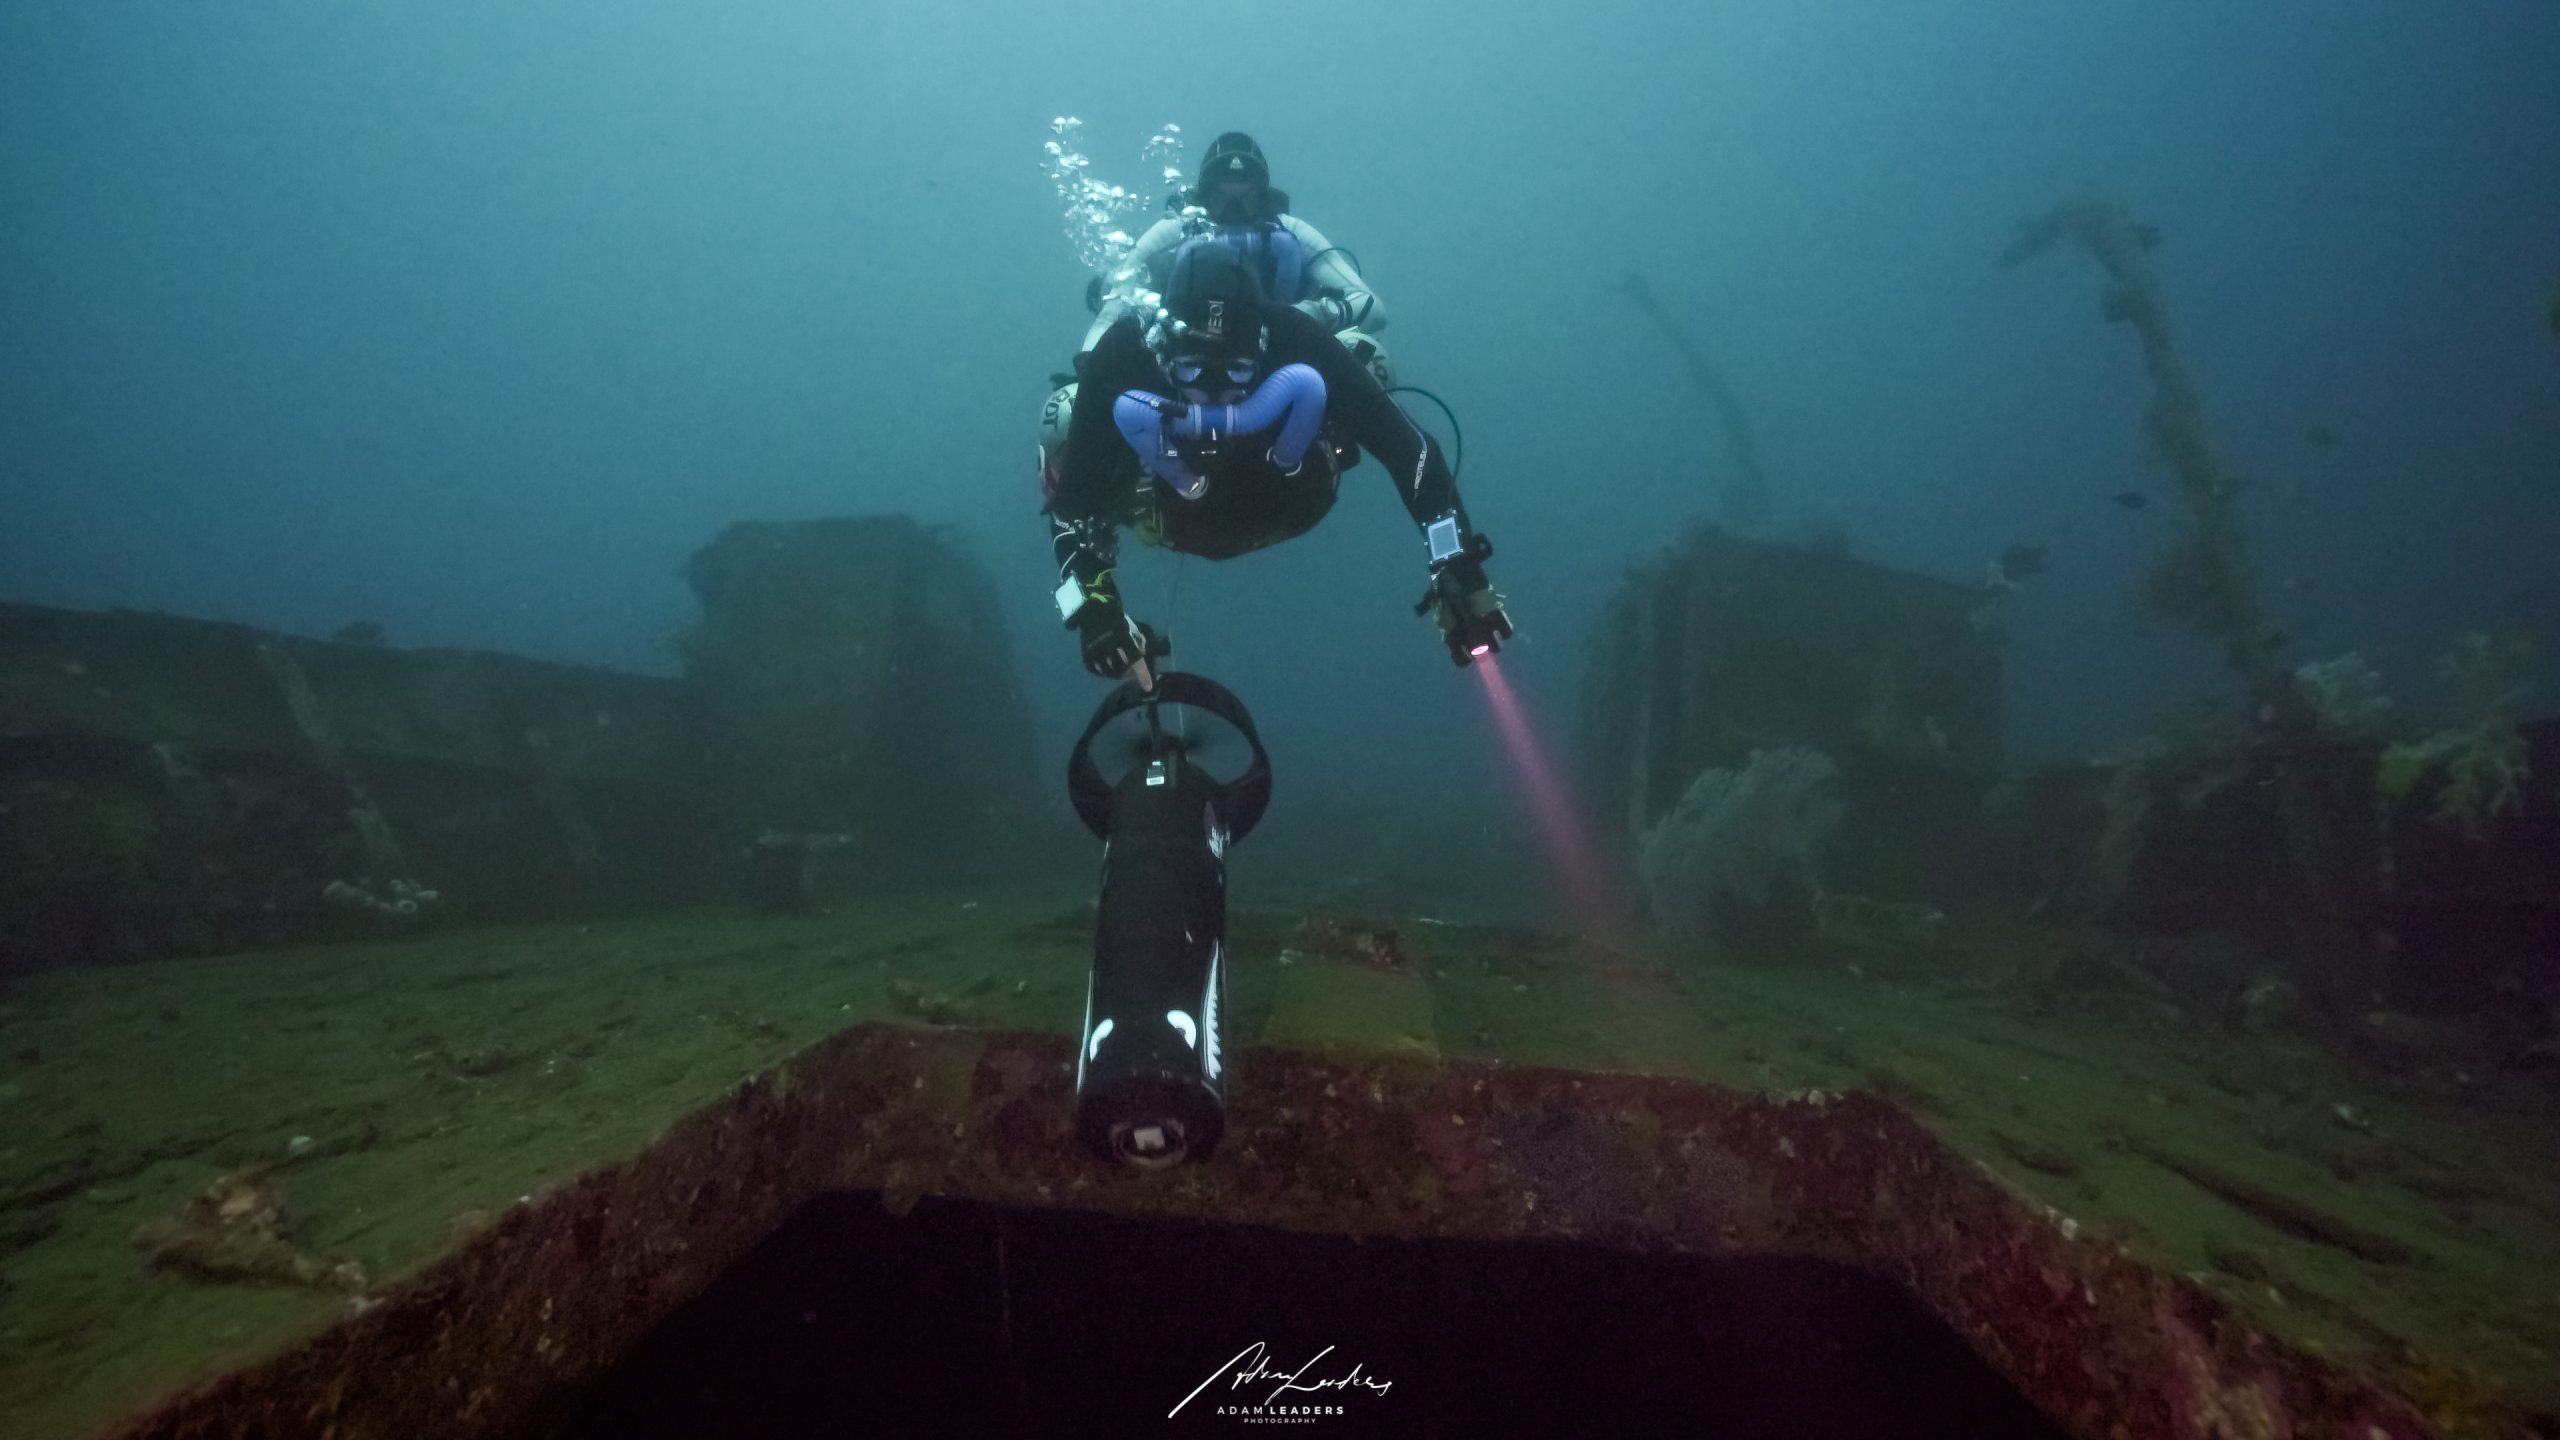
*Quick quiz: Can you guess which one of these photos above was from 4K video and not from a photo? Answer at the bottom of the article.
Video Or Stills? Both!
In a perfect world, we would have no trouble capturing both photos and videos on the same dive or even at the same time, and in a lot of instances, you can. In some situations though it becomes impossible to do, such as the case of using red filters for video and strobes for photos. Other times during a dive you will have to quickly decide what you would rather capture photos or video during a once in a lifetime encounter, or a really interesting behavior that you might miss trying to time it perfectly with a photo. Fortunately, there is a workaround solution for 4k video shooters, and I’ve been playing with it for some time now without anyone knowing the difference. Welcome to the world of editing 4K video frames.


4K resolution is either 3840 x 2160(UHD) or 4096 x 2160(DCI). This resolution works out to about 8.3 megapixels per frame, (remember all that video are is fast-moving photos – typically 24-30 photos a second) plenty enough resolution for web usage and most of the time even good enough for print. If you are using video lights or a red filter then you have the huge advantage of your footage looking great straight out of the camera, but if it needs a little tweaking, no worries you can pull it up in lightroom or photoshop and make basic adjustments.
Let’s take a look at the basic workflow from camera settings to editing.
Basic Workflow
First off you may want to raise your shutter speed when shooting video. I know this goes against everything you are taught, as video class 101 states that your shutter speed should be 2x your frame rate. (look up video 180-degree rule for this info). This is one sacrifice you may want to consider making as the 180-degree rule will give you nice motion blur in your video but for photos, it might be too much blur. Fortunately, most video editing platforms allow you to add motion blur in post so a slight bump up in shutter speed shouldn’t be too much of an issue for your video but will really help you nail sharpness in your photos. Use powerful lighting if possible, this will improve not only your videos but your photos too.
As with any video, make sure to white balance and expose correctly for the scene, also try and keep your ISO to a minimum. Not that much different needs to be done during the shooting in order to extract great-looking stills. As long as the video looks good and your shots are steady so will the photos.
Once you have your video clips imported to your computer or mobile device you have a few different options to extract your photos.
From your mobile devices, there are apps that will allow you to extract high rez photos from your videos such as Frame Grabber and After Shutter 4k just make sure that they save in full resolution and in a larger, editable format such as .tiff or .png try to avoid saving in the compressed .jpeg format, this will allow you to have much more wiggle room when it comes to your final editing.

The Right Software
From your computer, you can use a specific program for this task such as VLC media player or simply use your video ending software of choice.
When using your video editing software you will have the option of fixing exposure and color-correcting before or after you export (or both) If you have a video that you have already edited then that is great, you have most of your corrections done already. If not, then you can just grab the unedited frame and then edit in your photo editing program of choice, the same way you would a normal photo.
A few things to consider when choosing frames is to make sure to zoom into your timeline and use the left and right arrow so you can go through frame by frame to find the best moment possible. Make sure the subject is focused properly and try to avoid shots with too much blur from movement unless that is the look you are going for.
For Final Cut Pro X users you can choose “save current frame” from the export options once your scrubber is over your frame of choice in the timeline. Here is a video explaining how to set this up in under 2 min. https://www.youtube.com/watch?v=Cb-KXsS3p2Q
For Premiere Pro users you can export from the timeline using the “export frame” camera icon or use the shortcut Control+Shift+E. Here is a short video with a detailed explanation https://www.youtube.com/watch?v=K_t5ueWaDT4
For those who have dived into DaVinci Resolve there are a couple more steps but still super easy. Here is a video explaining how it’s done in 1 min. https://www.youtube.com/watch?v=LnainUbQ4qY
Once you have your frames bring them into Lightroom, Photoshop, or whatever photo editing program you typically use. For mobile users the apps: Lightroom CC or Snapseed are great options. With Lightroom CC you have the option to edit between your mobile device, iPad and desktop.
When editing there will not be much difference from editing normal photos, but one thing to remember is to keep an eye on sharpening. Because of the movement of video and slower shutter speeds you may have to increase the sharpening a bit to give it that frozen in time look. After editing you may opt to crop to standard photo sizes such as 4×6 or leave them widescreen as shot, this is totally up to you. After, export and share away.

Shooting Stills Vs. Capturing From Video
There are some pros and cons to using 4k video for stills. It is obviously not going to completely replace standard photography nor at this point will have the same quality, but it is getting close and definitely good enough to share online.
Some of the disadvantages will be:
- Needing very powerful lights at times, to give you the same color vibrance that strobes will give you, especially in wide-angle shots.
- The fact that you can not completely freeze fast-moving subjects with a slower shutter speed and constant lighting.
- Sacrificing portrait orientation shots due to the fact that you would not shoot video that way (unless you are going for Instagram/tic tok videos)
- The constant lights might make marine life and humans a little more skittish. Being more intrusive than a strobe you might find human subjects squinting with a bright light in their face. For this very reason, I suggest to always turn off your lights until you are ready to take a shot and turn them off once you are finished with the scene. This will also help to not make enemies underwater as it is one of the rules of underwater camera etiquette as noted in this article: Top 10 Rules of Photographer Etiquette – How Not to be a Jerk Underwater
Final Words
This has been one of the most enjoyable projects I’ve had in a while as someone who shoots both photo and video, namely for 3 reasons.
1 – It gave me a reason to go through some old footage and bring back to life a lot of amazing memories that I never had the opportunity to share.
2 – This gave me a lot of new content to share across my social media platforms while currently not diving
3 – It allowed me to incorporate my love for diving and still make it a part of my life during these dry isolated times. Hopefully, it can do the same for you.
If you have any comments or tips please leave them below
Happy Bubbles (hopefully soon…)
* Quick quiz answer: All of the photos were from video 😉 The cameras used varied from Sony RX100iv – Sony A7RII and even an iPhone

- 10 Things You Must Know Before Starting a Career as an Underwater Photographer – April 15, 2021
- What is the Best and Fastest Way to Learn Underwater Photography – September 8, 2020
- How to Extract Perfect Still Photos from 4K Video – May 14, 2020
3 comments
Hi Adam, great article! I learned a lot the last 5 minutes. Thanks!
Hi Adam, I will like to convert graduation videos to professionally still photos as I have no still pictures. Can you help me? Thanks, Amy
Hi Adam,
Great post and just what I needed. I am considering upgrading my camera to one that does 4k video as well. One of the things I often photograph is my kids show jumping, currently using the ‘continuous burst’ of photos option, (so I don’t miss that exact moment of action). But 4K video it would seem may be a better option for this now? I can then get video and stills simultaneously at a decent quality by adjusting the shutter speed as you have noted and pulling off the still images as I want?
Thanks Paul