
 CAD
CAD7 Things I Learned Becoming A Freediving Photographer

We are all drawn to the ocean and photography for different reasons right?
Well, here’s some background on how it went for me – growing up as a kid I hated the beach. I was always sunburnt, always collected tar on my feet and would have the taste of salt water in my mouth for the rest of the day. That’s right… city boy wasn’t a happy camper.
Poor me, huh? If surfing hadn’t looked so cool to me, it’s safe to say that I would have been happy with never setting foot in the ocean again.
An Undeniable Interest

After realizing that I had to face some irrational ocean fears and a growing interest of becoming a diver, I knew that no matter what I did my little GoPro would be with me at all times. So, I bought a snorkeling kit. It was that simple. Pretty soon, every hour spent in the ocean started to feel like lesson in my new favorite classroom. Wait, was I actually becoming a waterman? I started to think so, but it couldn’t happen without help. I was still scared to equalize my ears and implode my head underwater (irrational fear).
Around the time of me finally accepting my love of the ocean, the internet was spawning viral videos of freedivers. I could hardly believe what I was watching. Videos of champions like William Trubridge and Guillaume Nery hurling themselves into what looked like the pits of hell (aka Dean’s Blue Hole). ”Geez”, I thought. “…If I ever tried that, there’s no way I could tell my mom”.
It didn’t matter. I was already sucked in. I signed up for a local freediving course (lucky to find one in Southern California at the time). My confidence in my own abilities as a human being grew immensely in just over a weekend. I had a new set of skills and I wasn’t afraid to use them.
Growing As a Freediver

Fast forward 5 years after my first certification, freediving consumes my life. Long international flights and many unsanitary bus rides have taken me to different places around the world in search for experience, knowledge and (arguably) most importantly: finding others who had transformed their lives with ocean experiences.
It became obvious through the use of a passport that there are so many great untold stories from amazing people, and in this age of social media, images are telling stories like never before. After rubbing elbows with other freedivers and photographers, I looked at my little GoPro and thought “…I need to get a real camera”.
So, here I am. Almost a year after pulling the trigger on what most other 24 year olds would spend on a used car, I’m a freediving photographer. Make no mistake: many things have gone wrong for me. Is it true that you’ll never understand a mistake until you’ve made it yourself? Perhaps, but thankfully, none of my mistakes have cost me any extra dough. I would imagine that’s a part of why you’re reading this. These tips could save you time, money and your precious investment.
1. Get Educated

It still sounds foreign to most people when you mention freediving certifications.
“What? How do you get certified? Don’t you just need a mask and snorkel and that’s it?”
Well the reality is, we’re not snorkeling. Freediving can have serious consequences if not taught and learned properly. Having a firm understanding of the Mammalian Dive Reflex, Shallow Water Blackout and emergency rescue procedures is a must. Even the most seasoned veterans of freediving are prone to accidents and/or miscommunications with other freedivers.
The reason why I emphasize this: you will go through unnecessary struggle and could put others at risk as an uneducated freediving photographer. Many freediving courses are offered around the world and have slowly appeared in the United States over the past decade, more or less. As a freediver, you are responsible for knowing and respecting your (and other divers’) limits before taking that “viral” shot.
Another plus to getting certified is the networking: freedivers are always looking for dive buddies. It’s highly discouraged to meet and dive with people that do not have any water experience or educational background in freediving – no matter how much they want to be in your photos, it’s not worth someone’s life!
2. Talk To Other Photographers

Who doesn’t want to be a 1 man/woman army with all of the answers? Doesn’t Google make me an instant expert? Well naturally at some point with cameras, you’re going to question if you’re buying the right part for what you need.
You most likely have no idea what the size, weight or performance figures of what you’re looking at are in reality. An innocent impulse purchase might leave you scratching your head when you get to the dive site thinking ”crap… I should have bought something different”.
Freediving is all about efficiency and simplicity; your camera setup should resemble this. An option growing in popularity is the mirrorless camera segment. This style of camera combines the power of a DSLR camera with a high-end compact camera body. It’s not the answer to every camera problem, but it sure is a convenience when your housing and dome port take up most of the luggage space to begin with.
The wrong gear can seriously affect the way you move, both when you travel and when you dive. You’re already under enough pressure to get the shot – I crack myself up. Even in this digital age where everything is rated by stars and likes, there’s nothing quite like peer-to-peer advice.
3. Understand Your Gear
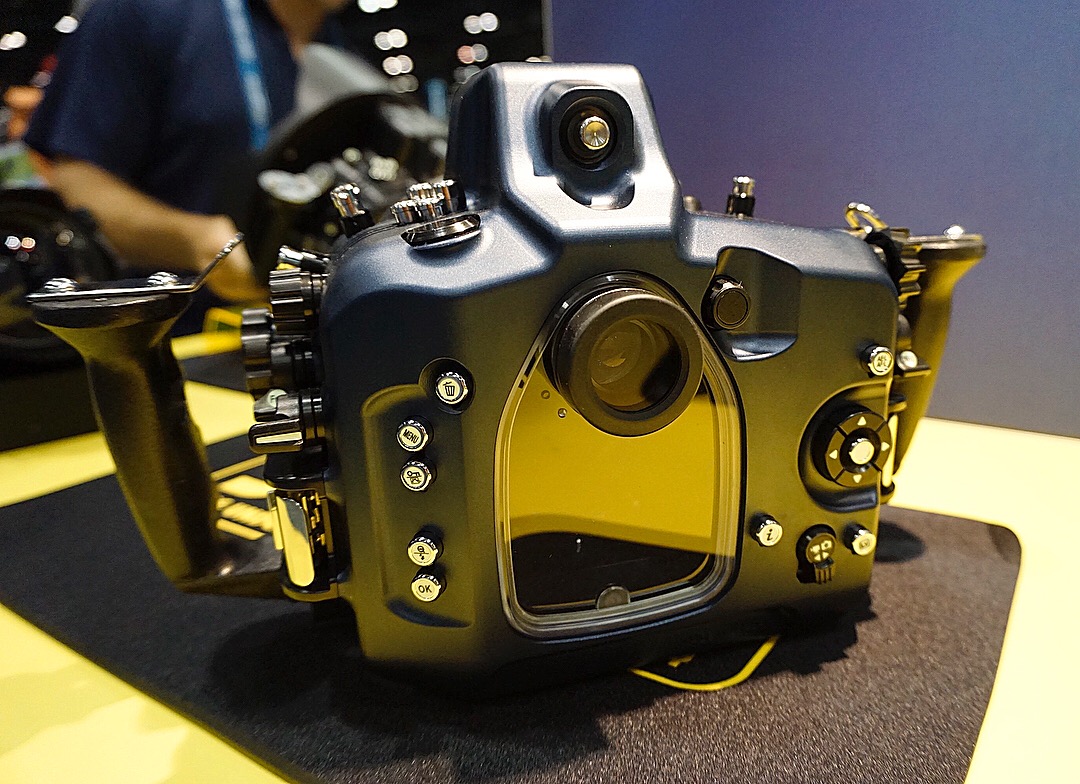

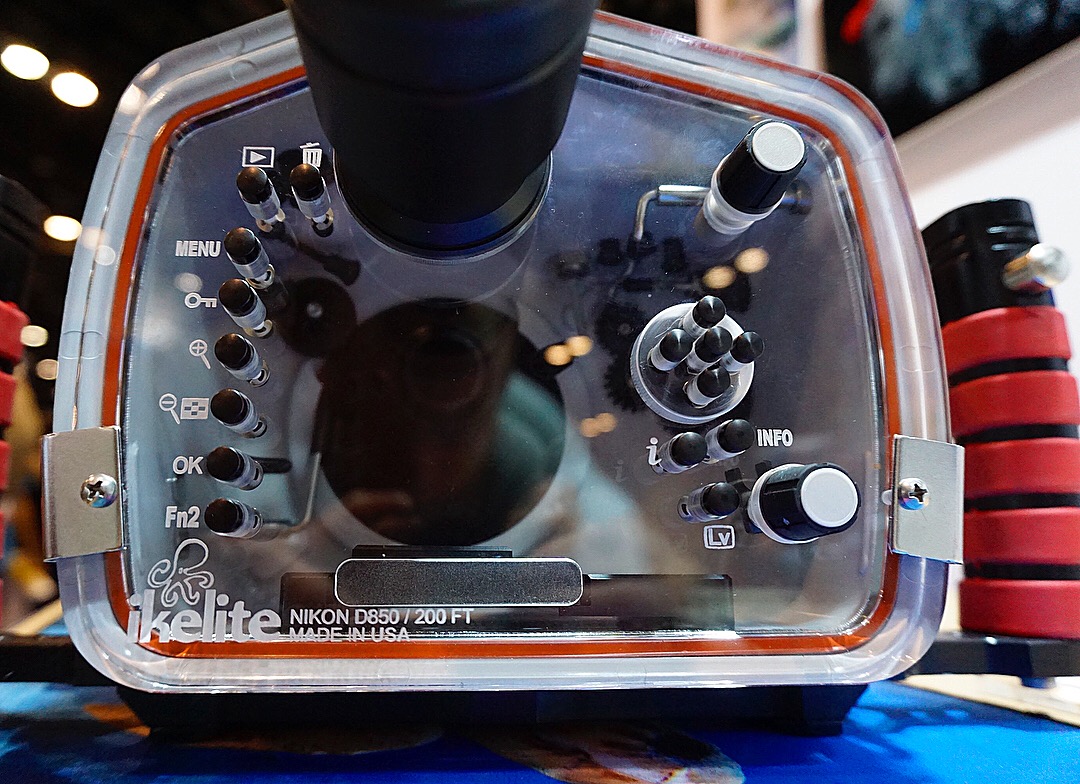
Hands down, the happiest day of my 2017 was receiving all of my underwater setup in the mail. I wanted to use it right there and then, even if I was on a lunch break…
It doesn’t take a genius to figure out how much different shooting underwater is from topside. Everyone comes in at different skill levels and learns in different ways. Of course, I thought I was the exception and would immediately unlock my inner Daan Verhoeven – an earlier inspiration to myself as well as many other freediving photographers. To my arrogant surprise, I was just like everyone else starting out. I had not even learned half of the functions and capabilities on my camera yet. I had created an even bigger learning curve to the one I had already started out with. Thus, it’s worth repeating: know your gear, know your gear.
As a freediving photographer, your end goal should be to shoot full manual. Notice how I said “end” goal? Yes, you’re going to have a rough time starting out that way. As buttons, settings and functions on your camera become more familiar to you, slowly take manual control of one function at a time. There’s a great satisfaction to look forward to when shooting full manual, and hopefully by then, your photos will have taken on their own unique style.
While breathing up on the surface, you’re already visualizing the dive plan and possibly how long it’s going to take. It pays great dividends to have your general settings checked and ready to go before taking that last breath – do you really want to mess with that while you’re flirting with dolphins? Sure, we all have to make small adjustments at some point. Just try to avoid scrolling through the menu while you’re in freefall…
4. Start In The Pool
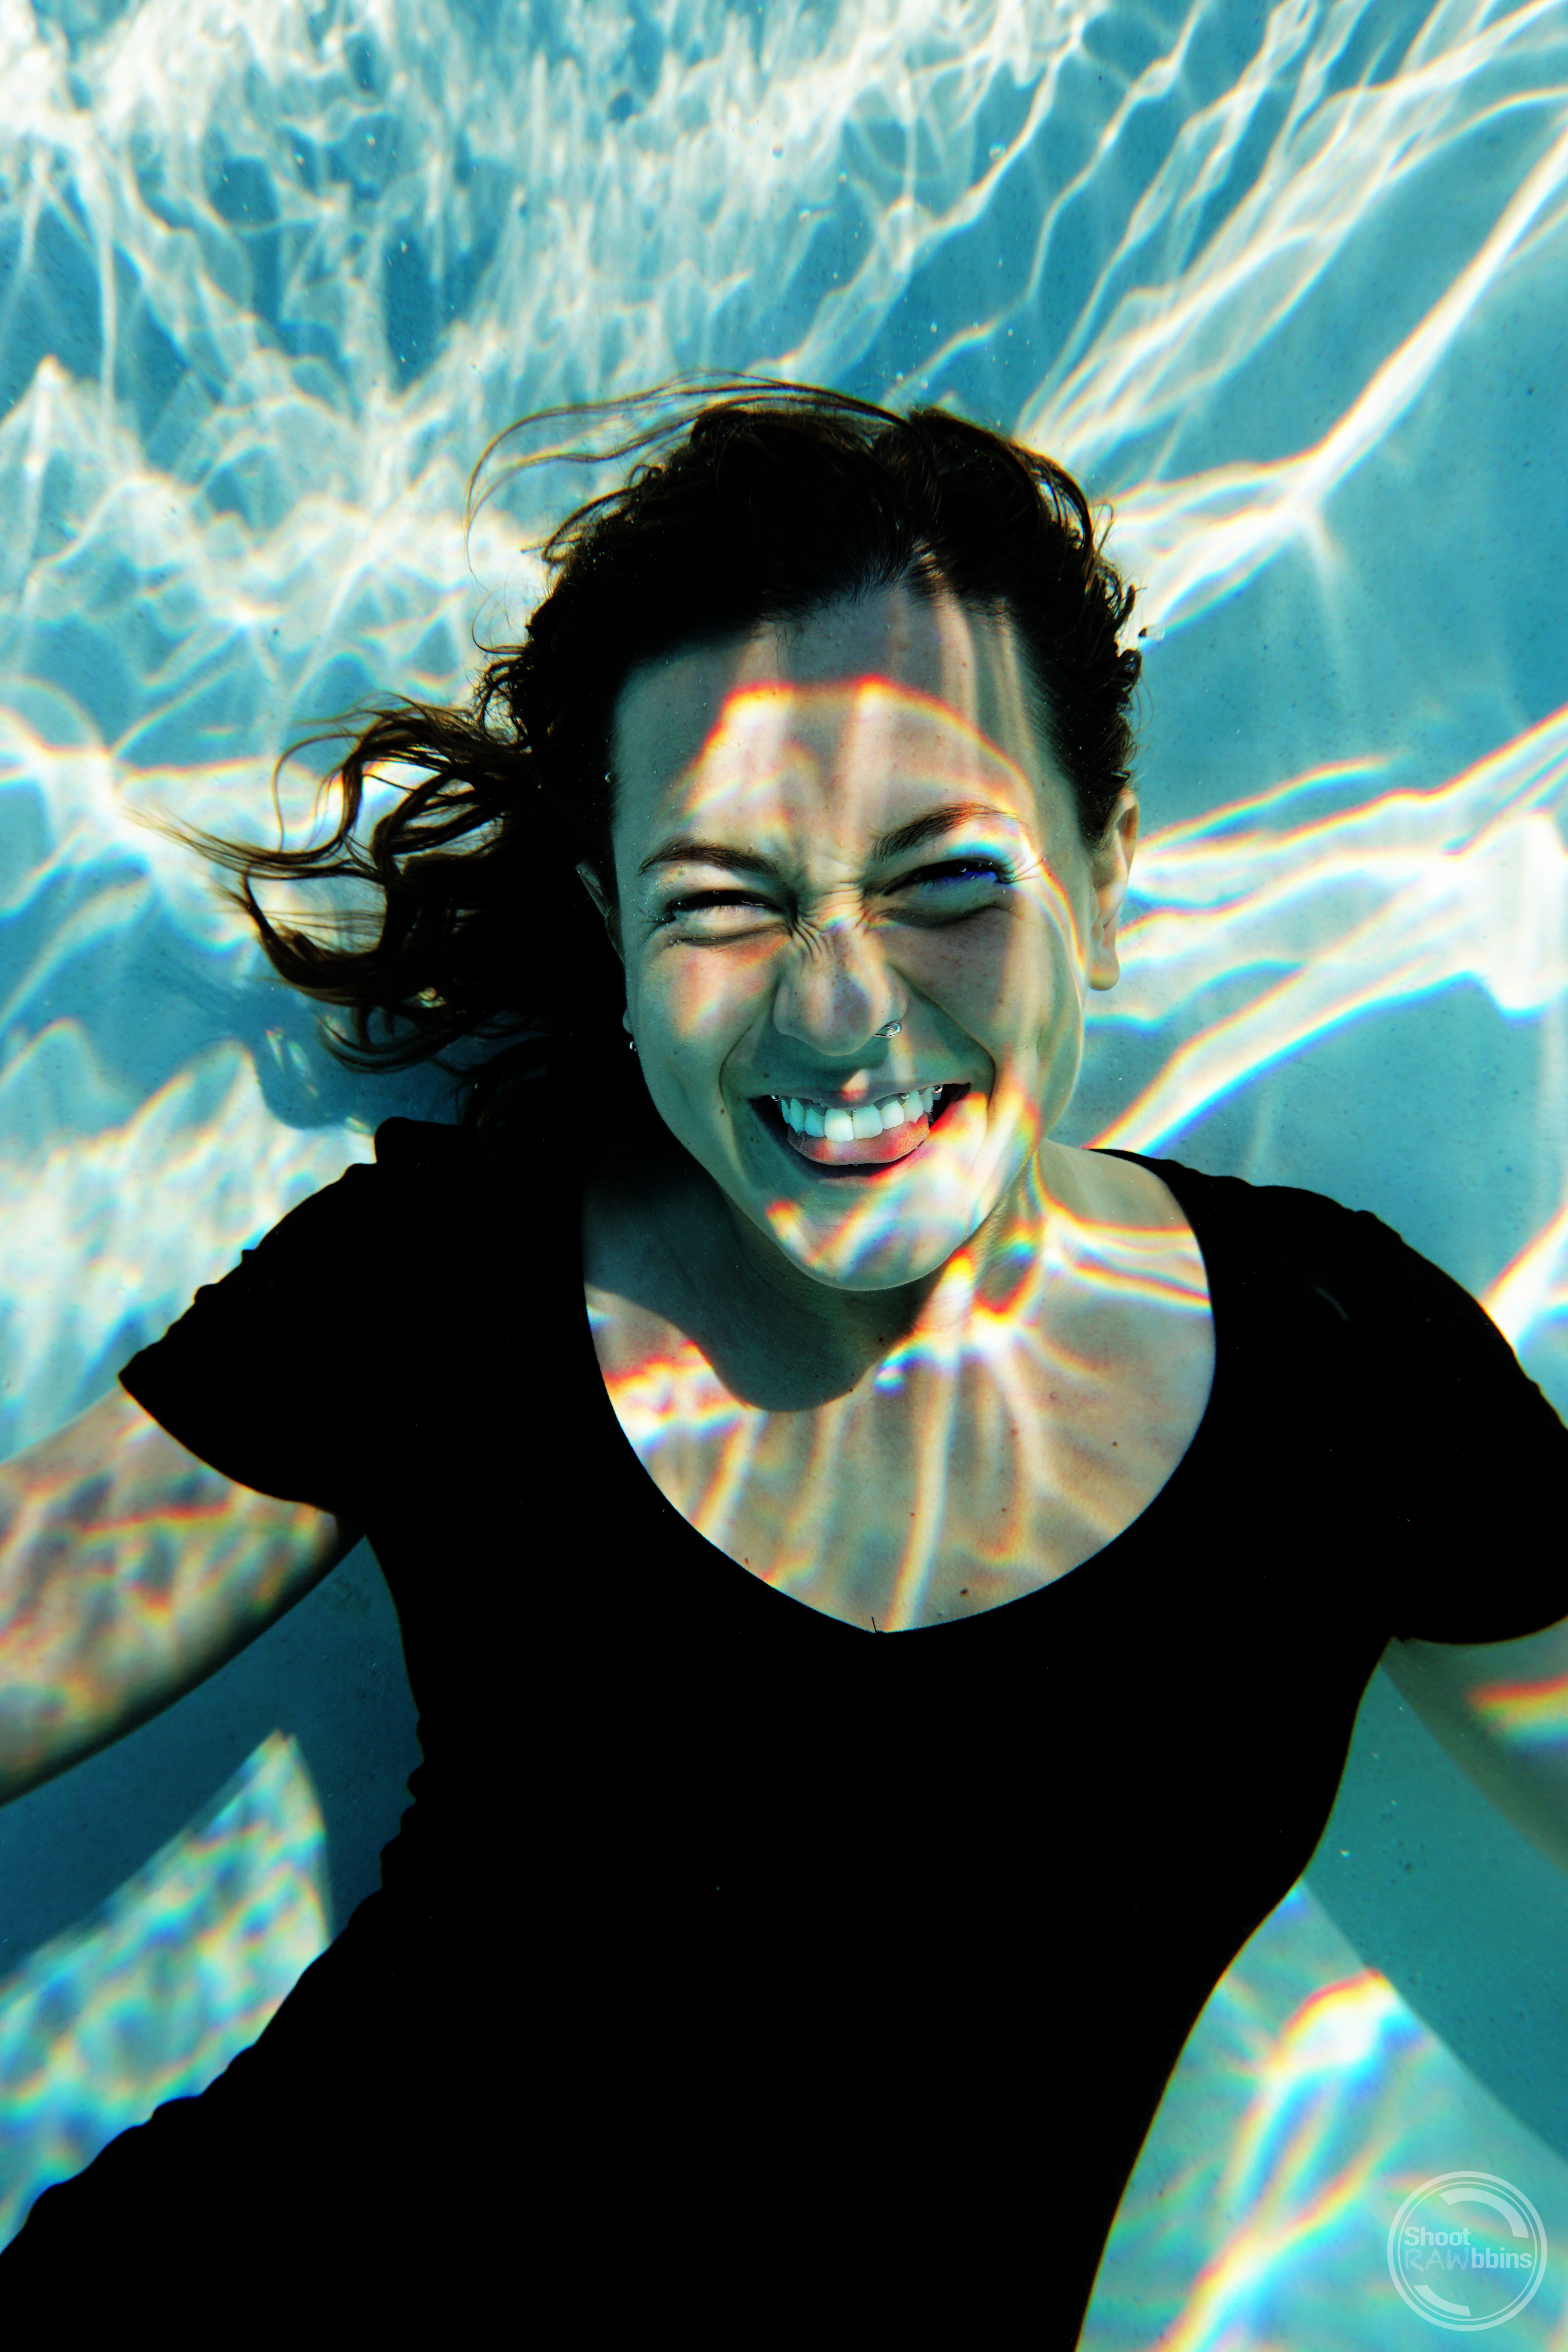

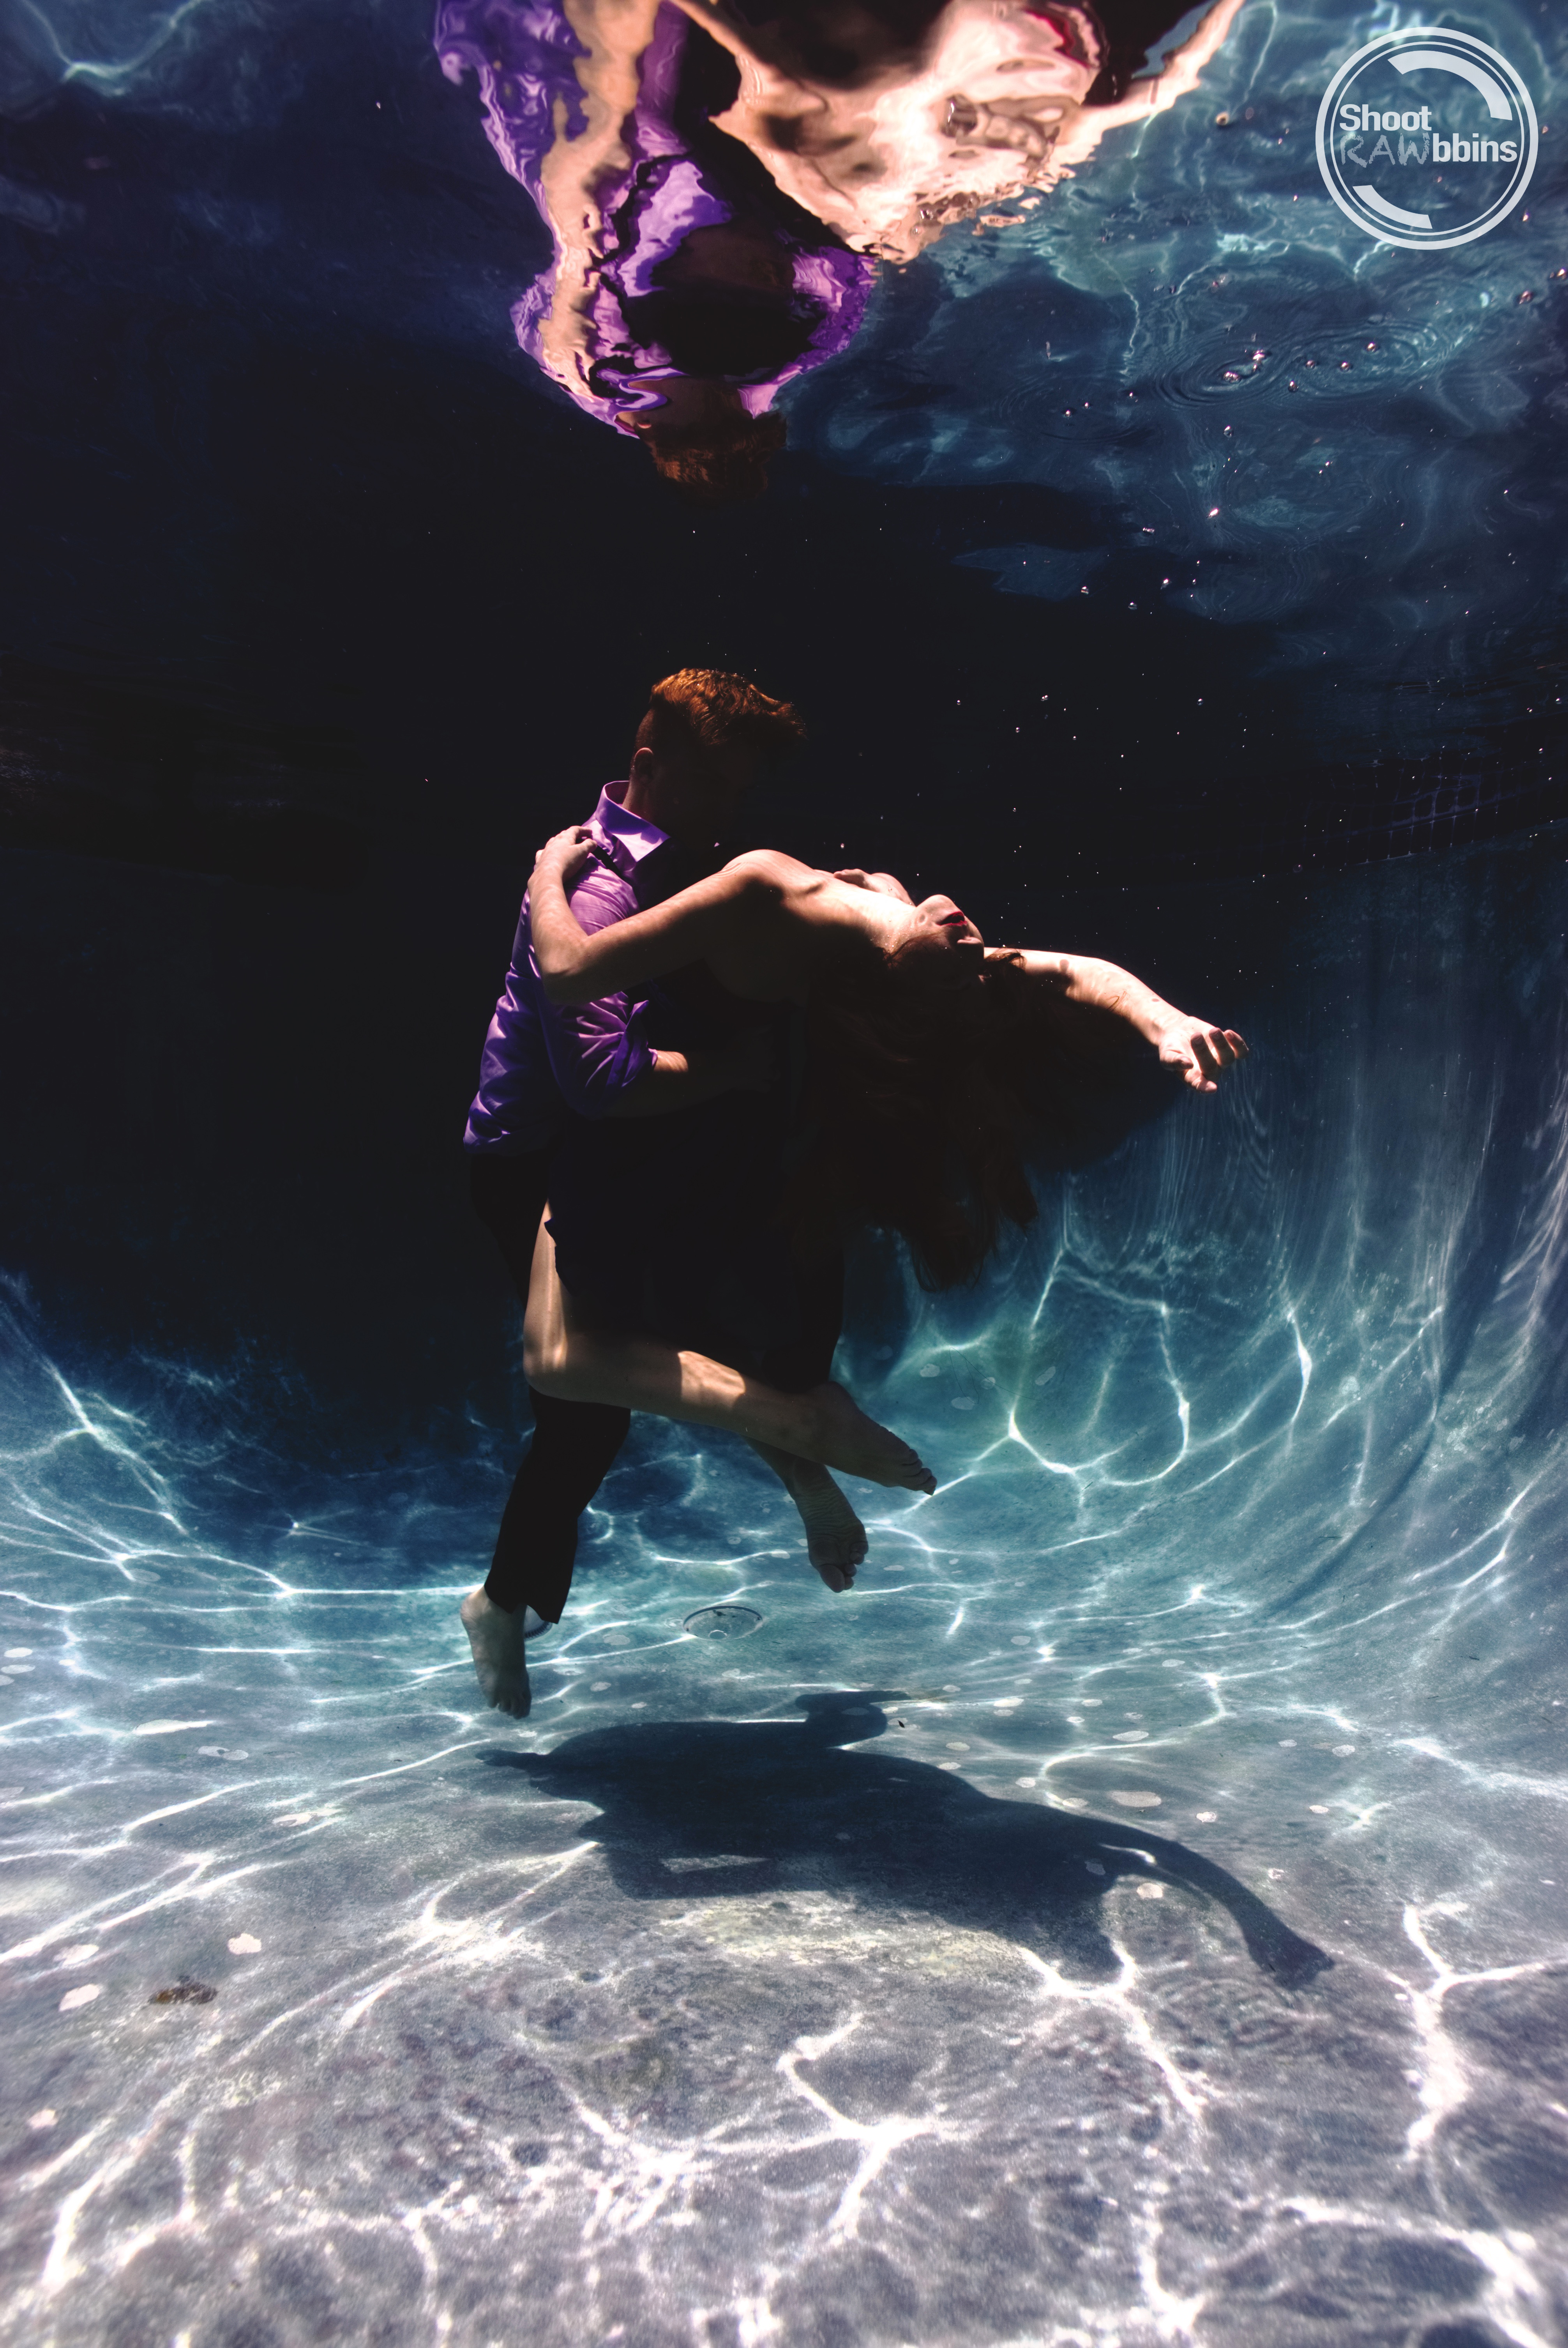

This one may seems obvious to some, but most people just want to jump in the ocean camera first.
The pool is a great place to start practicing different settings and techniques. It’s also a more controlled and predictable environment that lets you focus on developing your photography skills, rather than getting your fins gnawed off by sea lions while you’re scrolling through your less-than-decent shots. As an underwater photographer, time in the pool is like time in the studio.
Another great thing about shooting in pools is the ability to manipulate your surroundings. It’s not uncommon for photo shoots to have black backdrops hang down the side of the pool wall for portrait shots, or setting up tables and chairs for a scene. Those may not appeal to you, but you get the idea – get creative.
5. Slow Down


Not all of us are scuba divers. In fact, when I first found out the costs to get into scuba diving, snorkeling became my only real option. There might be some more advantages to underwater photography with help of tanks and BCs, but when we’re freediving we are not exactly focused on the same things as our bubbly buddies.
While the scuba diver has the advantage of time, the freediver has the advantage of an athlete.
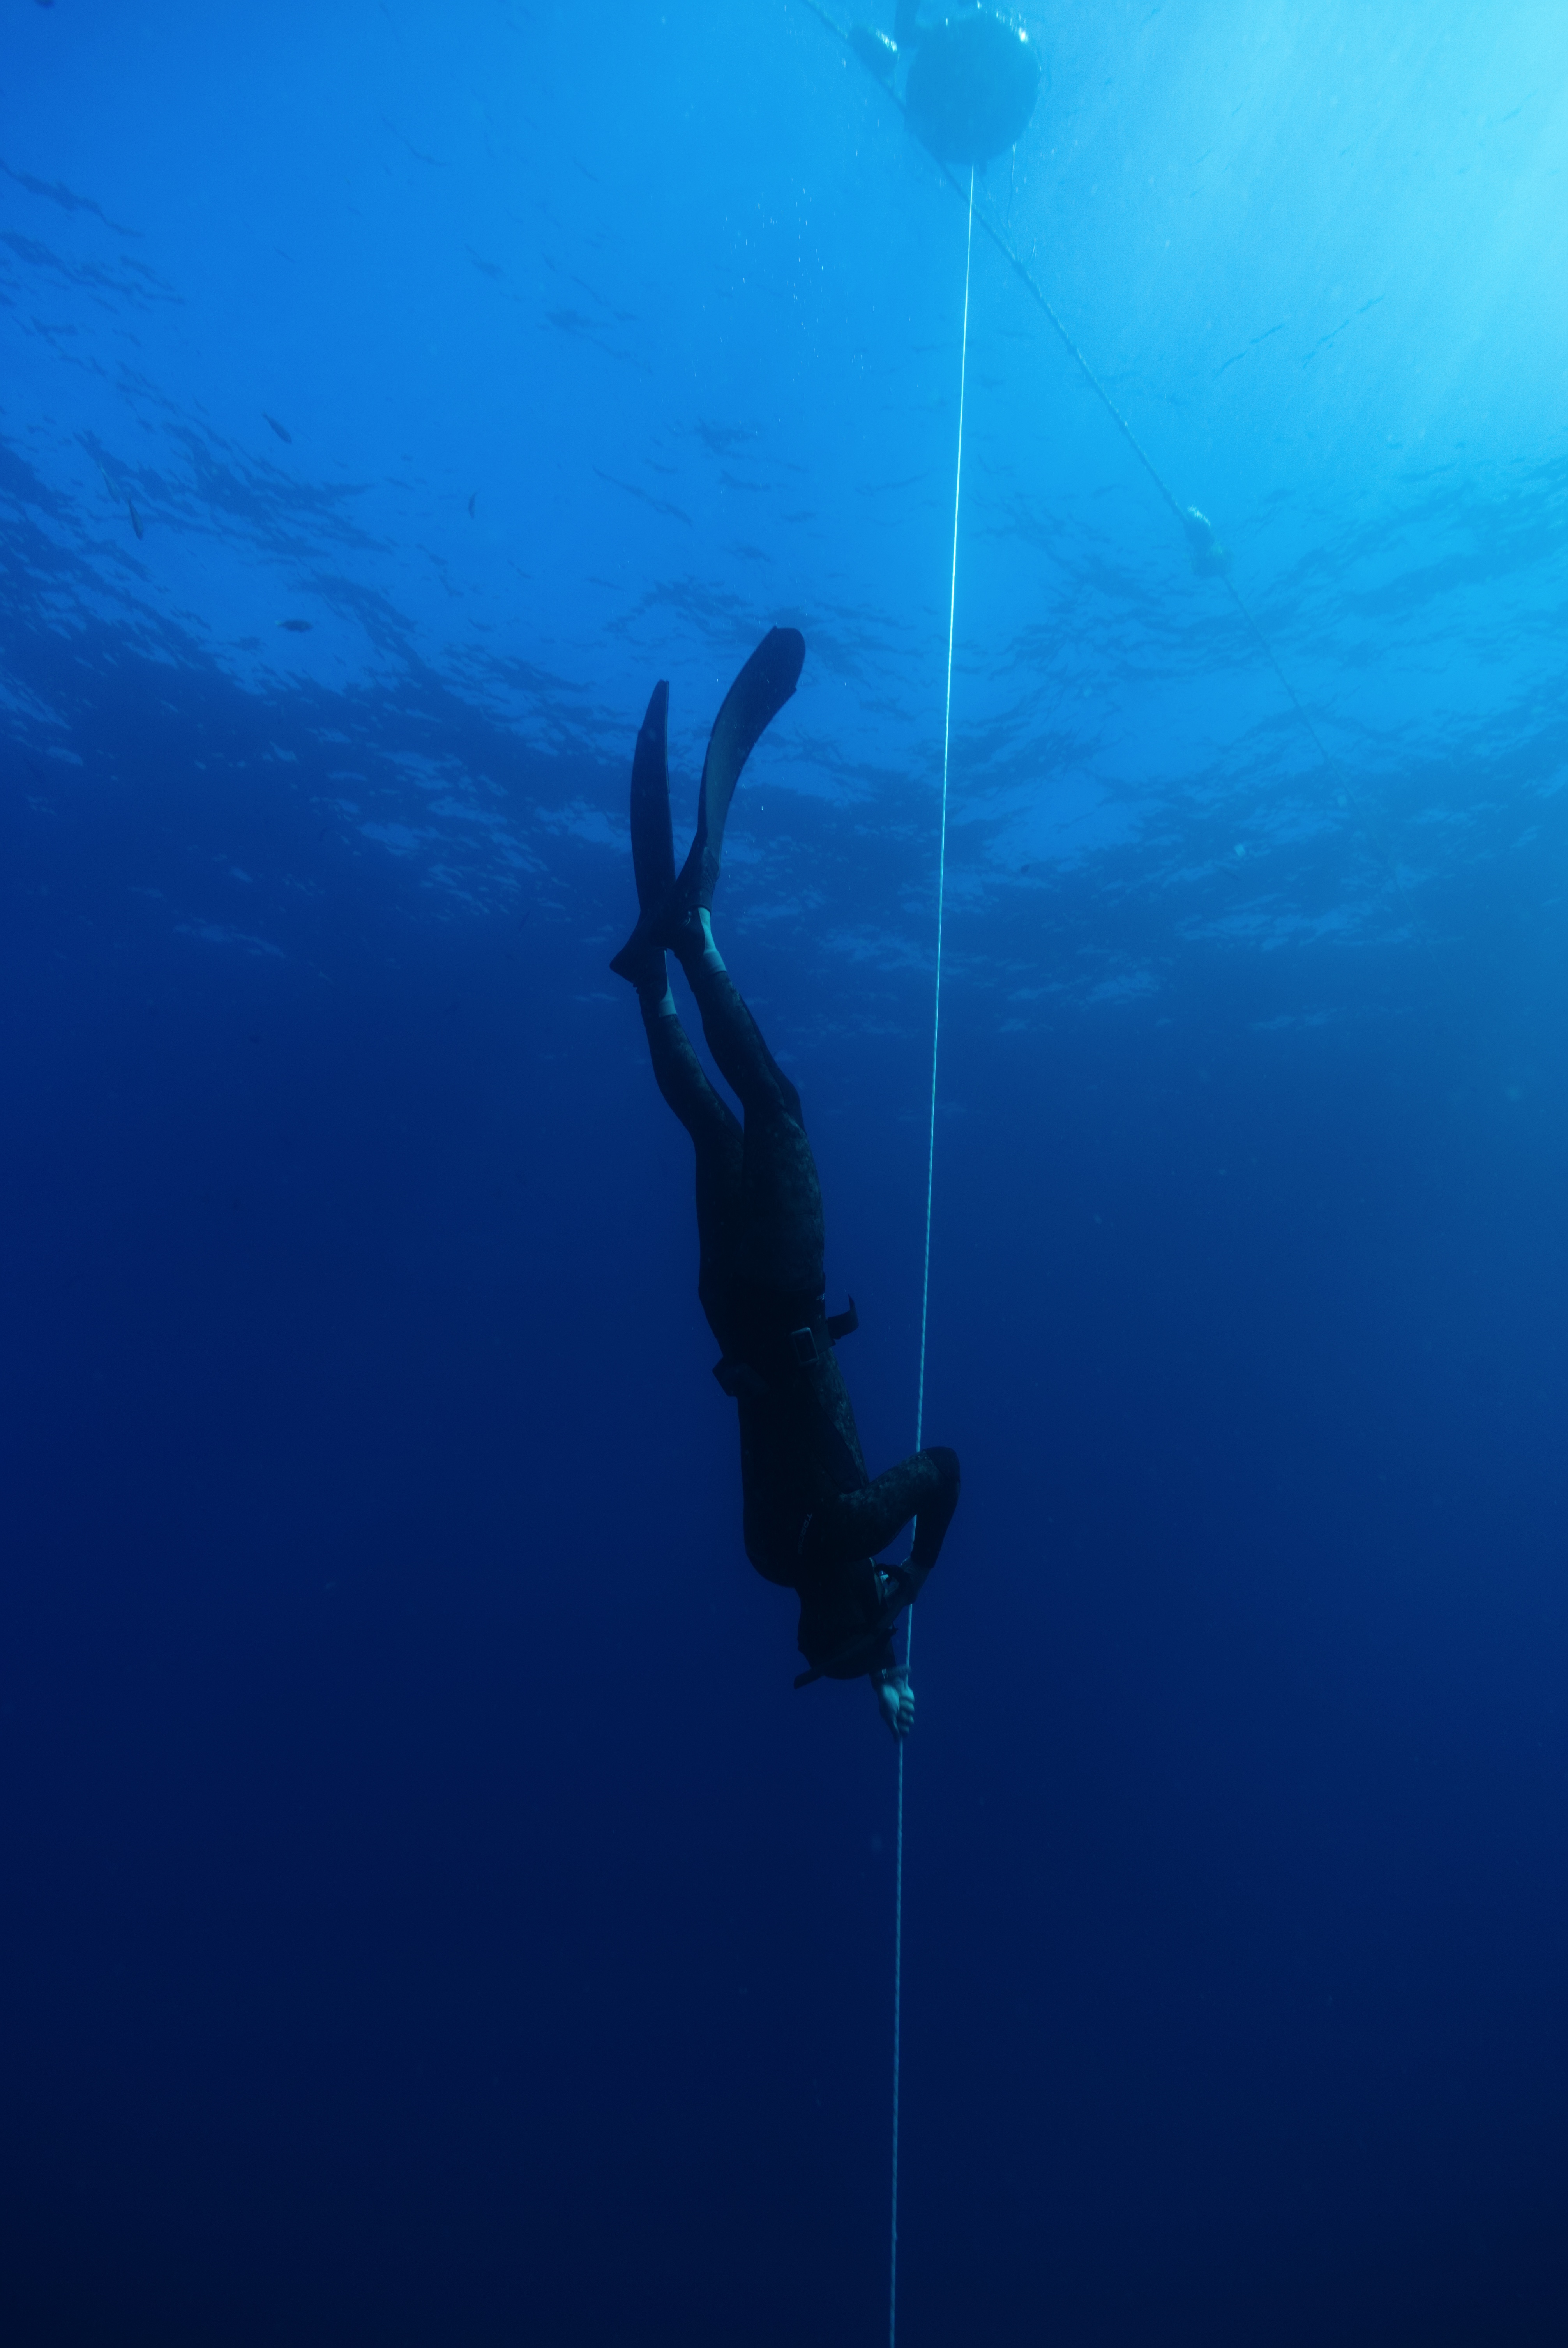
Now before you take that out of context, what I mean by that is the athletic abilities of a freediver are fluid, mammalian-like movements through the water. This allows us to glide with less effort, be more maneuverable and seem less foreign to animals.
So then why slow down? When you are predictable to animals, they are less afraid. You’ll likely never see the best freedivers in the world chasing down a manta ray at full monofin speed with a selfie stick.
We use the stealthiness of our abilities to slow down and immerse ourselves in the environment we find ourselves in. Deep, right? Well to put it technically, it can make or break your turtle photo with the difference of a couple F stops if he’s not down with you. As always, be patient and respect the wildlife.
6. Maintenance Takes Priority

As you dive, travel, dive and travel again, you’re going to realize how easy it is to get your housing dirty. Salt on your housing is like sand in your backpack – there’s probably still some from years ago.
Rinsing your gear with fresh water after every dive session will renew it’s chance at lasting the test of time. Diving in a lake? Rinse it. Diving in a pool? Yup, rinse it.
Personally, I like to remove the camera from the housing before rinsing so that the buttons, knobs and dials can move as freely as possible.
Don’t let your housing sit in a rinse tank too long – it’s better to clean your housing sooner than later. Push all of the housing’s buttons, move all of it’s dials and check the O Rings for salt, sand, hair, dust, etc. You’ll be glad that you did on your next dive.
It’s going to take extra time to do all of this, which is why it’s not a bad idea to start setting up/packing up early if you have impatient dive buddies or an entire boat waiting on you.
7. Never Check Your Gear When Flying

I’m sure this one would make a cringeworthy YouTube search…
There are many ways to travel with your gear safely. Hard cases and foam cases do a great job at this. What does not do a great job at this is the airport staff.
Damaged belongings can usually be reimbursed up to only $1,000 maximum. That doesn’t really mean Jack when your glass dome port costs $1,200 alone. They don’t care, and slim chances you’re going to change that.
The best way to avoid this is to bring your gear carry-on. Most case companies provide a carry-on sized option. A possible way to minimize your baggage on a shorter trip is to use the same port for different lenses. It may not be the most convenient or correct way to operate, but let’s say your zoom lens can actually fit inside the dome port for your wide angle or fisheye lens – that’s one less port to think about and a huge space saving when you’re flying.
At the end of the day, piece of mind and common sense is what’s going to avoid a disaster. Even if you don’t own a case (which should on your list), wrap your gear in t-shirts and thick clothing before packing away – it’s better than nothing.
You’re going to have incredible experiences as a freediving photographer, sharing stories through your lens that otherwise may have never be captured. As the sport grows over the coming years, we will have more reasons to dive and new ways to take pictures. Anyone can have a relationship with the water, and freediving brings that to its purest form – capture it!
– Taylor
Are you, or someone else you know, a freediver or a photographer? Share this post!
Images courtesy of: Taylor Robbins, Nathan Lucas

- 7 Things I Learned Becoming A Freediving Photographer – February 2, 2018
2 comments
Great article. I like Taylor’s writing style. Personal, witty and informative!
Hi Taylor! Great post! 🙂 I really identified myself with your story. I wanted to ask you what type of camera and housing do you use? Brand and model. I actually own a 5D Mark IV and I’m not sure what housing to buy. I live in Ecuador so it’s a bit of a hassle to get the housing where I am and if something doesn’t work or if I don’t like it it will be more of a hassle to return it. Maybe buying a mirrorless with its own housing would be an option? What housing would you recommend for the 5D? Thanks for your time! Keep up the good work!