
 USD
USDThe Ultimate Guide to Underwater Strobe Positioning
You just got a new underwater strobe, maybe even two. Congrats! You’re on the right track! Very soon you’ll be taking amazing colorful photos underwater, making all your friends envy and admire you. But where do you point these damn things?? Most novice photographers simply imitate a pro photographer they saw once and stick the strobes in the same position for every photo, barely touching it throughout the dive, or move it around without really understanding why.
While every scene may require the strobe to be a at a very specific position, there are a few basic guidelines that if you adhere to, can help you get the perfect lighting on 90% of your photos! The last 10% would require some more… ahem… experimentation* 😉
* “Is that a strobe sticking out of your wetsuit or are you just happy to see me?”
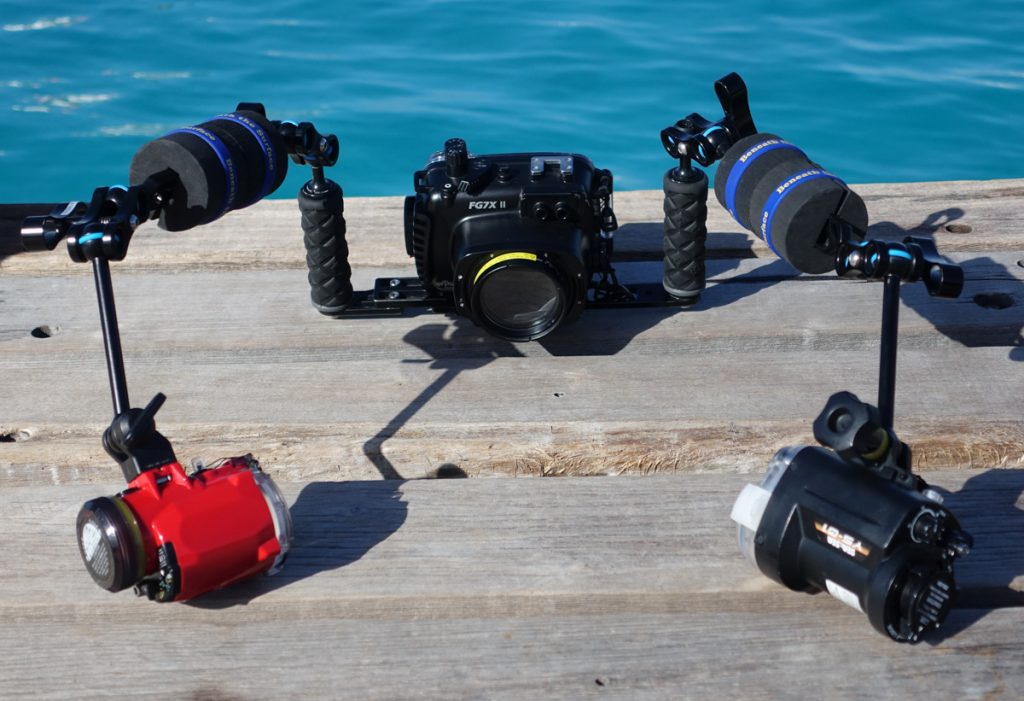
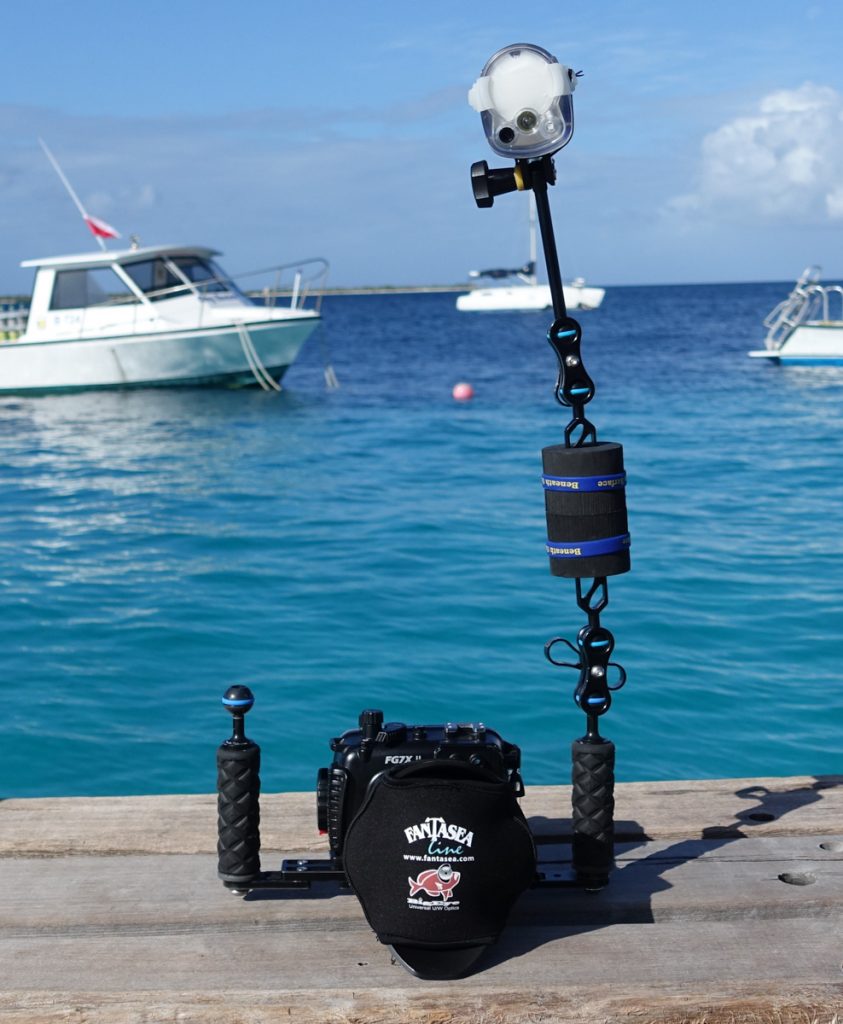
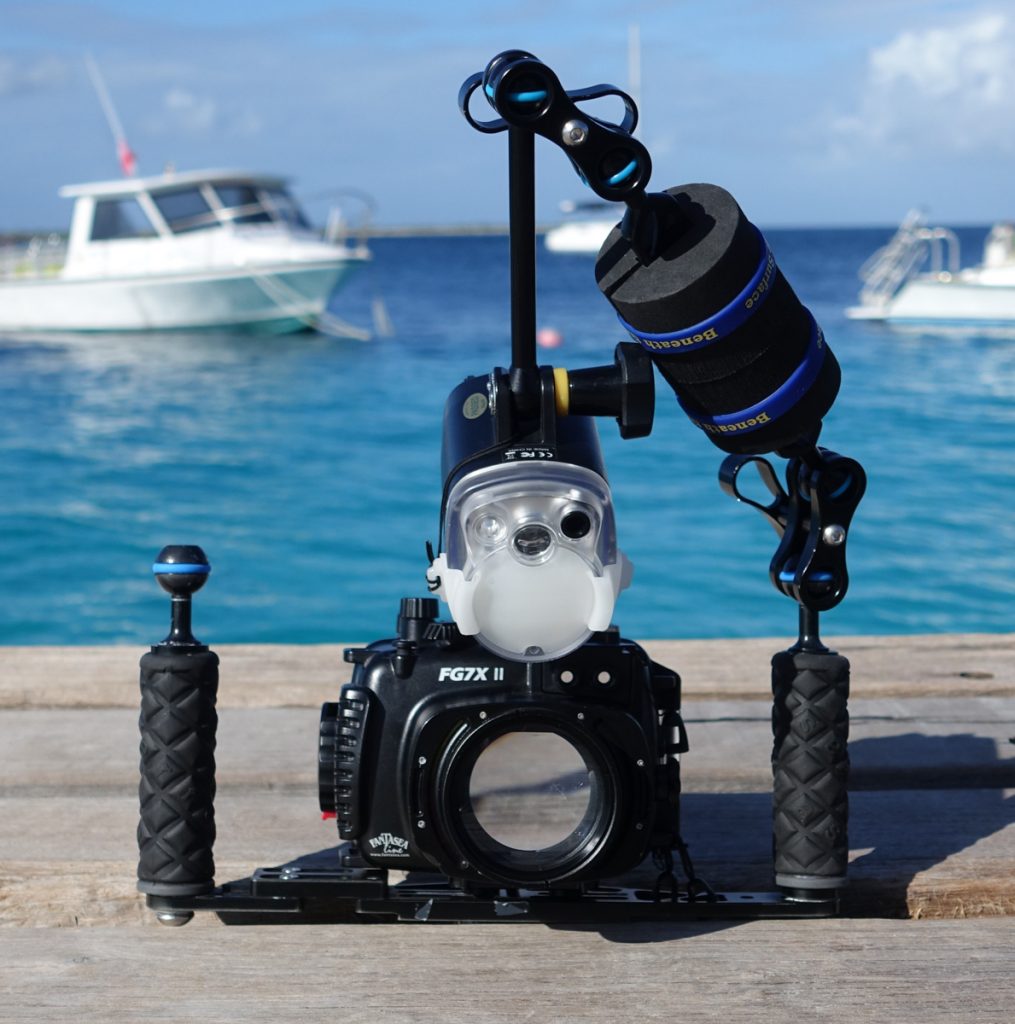
An important element to consider is the type of arms you will be mounting your strobes on.
There are two different types of arms in the market – Flex arms (AKA Locline) or Ball & Joint. For a detailed comparison between those two, read this post.
Naturally, you will need a strobe or two in order to implement the techniques described in this post. For a detailed comparison between all strobes in the market, visit this article.
For this post, let’s just note that all strobe positions can be achieved with both types of arms. However, Ball & Joints will allow a longer reach, and tighter angles than Flex Arms, so for full control over your strobe position and advanced techniques, I would recommend those.
The main factors which impact strobe position are flattering lighting on the subject, and avoiding backscatter. The following photos will illustrate the ideal positions for various types of scenes and subjects.
I’ve included a section on Dual Strobes and a section on Single Strobe.
Let’s begin!
Dual Strobes
One strobe is great, two strobes are better! Having two strobes enhances your lighting and creative possibilities, but also demands more attention and better control over your rig. Here are a few positions which work well.
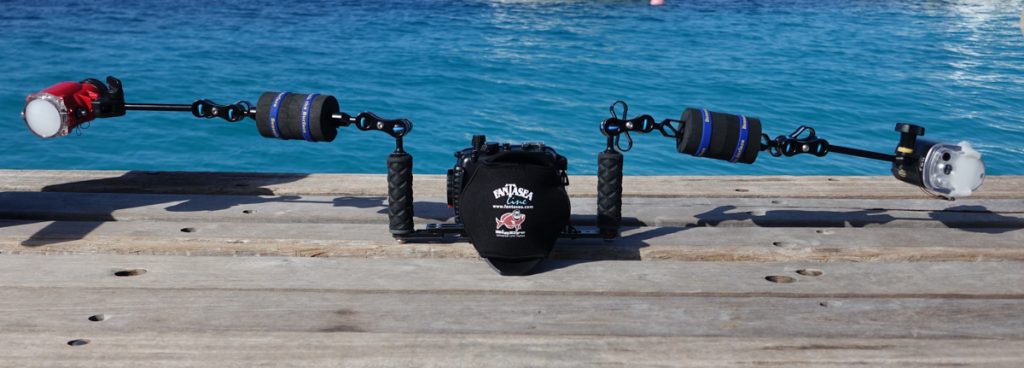
Dual Strobes – Folded Position

When to use it: Above water, on the boat, on the way to the dive shop, etc…
Sure, this may look trivial to some of your, but folding your gear properly is essential. I’ve encountered divers who had their strobe smash into their housing, breaking the top controls, due to improper folding. Furthermore, when starting the dive, you want to have your arms set up in a way that would make it easiest for you to open them up and start shooting, without too much delay. You never know what you’ll see when you jump in, so you want to be prepared to shoot!
Setting your strobes in the way shown above, will prevent any damage to you gear, and allow you to spread the arms out easily and quickly. Note that the clamps are all pointed back, towards the diver, so that they are easily accessible.
I also recommend connecting a snap-hook lanyard between the top two clamps, for carrying above water and locking the system in place.
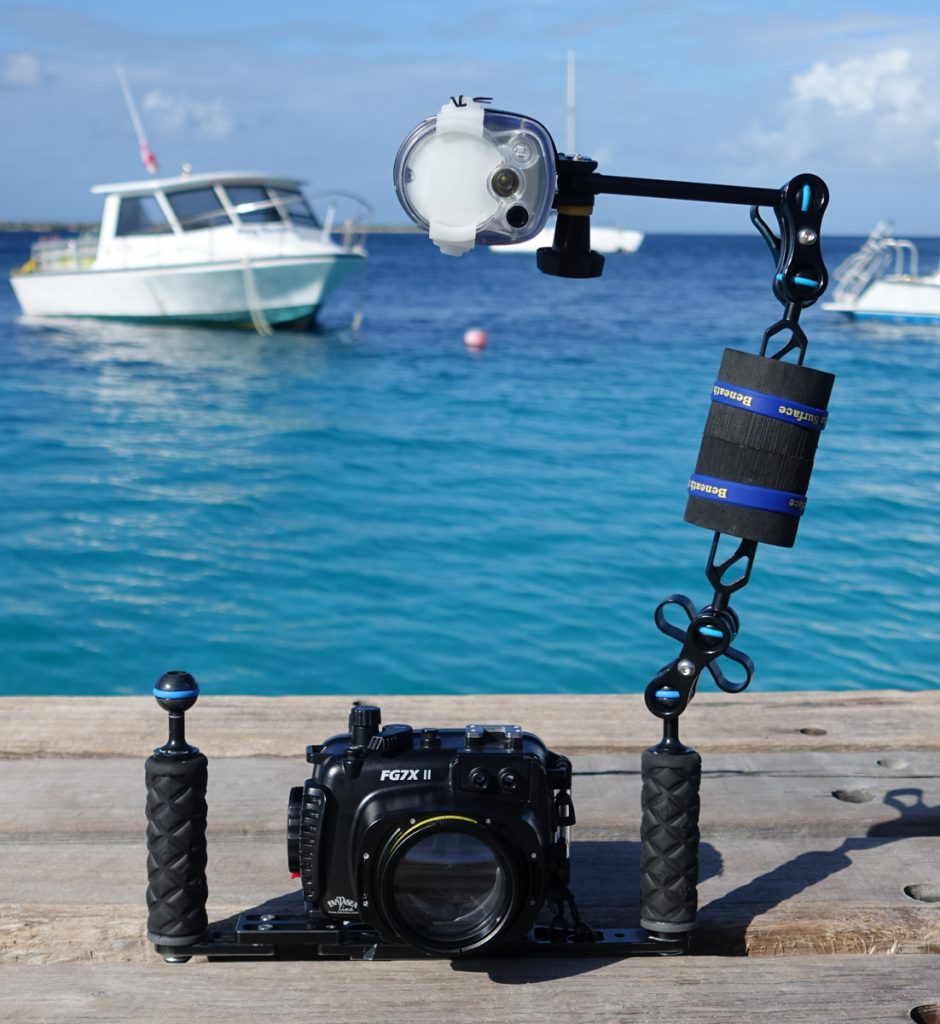
Dual Strobes – Standard Position (AKA 45 degrees)
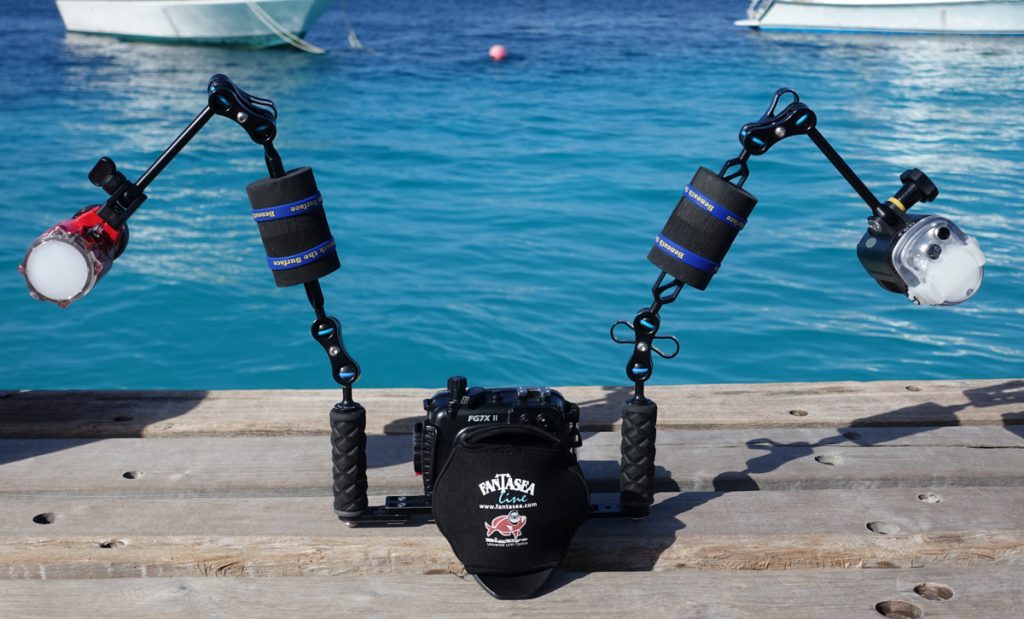
When to use it: Wide angle and medium shots
This is your default go-to position when shooting with dual strobes. Your strobes are set at a 45 degree angle, relative to the housing. This is a very easy position to get to from folded position, simply spread your arms a bit wider and you’re good to go.
This position works very well for wide angle and medium shots and creates nice uniform lighting.
Note that the strobes are pointed slightly outwards. This is something that might be counterintuitive, since most people have the tendency to point the strobes towards the subject. Since the beam angle is very wide, even when you point it outwards, enough light will reach your subject and you will likely reduce the risk of backscatter.
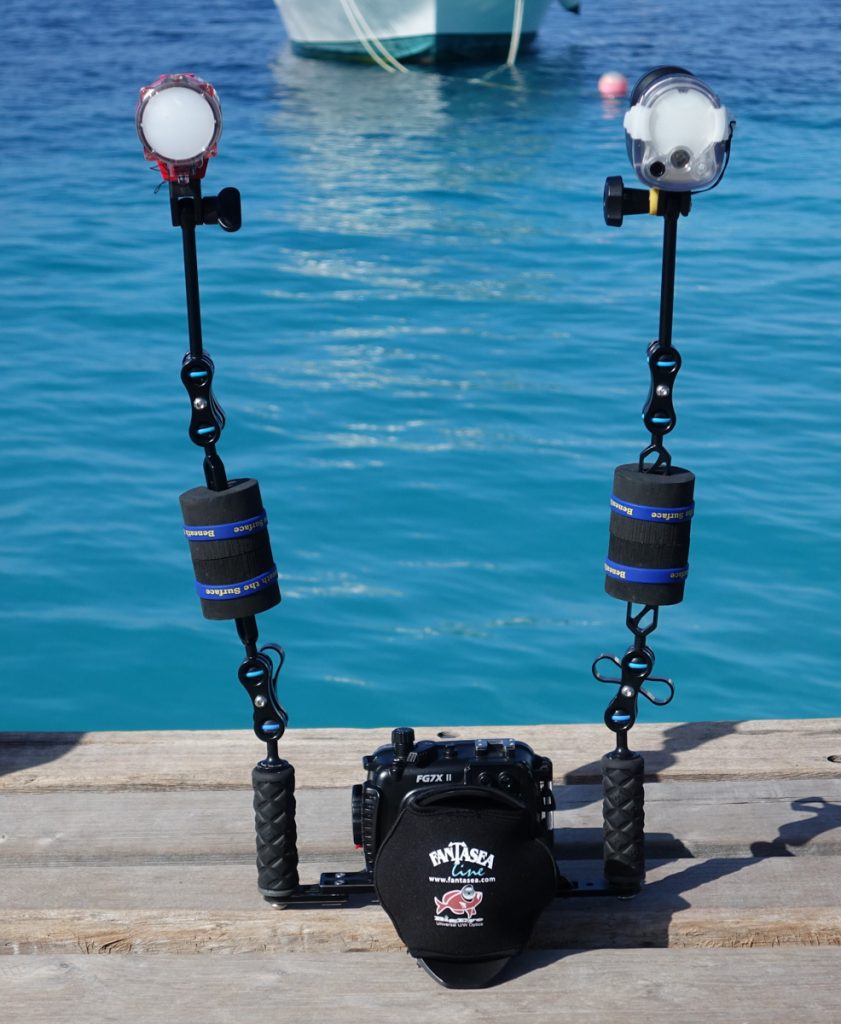
Dual Strobes – Fisheye / Ultra Wide Angle
When to use it: With fisheye / ultra wide lenses, when shooting subjects from a distance.
When shooting with a very wide angle lens, such as fisheye, the risk of backscatter grows significantly. You have to avoid this at all cost. The way to do it would be to spread your arms as wide as possible pull them a bit to the back, so the strobes are behind the line of the housing, and point them slightly outward.
This position is rather extreme, so only use it when shooting from fairly far away – 3-4 feet and up. Closer than that, you’ll get 2 circles in your scene and a dark spot in the middle.
This also works well for shooting other divers, who are 4-6 feet away from you, or underwater models.
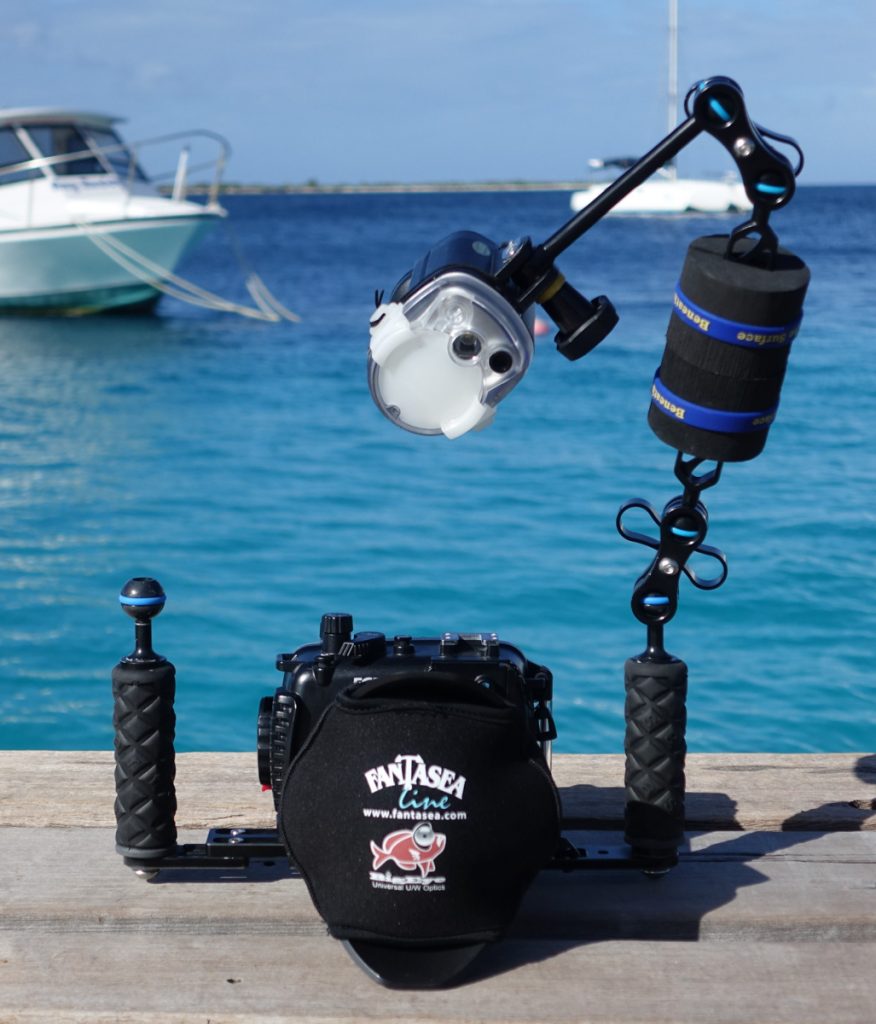
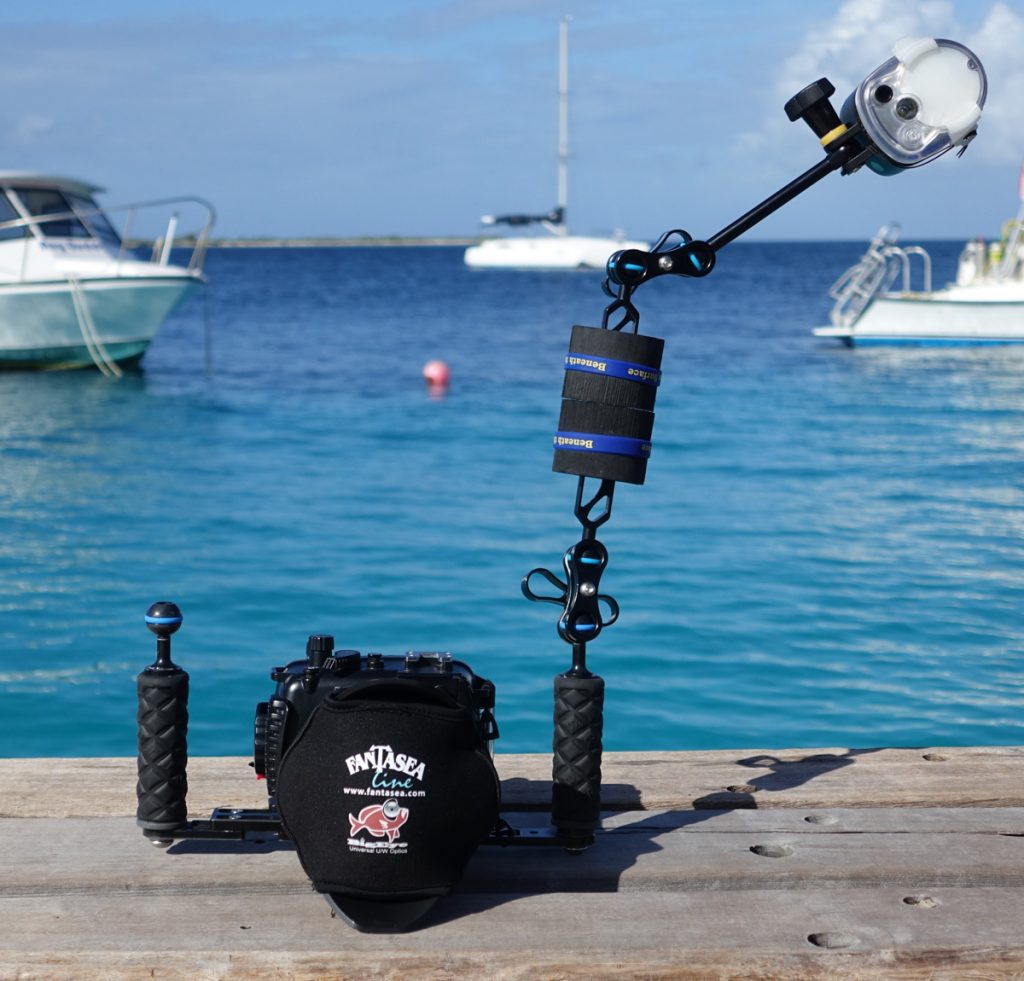
Dual Strobes – Wide angle ‘Sunlight’
When to use it: Wide angle lenses, subjects that are 2-6 feet away, poor viz.
I love this position! I call it ‘sunlight’ since it imitates the way the sun lights subjects, only without the entire water column eating up your colors. It will give a very natural look to your subjects, similar to the method land photographers use when they ‘bounce’ their speedlites from the ceiling when shooting indoors.
It is also effective at preventing backscatter, since the light comes from the short side of the frame and the lens usually has a lens hood located above it as well, which protects it from top light. This makes this position effective when shooting wide angle in poor visibility.
Dual Strobes – Close Focus Wide Angle

When to use it: CFWA (Close Focus Wide Angle) shots
This one is another favorite of mine. When shooting with a wide angle lens or a fisheye, you can get very close to your subjects, creating an effect called ‘Close Focus Wide Angle’. This can create amazing scenes from even small subjects such as Sea Horses, Nudibranchs or small coral formations.
Your goal with lighting here is to avoid backscatter, which you do by placing the strobes way behind your lens, with the front edge of strobes at the same line as your grips and pointing them significantly outwards. You pull them in tight to make sure light still reaches your subject. Use this position when shooting ‘blind’, pointing your camera upwards, while sticking it close to a beautiful subject and you won’t be disappointed!
Dual Strobes – Standard Macro

When to use it: Macro photos, a few inches away from your subjects
When shooting macro, backscatter is not really a problem. There is very little water between you and your subject, so very few particles get in your way. You can stick your strobes right in there, illuminating the subject properly, and making sure you have enough light, even when using a very narrow aperture for maximum depth of field.
In this position, you can fine-tune the position of your strobes to get a better angle, or avoid hurting the reef when getting in close, but this is a good starting point.
Dual Strobes – Backlight
When to use it: Macro photos of a fairly isolated subjects, positioned in a nice open space on top of a coral or rock.
This is a more advanced technique, which is fun to experiment with and hard to master. It works very well on Nudibranchs, Sea Horses, Christmas Tree Worms and other static subjects which can be found in convenient places to apply this technique.
You will have a hard time doing this with flex arms, since you need a very long arm to achieve this. That’s why I recommend ball & joint type. You can also take off your strobe from the arm, and have someone hold it for you behind the subject, but this is a more independent way of doing it 🙂
Usually you will need to have your strobes on a low setting, or you risk washing out your entire frame. Try to avoid showing the actual strobe in the frame, but sometimes their shape won’t even show, just the light emitted, even if they are within the frame.
Warning – This is not an easy position! Take extra care not to harm marine life and corals when attempting it, and don’t be discouraged if it doesn’t work at first. With some practice, you WILL get the perfect shot!
Single Strobe
Single Strobe – Standard Top Light
When to use it: Wide angle or medium shots of reef, fish or divers.
This would be my default position when shooting with a single strobe. The biggest problem when shooting with one strobe, is getting even lighting. If you want to cover an entire scene and get it lit up in a fairly uniform way, you want to position your strobe right above the camera, facing forward. This would prevent backscatter, as the strobe is far enough away from the subject, and illuminate your scene / subject in a nice, natural way.
Feel free to play around with the actual height of strobe. If you get closer to a subject, lower it, if you take a step back, raise it up. This position works great with flex arms as well as ball & joint, but you will get more distance with the ball & joint type arms.
Single Strobe – Close Focus Wide Angle
When to use it: Close Focus Wide Angle shots, with a fisheye or ultra wide lens, less than 1 feet away from a subject.
Close focus wide angle shots are beautiful and quite easy to do, with the right gear. Simply pop on a fisheye lens, either wet lens or actual fisheye and dome, depending on your camera, position yourself close to a subject (less than 1 foot), and aim the camera up, shooting from below. The strobe will illuminate the subject beautifully and the background will flatter it, hopefully with a nice sun spot as well.
The key here is to make sure the strobe is far behind the lens, to avoid backscatter, since you’re putting it fairly low. Make sure it’s just behind the housing itself, pointing forward. If you notice backscatter on the top of the frame, take it even further back.
Single Strobe – Wide angle 45 deg
When to use it: Wide angle reef shots, medium fish portraits.
This is the classic 45 degrees strobe position. It will leave one side of your subject fairly dark, adding depth and contrast to the image. It will work well with a dark background for a very dramatic type of shot, or with a brighter background for a nice flattering photo of a diver or fish.
In this type of shot, it’s very easy to have your flash blocked by coral or rock, since it’s fairly far away, so you need to be very attentive to it and make sure it has the subject in its “line of sight”. You will probably need to use the strobe on full power to get enough lighting on your subject.
Single Strobe – Wide Angle ‘Sunlight’
When to use it: Wide angle / fisheye reef shots, diver shots.
Shooting with the strobe way up above the camera housing, creates a very nice and natural lighting, similar to that of the sun. It works great for getting full coverage on a wide angle reef scene, as long as you set the strobe on full power, to make sure enough light reaches the entire frame. There is no risk of backscatter since your strobe is way up there! Make sure it’s facing front, not down, to avoid any potential backscatter or lens flare.
If you’re shooting divers with this position, make sure they are looking up, so that enough light will penetrate their mask to show their eyes.
This also works very well for underwater fashion shots, producing flattering lighting on your model.
Single Strobe – Macro Top Light
When to use it: Macro photography, with a close up lens (diopter)
When using a close up lens (AKA Diopter, macro lens…), you need to be very close to your subject. As such, backscatter is not an issue since you have very little water between you and your subject, so you can put the strobe very close. Actually, you have to put the strobe close, or the light won’t reach you subject and may be blocked by the housing!
When using a single strobe, you may want to position the strobe on top, for even lighting no your subject. This works especially well for subjects positioned on top of soft corals or branch-type corals. If they are on a sandy bottom, this won’t be very flattering, since your whole background will be washed out.
Single Strobe – Macro Side Light

When to use it: Macro photography
This looks simple, but actually quite hard to master. Since the lighting will be coming completely from the side, you will get a very dramatic scene with this strobe position. It will only work with certain subjects, perhaps those facing sideways, where you can have the strobe light them from their front end. If you know how to isolate your subject on a black background (more about that here), this would be a great type of lighting for that.
Your photo is created by your strobes, the camera only records the result.
Final Notes
Strobe positioning is one of the most important aspects of underwater photography. Proper use of the strobes is the key to great underwater photos, and with a bit of practice, it’s quite easy to get it right!
Regardless of the strobe position you choose to use, if there’s one thing you should remember from this article is to pay attention to your strobe! Don’t just leave it hanging there, then wonder why the shot isn’t coming out right. Your photo is created by the strobe, the camera only records the result. It is the main source of light and should be treated with the respect it deserves 🙂
Get creative with your strobes – quite often these fixed positions won’t really really work in the real world, due to certain limitations and critters hiding in small holes and crevices. Try new positions and angles and check the results in your little screen, while remembering the two guidelines – avoid backscatter and get flattering light on your subject.
If anything on this article felt confusing or unclear, shoot me an email at ran@housingcamera.com. I’m always happy to help!
RM

Visit his personal portfolio at www.ranmorphoto.com.
- Native Lenses vs. Wet Lenses for Underwater Photography – December 20, 2023
- The Complete Guide to Practicing at Home for Underwater Photographers – October 4, 2023
- Best Strobe for Underwater – The Ultimate Strobe Guide (Updated!) – June 29, 2023
9 comments
Thanks Ran some really good underwater information about my new strobe and rig.
Glad it helped! 🙂
Thanks Ran, some very interesting advice. I like macro photography and have a Tough 5 with my strobe mounted onto of the housing with the Olympus short arm. Based on the above, would you agree that this type of setup is suitable for getting good macro shots? Regards, Heath
Hi Heath!
Thanks, glad you found it helpful!
Sure thing, your setup should be great for getting good macro shots.
It is helpful though, to have a longer arm, which allows more options for positioning as described in this post.
A short flex arm might prevent you from reaching the light position you want or need for some of the shots.
Thanks Ran very good informations
Thanks! Glad you enjoyed it.
Hi Ran, very interesting article, even for a old dive instructor and avid photographer.
I have found a different way of tackling the underwater light issue, I shoot with a Canon G7X and use 2 blue ray video lights on flex arms. Results have been great however I believe I can still get better shots by adding a sea & sea YS-01 strobe. In preparation for my upcoming trip to the Solomon Islands, I bought a 6” flex arm to mount on my cold shoe and attach my strobe on it. I’m going to experiment using a combination of everything, results to be determined.
Thanks again for all your tips and lessons on underwater photograph.
Hey Kurt! Glad to hear you enjoyed the article!
Yes, a YS-01 would be significantly stronger than your existing lights. About 10 times stronger actually!
A 6″ arm would be a bit limiting, but make sure you position it high enough in wide angle shots to minimize backscatter. In macro shots you won’t have an issue, it works very well even with a short arm.
Hope the article helps a bit!
Enjoy the Solomon’s! We’re heading there in November 🙂
Great article Ran. Timely as I hope to get back underwater soon