
 USD
USDShooting RAW or JPEG in Underwater Photography
Everyone always says to shoot in RAW, but why?
Shooting in RAW produces a file that has recorded all of the data from a camera’s sensor, so essentially you get a file with the most information possible. Shooting in JPEG produces a file that is compressed and slightly altered by your camera. Overall, having the most data will allow for the most control when working with the file later, allowing for the most correction ability in post-production/editing, and to make the largest files possible if you ever plan to print a large image.
That being said, JPEG is probably the most widely recognized image file type and generally the format computers can read, print from, and the fastest way to upload to social media. Often RAW files cannot be read by our computers without a special program or first being converted into JPEGs, so you cannot see your shot. So why bother with the extra step?
It comes down to having the most control to edit and maintain the highest quality of the image.
When placed side-by-side the JPEG may actually look slightly better when compared directly to the RAW image.
On many cameras it is possible to get two files, one RAW and one JPEG for each exposure. When placed side-by-side the JPEG may actually look slightly better when compared directly to the RAW image. This is because the camera takes the data from the sensor, compresses and alters it slightly, usually by increasing contrast, sharpness, and saturation. The final product is a smaller, enhanced image, with the information it deemed not necessary, deleted. The RAW file contains all of the unedited data.

Having full post-processing control on your images is particularly important for underwater photography. The automatic JPEG compression settings (and even many auto camera settings) are developed to create the best image based on the types of images the majority of the world takes – which are not underwater. I find I am generally not satisfied with the changes a camera automatically gives when compressing to JPEG. This is also why using in-camera auto settings (and even automatic correction settings in editing software) for underwater images often do not work – the auto modes were created to improve topside photography situations. Underwater is not typical. So as underwater photographers we want all the information we can get to edit and improve our images.
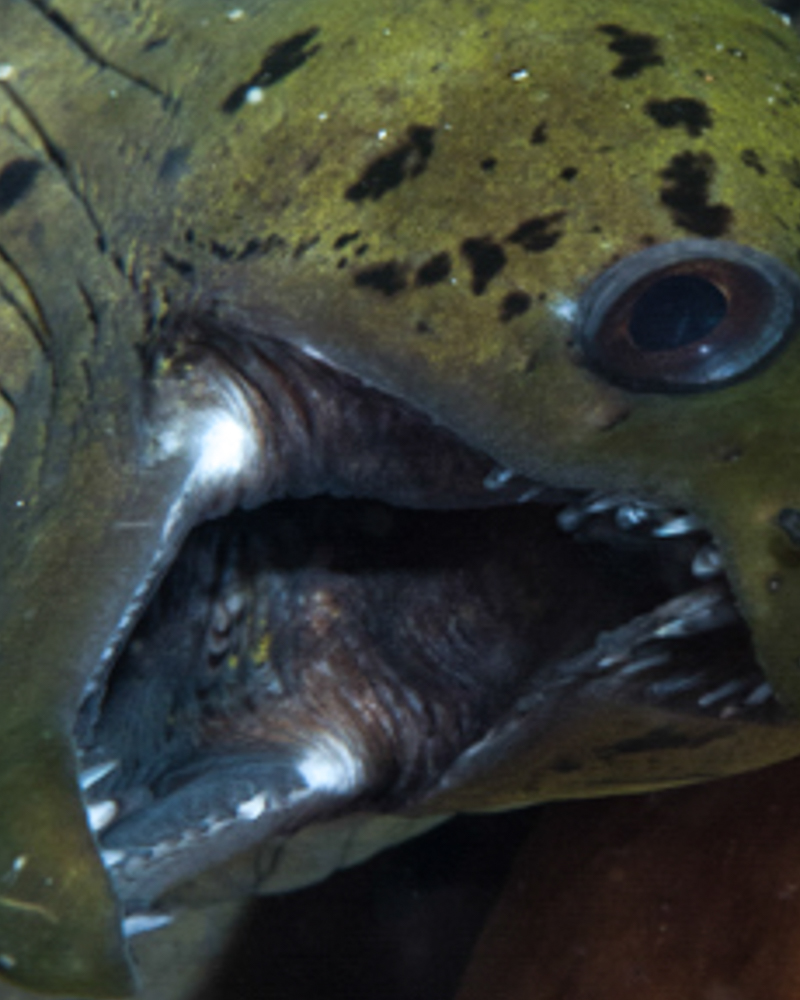
The capability to alter the white balance is very important in underwater photography as our images are often more blue than we desire. Controlling temperature in post is best done with RAW files. JPEGs usually have a white balance applied during compression and much of the color data is deleted. While it is possible to do more white balancing on JPEG files, often the results are not as desirable as when working with a RAW file.
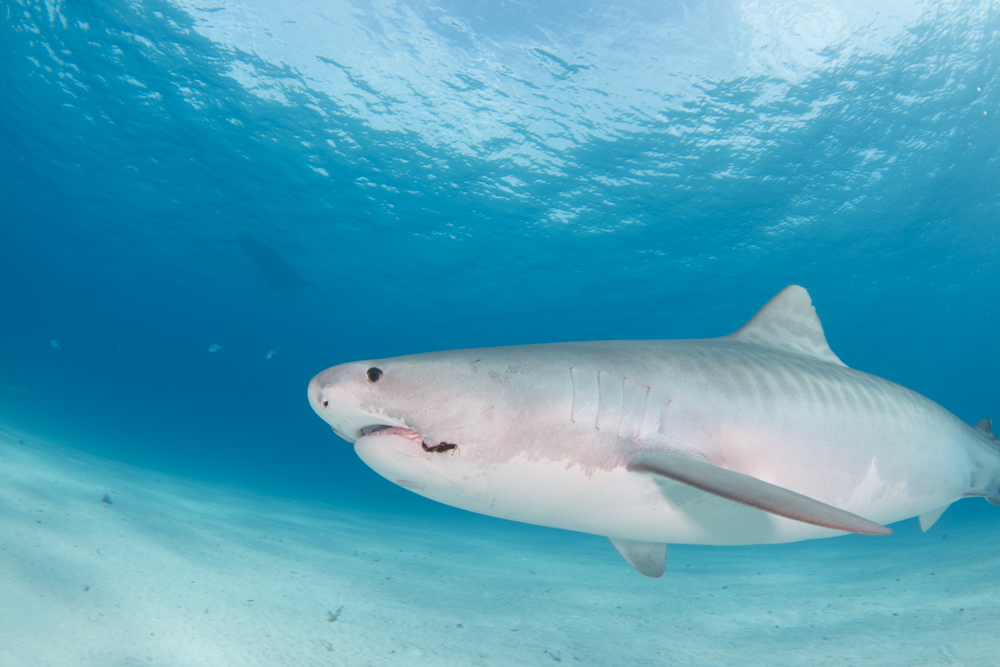
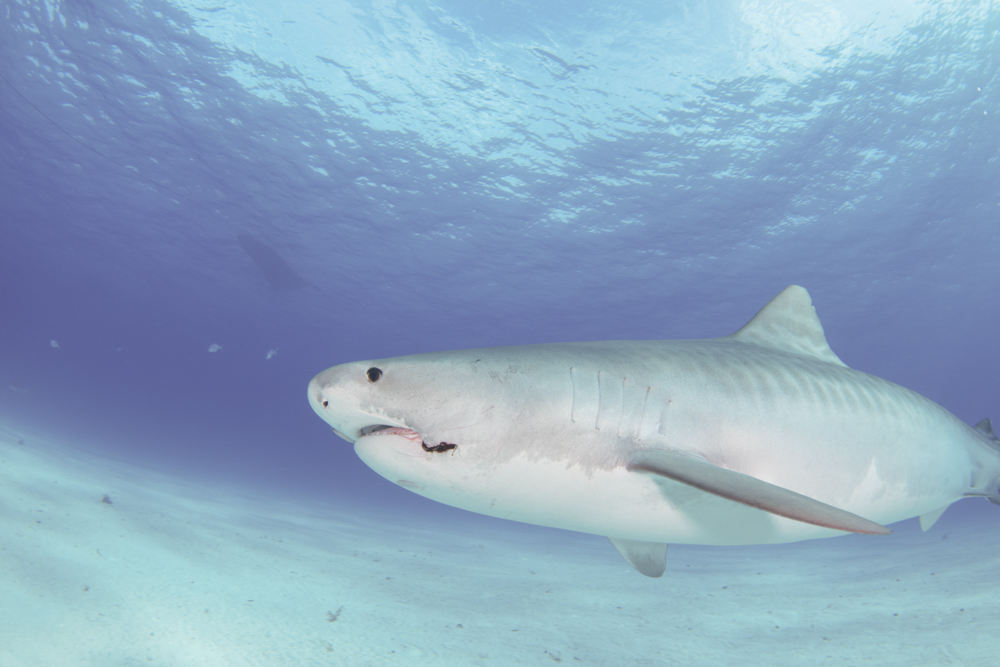
My camera allows me to take an image in RAW and JPEG at the same time. Here is applying the white balance to both:

Each specific camera also will have limits on the files it can produce, RAW or JPEG based on it’s sensor size and camera capabilities. A camera that can only shoot an 8mp image will not produce a RAW file with the same ability to edit as a 26mp image. However, be sure to be shooting the largest quality possible. Memory is cheap with 128g SD cards costing very little and multiple terabyte external hard drives going for considerable less than what we used to pay for much smaller drives. Buy the extra hard drives and take larger image files.
Still Resisting?
You many think, “That’s all fine, but I still don’t want to edit my photos,” but what about in the future? What if you become an obsessive editor down the road? Or it turns out those shadowy photos you got were of the last living dragon-ant-fish (I made this up) on earth and someone wants to pay you millions of dollars for a high-res photo…but you only saved it as a small jpeg file.
If you really do not want to edit, I have two suggestions:
- On most cameras you can choose to shoot in RAW and JPEG at the same time. So for each image you take, you get two files. Do this and save your RAW files – just in case – for the future.
- Shoot in RAW anyway, but immediately convert them all to JPEGs. Programs like Lightroom can easily and fairly quickly do bulk processing and, again, keep the RAWs somewhere else and work with the JPEGs.
RAW files provide the best base for exporting high quality images of different types such as different color spaces (which are required for, say, printing an image versus putting it on the internet.) You may only want to upload an image on Instagram today, but a magazine may see that image and want to publish it, and they will need a higher resolution file as, perhaps, a TIFF file instead of a JPEG. While it is possible to export a TIFF from a JPEG, the image will be degraded.
Editing program capabilities are only going to continue to get better, so having those original RAW files will be the best way to take advantage of future technology and another reason to make sure everything is backed up in double…or triple…or more.
Tips
- Always take digital images at the highest grade possible. As said before, memory is cheap, and you may never know what images you may want to re-visit in the future.
- If you cannot break away from JPEGs, set your camera to shoot in both JPEG and RAW and save your RAW files for the future.
- Try to get the correct exposure but err on the side of underexposing images. Pure white is recorded as null or zero and cannot be edited. Shadows and dark can often be drastically recovered in post-processing from RAW files.


- Never save over an original image file. Most editing programs are non-destructive, meaning the changes or edits you make to an image are done on a virtual or mirror copy of your file. To save those changes the program produces/exports as another file. If you save over an original file, you can never go back and have the all-information RAW file again (unless you saved a back-up copy somewhere else).
- Back up all your images on another drive in case you accidently save over an original file or something happens to the drive the images were originally saved to. In fact, back up twice.
- Always edit from the original file, not an exported/edited file. Multiple image compressions can create noise, color distortion, and degraded image quality.
Hopefully this helped clear up why you should be shooting in RAW. Happy underwater shooting and editing!

She is an Ikelite Ambassador and a member of the Ocean Artists Society.
- The Ultimate Guide to Underwater Macro Photography – March 27, 2023
- The Ultimate Lens Guide for Mirrorless Cameras Underwater – February 1, 2023
- The Ultimate Underwater Housing Maintenance Guide – June 16, 2022
1 comment
Thanks for this article Brandi! I tend to shoot in JPEG because I’m not keen on editing my pictures later, and I have not taken the time to really learn Lightroom. However, you make some really good points, especially about WB. On my next dive trip in a few weeks, I will do both RAW and JPEG photos : )