
 CAD
CADThe Art Of Close Focus Wide‐Angle
One of the basic rules of underwater photography is “get close, then get closer.” This is because the more water between you and the subject, the more red light is absorbed and more suspended particles get in the way. There are really only two lens types that allow such close work. These are the macro and wide-‐angle lenses that have become staples in any underwater photographers’ toolkit. Later articles will focus on macro skills, but for now we’ll concentrate on a broadly used wide-‐angle technique that can produce a diverse array of stunning images; close focus wide angle (CFWA).
 Mastering the Shot
Mastering CFWA requires thinking about your image in three parts: the subject, the mid-‐ground and the background. They will each be approached and lit differently. The difference in lighting will make the subject stand out in the final image. Your subject will be lit by the strobes, but everything else in the shot will be lit using only the naturally available light. Before you go about looking for a subject, prepare by setting your exposure for the ambient conditions.
Setting the exposure should be the first priority after achieving the cruising depth of the dive. Take control away from the camera by learning to shoot with manual exposure settings. Use these three steps to achieve proper exposure:
1) Start by adjusting the aperture to control depth of field. Remember that when
shooting through a dome port, used with most wide-‐angle lenses, the camera isn’t taking a picture of the scene as you see it. Instead the camera is recording what is called the “virtual image” or a miniature depiction of the scene on the inside of the dome port. Typically, the difference between the nearest and furthest point of focus in a virtual image is only about 12 inches (0.3 m), so an f/8 should suffice.
2) The appropriate shutter speed is a balance between freezing the action and letting in enough light to allow a low ISO and thus a higher quality image. For most CFWA, I find that 1/125 is about right.
3) Finally, adjust the overall exposure with the ISO. Point the camera approximately 15° from the sun, pull the shutter and examine the color of the water. If it is too dark, increase the ISO and try again. I like to underexpose the color of water in my images by one-‐half to a whole stop.
 It might be helpful to spend a whole dive leaving the strobes off and just focusing on getting this process right from a variety of depths. It may be a lot to think about, but once the process is down, the whole activity will take only a minute and your exposure will be set for the dive. Now let’s talk about strobes.
In a perfect world, the strobes should be an equal distance from the dome port as the dome port is from the subject. In the reality, fish move and you often have to act fast. Unless I have lots of time to fiddle, I will set my strobes as far out to the sides as they will go and set slightly toward the back of the housing. Aim the strobes straight ahead or even at a slightly outward angle to help reduce backscatter. There is nothing more disappointing than a shot that has been ruined because a whole half of the image is filled with beautifully lit floating particulates.
Put it All Together
Finally, it is time to compose the shot. Most good CFWA images have three components:
-‐Foreground or subject
-‐Middle ground or structure
-‐Background, which is usually water
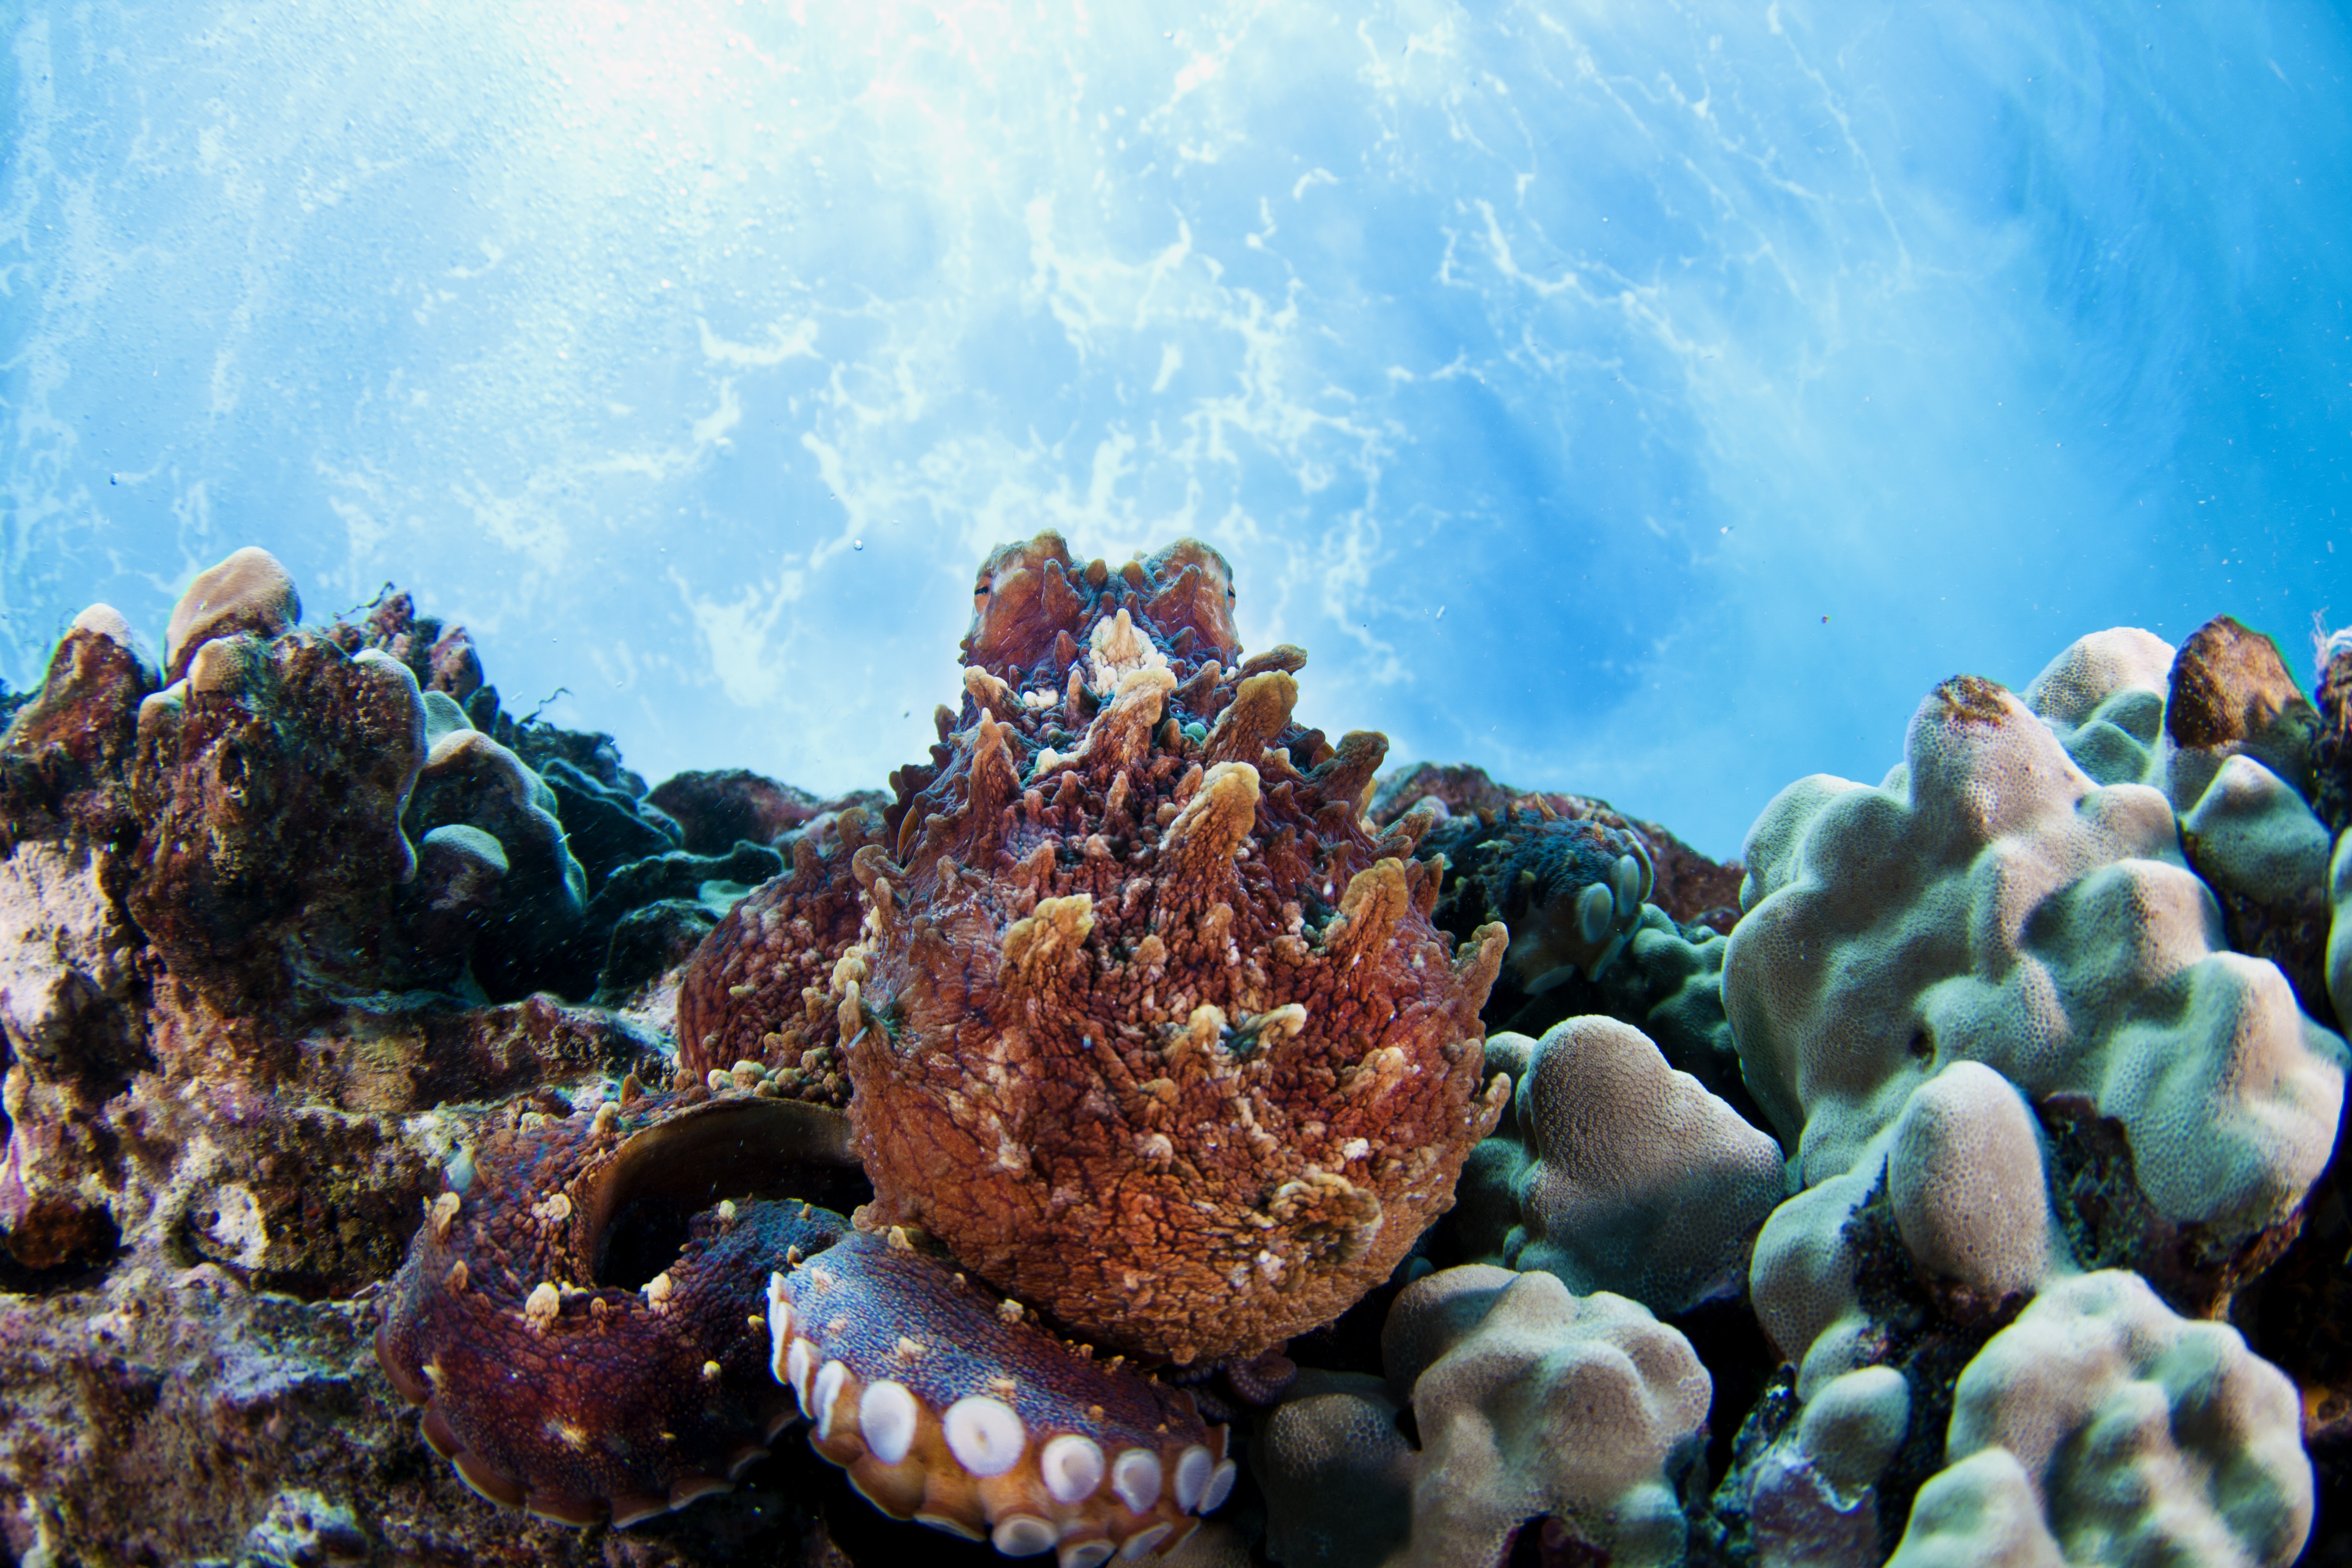
Subject selection is a major key to creating a compelling CFWA shot. A point of focus that is large enough to fill a significant proportion of the wide-‐angle frame is crucial. As such, nudibranchs and small organisms are usually best left for the macro lens. Find something that will allow you to get fairly close. Most CFWA subjects are no more than 6 inches from the dome port. This minimizes the amount of water between the subject and camera while ensuring that the strobes will be able to appropriately light the scene. All of the effort spent adjusting the exposure will be for naught if both the subject and background are lit by artificial strobes, so it helps to have a subject that is standing out from the substrate. An ideal subject will allow you to shoot at an upward angle to capture at least a little of the natural color of the water.
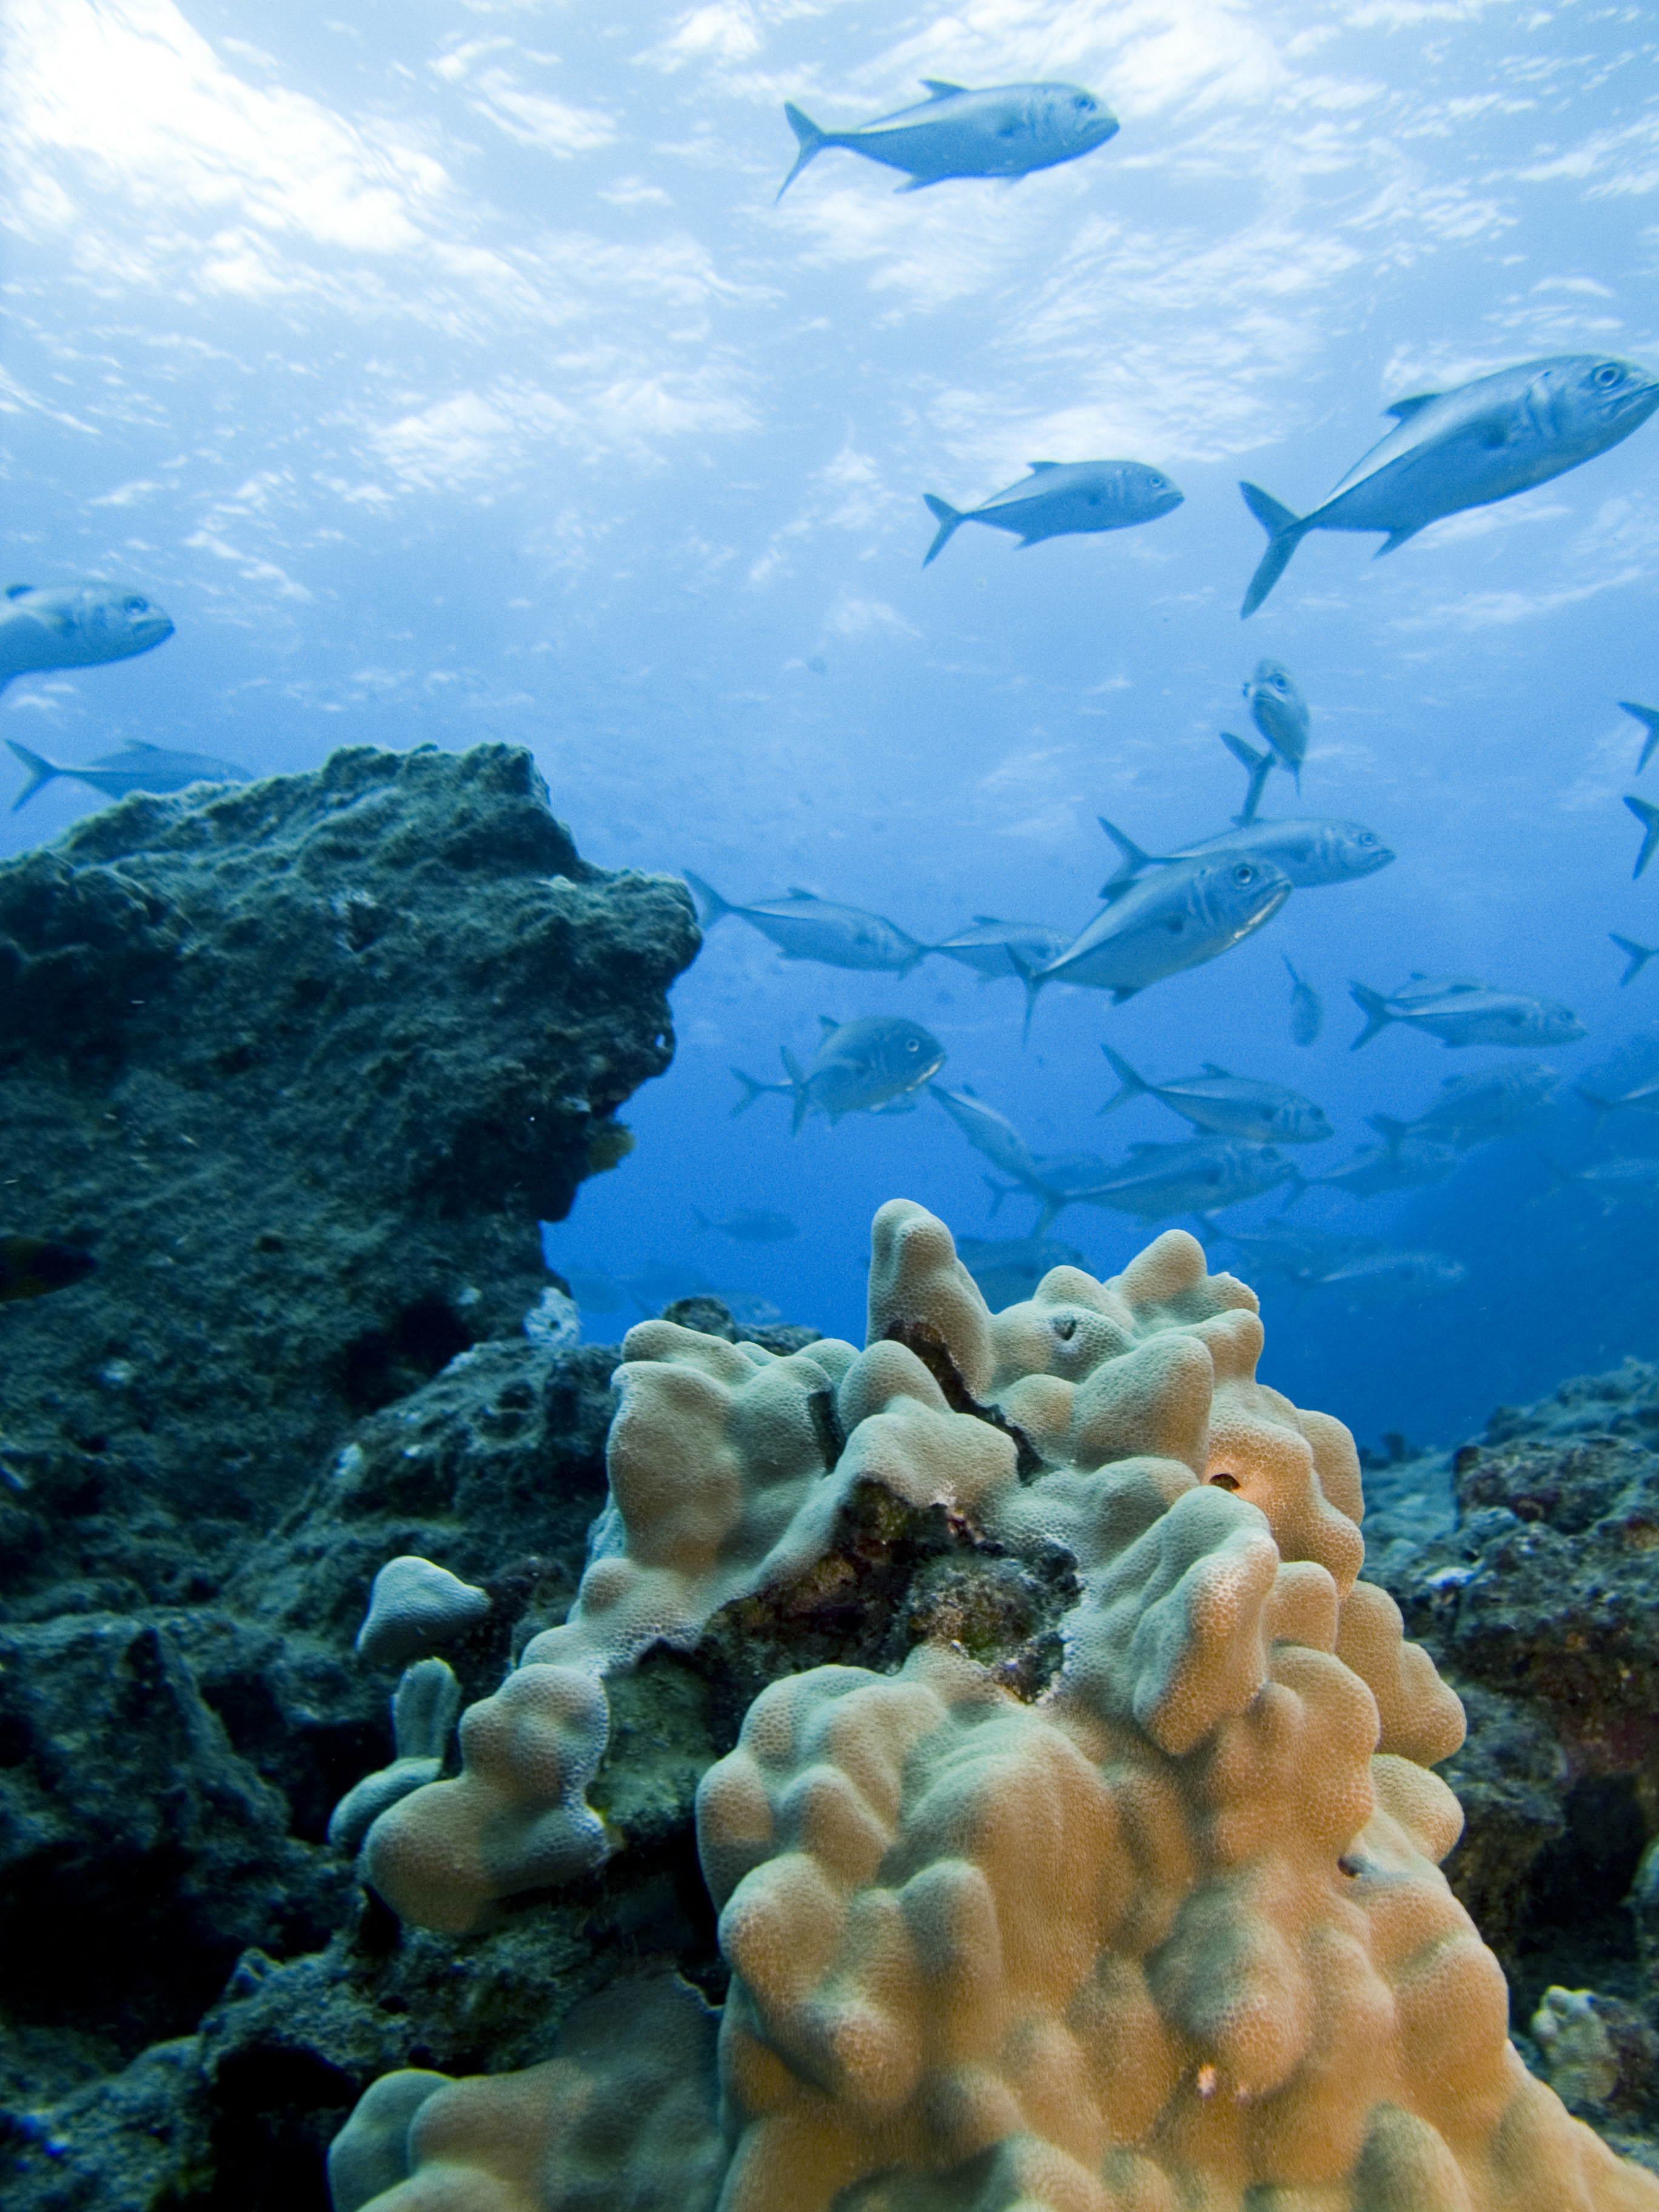
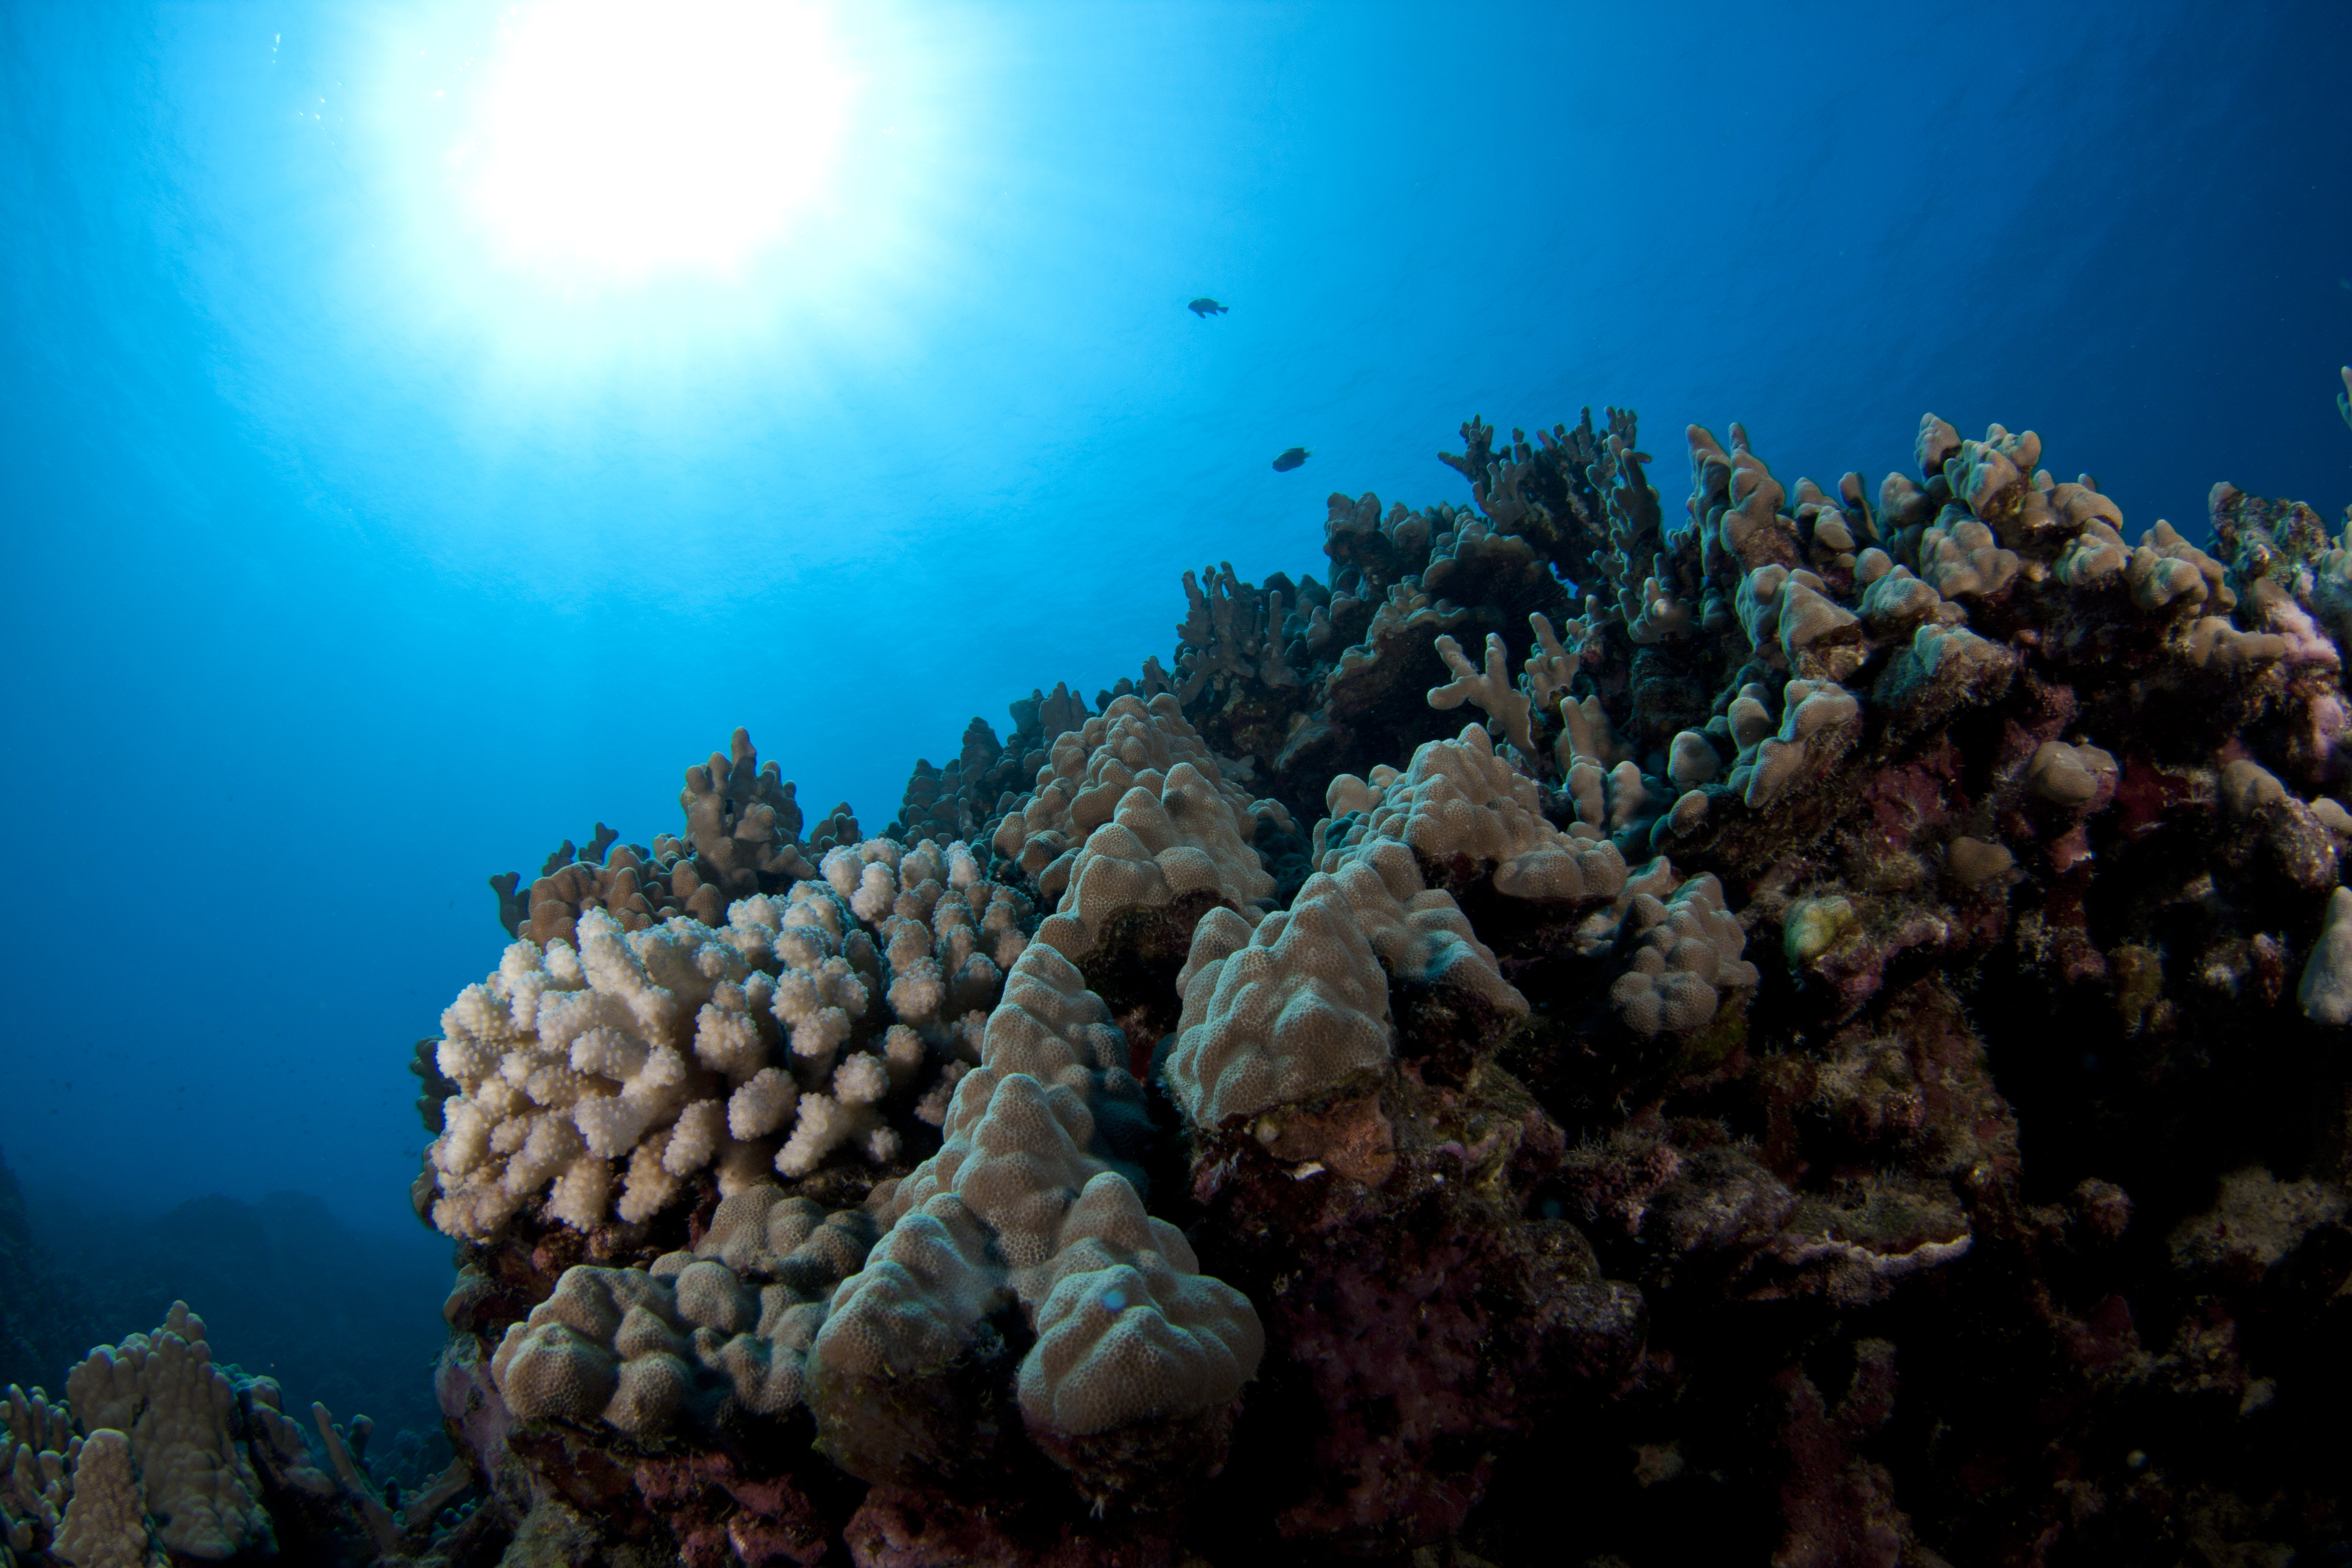
Look for mid-‐ground scenery around the subject that will produce a recognizable
shape or silhouette yet won’t distract from your subject. Man made structures seem to work well because they often have straight, recognizable lines. These structures can include pier pilings, the dive boat at the surface or even a wreck under the waves. Alternatively, you can have your buddy swim over top to give the scene a human element. Reef walls don’t seem to have the same effect unless the reef has an unusual element about it.
The background is ultimately going to be some form of blue or green. To include a nice sunburst, wave ripples or snell’s window point the camera at the surface. I recommend against just a flat, empty blue, as this can look uneventful and even boring. Finally, find the angle of your subject that will put these elements together and go for it.
 Take lots of pictures and experiment with different angles, subject placements and strobe positions. When combined in the right way, close focus wide-‐angle images are some of the most dramatic shots you will take. And even after you master CFWA, you can apply the basic steps of this technique to other underwater photos to add a little pop.
TLDR
-‐set your exposure to F/8 1/125 sec. and adjust iso for water color
-‐find a subject that stands out from the substrate
-‐position yourself such that the subject is in front of an interesting background.
-‐shoot upwards
- The Case for Shark Feeding – March 27, 2014
- Create Your Own Luck – January 26, 2014
- Starting out in Underwater Photography – December 25, 2013